How often after being exposed to Star Wars did you dream of having your own working lightsaber? These days — well, we don’t quite have the technology to build crystal-based weapons, but tailor-made lightsabers like redditor [interweber]’s are very much real.
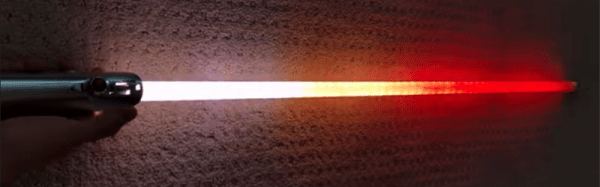
Piggybacking off the Korbanth Graflex 2.0 kit — a sort of bare-bones lightsaber ready to personalize — [interweber] is using a Teensy 3.5 to handle things under the hilt. Instead of taking the easy route and cramming everything into said handle, a 3D printed a cradle for the electronics and speaker keep things secure. The blade is made up of two meters of APA102 LEDs.
As well as all the sound effects appropriate to ‘an elegant weapon for a more civilized age’, a cluster of buttons handle the various functions; , playing and cycling through music(more on that in a second), changing the color of the lightsaber — Jedi today, Sith tomorrow — enabling a flickering effect that mimics Kylo Ren’s lightsaber, color cycling, and a…. rave mode?