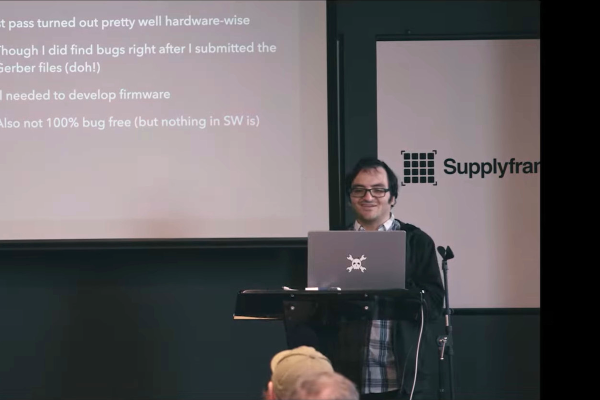
After being licensed as a ham radio operator since the early 2000s, you tend to start thinking about combining your love for the radio with other talents. In a 20-minute talk at Hackaday Supercon 2022, [Mooneer Salem] tells the story of one such passion project that combined software and radio to miniaturize a digital ham radio modulator.
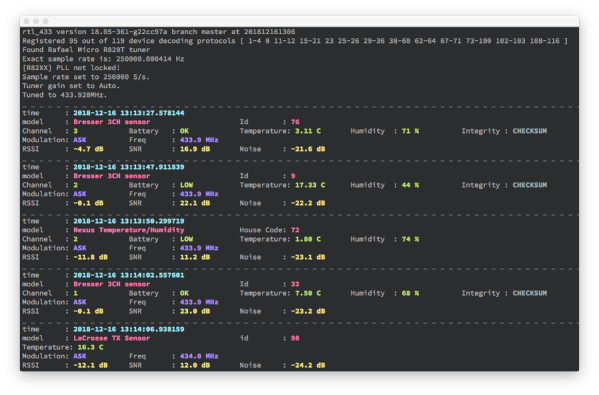
[Mooneer] works as a software developer and contributes to a project called FreeDV (free digital voice), a digital voice mode for HF radio. FreeDV first compresses the digital audio stream, then converts it into a modulation scheme sent out over a radio. The appeal is that this can be understandable down to very low signal-to-noise ratios and includes metadata and all the other niceties that digital signals bring.
Traditionally, this has required a computer to compress the audio and modulate the signal in addition to two sound cards. One card processes the audio in and out of your headset, and another for the audio coming in and out of the radio. [David Rowe] and [Rick Barnich] developed the SM1000, a portable FreeDV adapter based around the STM32F4 microcontroller. However, flash space was running low, and the cost was more than they wanted. Continue reading “Supercon 2022: Mooneer Salem Goes Ham With An ESP32”