Film scanners are a useful tool for digitizing slides and negatives, and the Plustek 8100 that [Christian Chapman] had was capable, but limited to small format film only. Rather than pay for a much more expensive medium format scanner that could handle 120 film, he modified his 8100 to accomplish the same thing with a combination of good old software and hardware tampering.
 On the software side, [Christian] modified a driver for the Plustek 8100 so that it sweeps the scan head further than usual. At the application level, to scan medium format frames, it does a total of four scans: one for each quadrant. The results get stitched together in software with a thoughtfully-designed shell script that provides previews and handles failures and restarts gracefully.
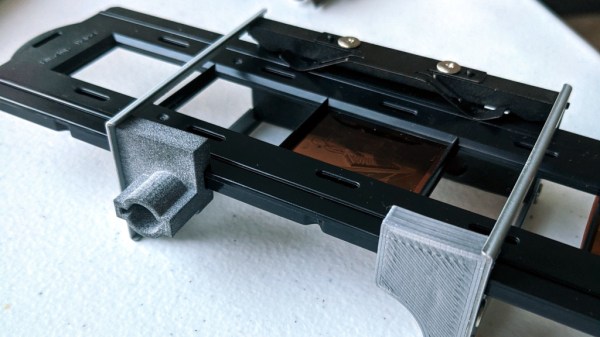
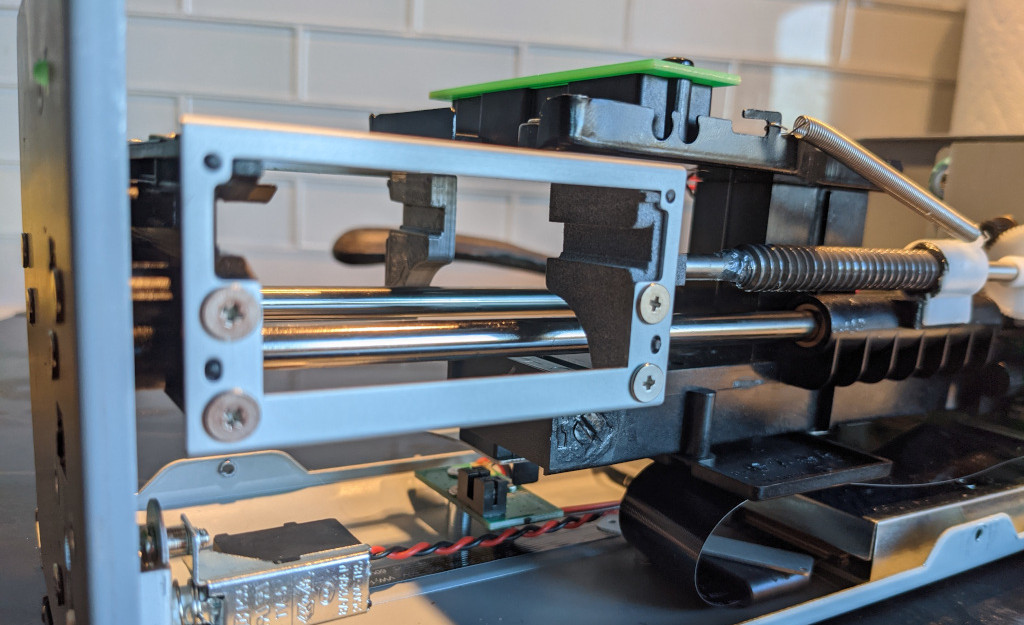
Hardware-wise, the scanning carriage needs modification to ensure nothing interferes with the scan head as it moves further than originally designed. Some CAD and 3D printing made short work of this. Incidentally, this hardware mod is an excellent demonstration of one of the core strengths of 3D printing: the ability to make geometrically-straightforward objects that would nevertheless be troublesome or impractical to construct in any other way.