For about as long as hackers and makers have been using desktop 3D printers, there have been critics that say the plastic parts they produce aren’t good for much else than toys and decorative pieces. They claim that printed parts are far too fragile to be of any practical use, and are better suited as prototype placeholders until the real parts can be injection molded or milled. Sure. Try telling that to [Engineering Nonsense].
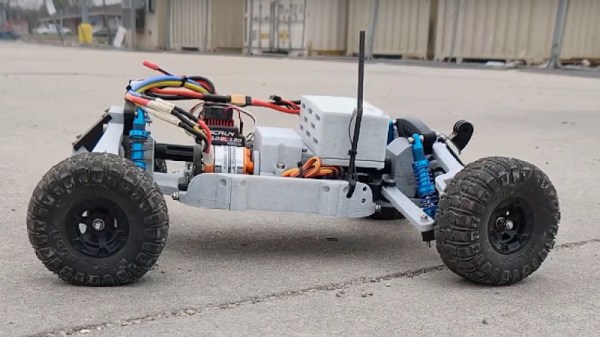
He recently wrote in (as did a few other people, incidentally) to share the latest version of his incredible 3D printed remote control car, and seeing it tearing around in the video after the break, “fragile” certainly isn’t a word we’d use to describe it. Though it didn’t get that way overnight. The Tarmo4 represents a year of development, and as the name suggests, is the fourth version of the design.
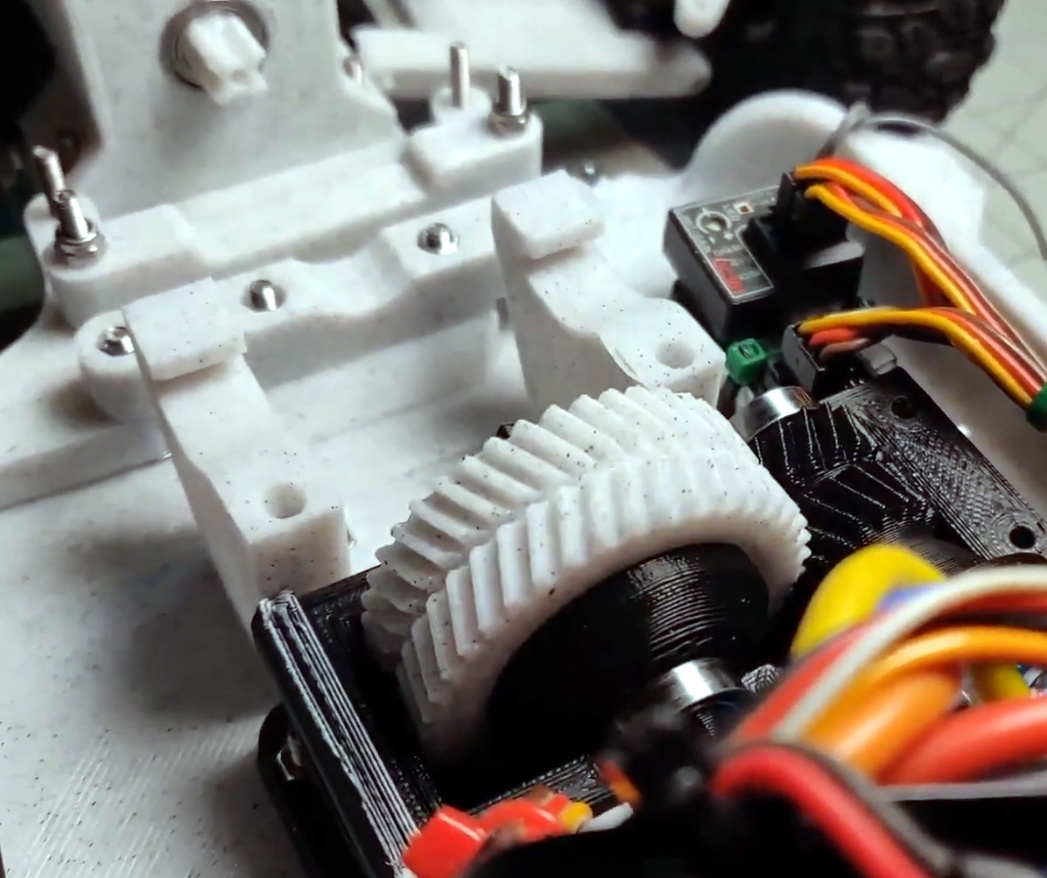 We know the purists out there will complain that the car isn’t entirely 3D printed, but honestly, it’s hard to imagine you could get much closer than this. Outside of the electronics, fasteners, tires, and shocks, the Tarmo4 is all plastic. That includes the gearbox and drive shafts. [Engineering Nonsense] even mentions in the video that he’s not happy with the tires he’s found on the market, and that they too will likely get replaced with printed versions in the future.
While the car is certainly an incredible technical achievement, what’s perhaps just as impressive is the community that’s developed around it in such a relatively short time. Towards the end of the video he shows off a number of custom builds based on previous iterations of the Tarmo. We’re sure that interest from the community has played a part in pushing the design forward, and it’s always good to see a one-off project become something bigger. Hopefully we’ll be seeing even more from this passionate community in the near future.
Just like the Open R/C Project, Tarmo proves that 3D printed parts are more than a novelty. If these diminutive powerhouses can run with printed gears and drive shafts, then you shouldn’t have anything to worry about when you run off the parts for your next project.
Continue reading “The Evolution Of A 3D Printed Off-Road R/C Car”