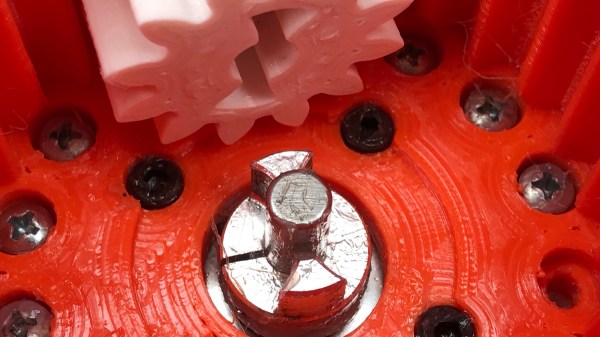
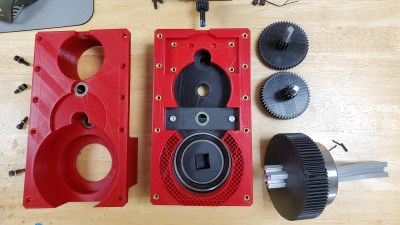
Interfacing a shaft to a 3D printed gear doesn’t have to be tricky. [Tlalexander] demonstrated a solution that uses one half of a spider coupling (or jaw coupling) to create an effective modular attachment. The picture above (and this older link) shows everything you need to know: the bottom of the coupling is mounted to the shaft, and a corresponding opening is modeled into the the 3D printed part. Slide the two together, and the result is a far sturdier solution than trying to mate a 3D printed gear directly to a motor shaft with a friction fit or a screw. This solution isn’t necessarily limited to attaching gears either, any suitable 3D printed part could be interfaced to a shaft in this way.
 These couplings are readily available, and fortunately for hobbyists, come in sizes specifically designed for common stepper motors like NEMA 17 and NEMA 23. Ironically, these couplings are often used when building custom 3D printers for those same reasons. With this method interfacing anything at all to a motor shaft becomes mostly a matter of modeling a matching hole out of the part to be 3D printed. One coupling even provides two such attachments, since only one of the two sides is used.
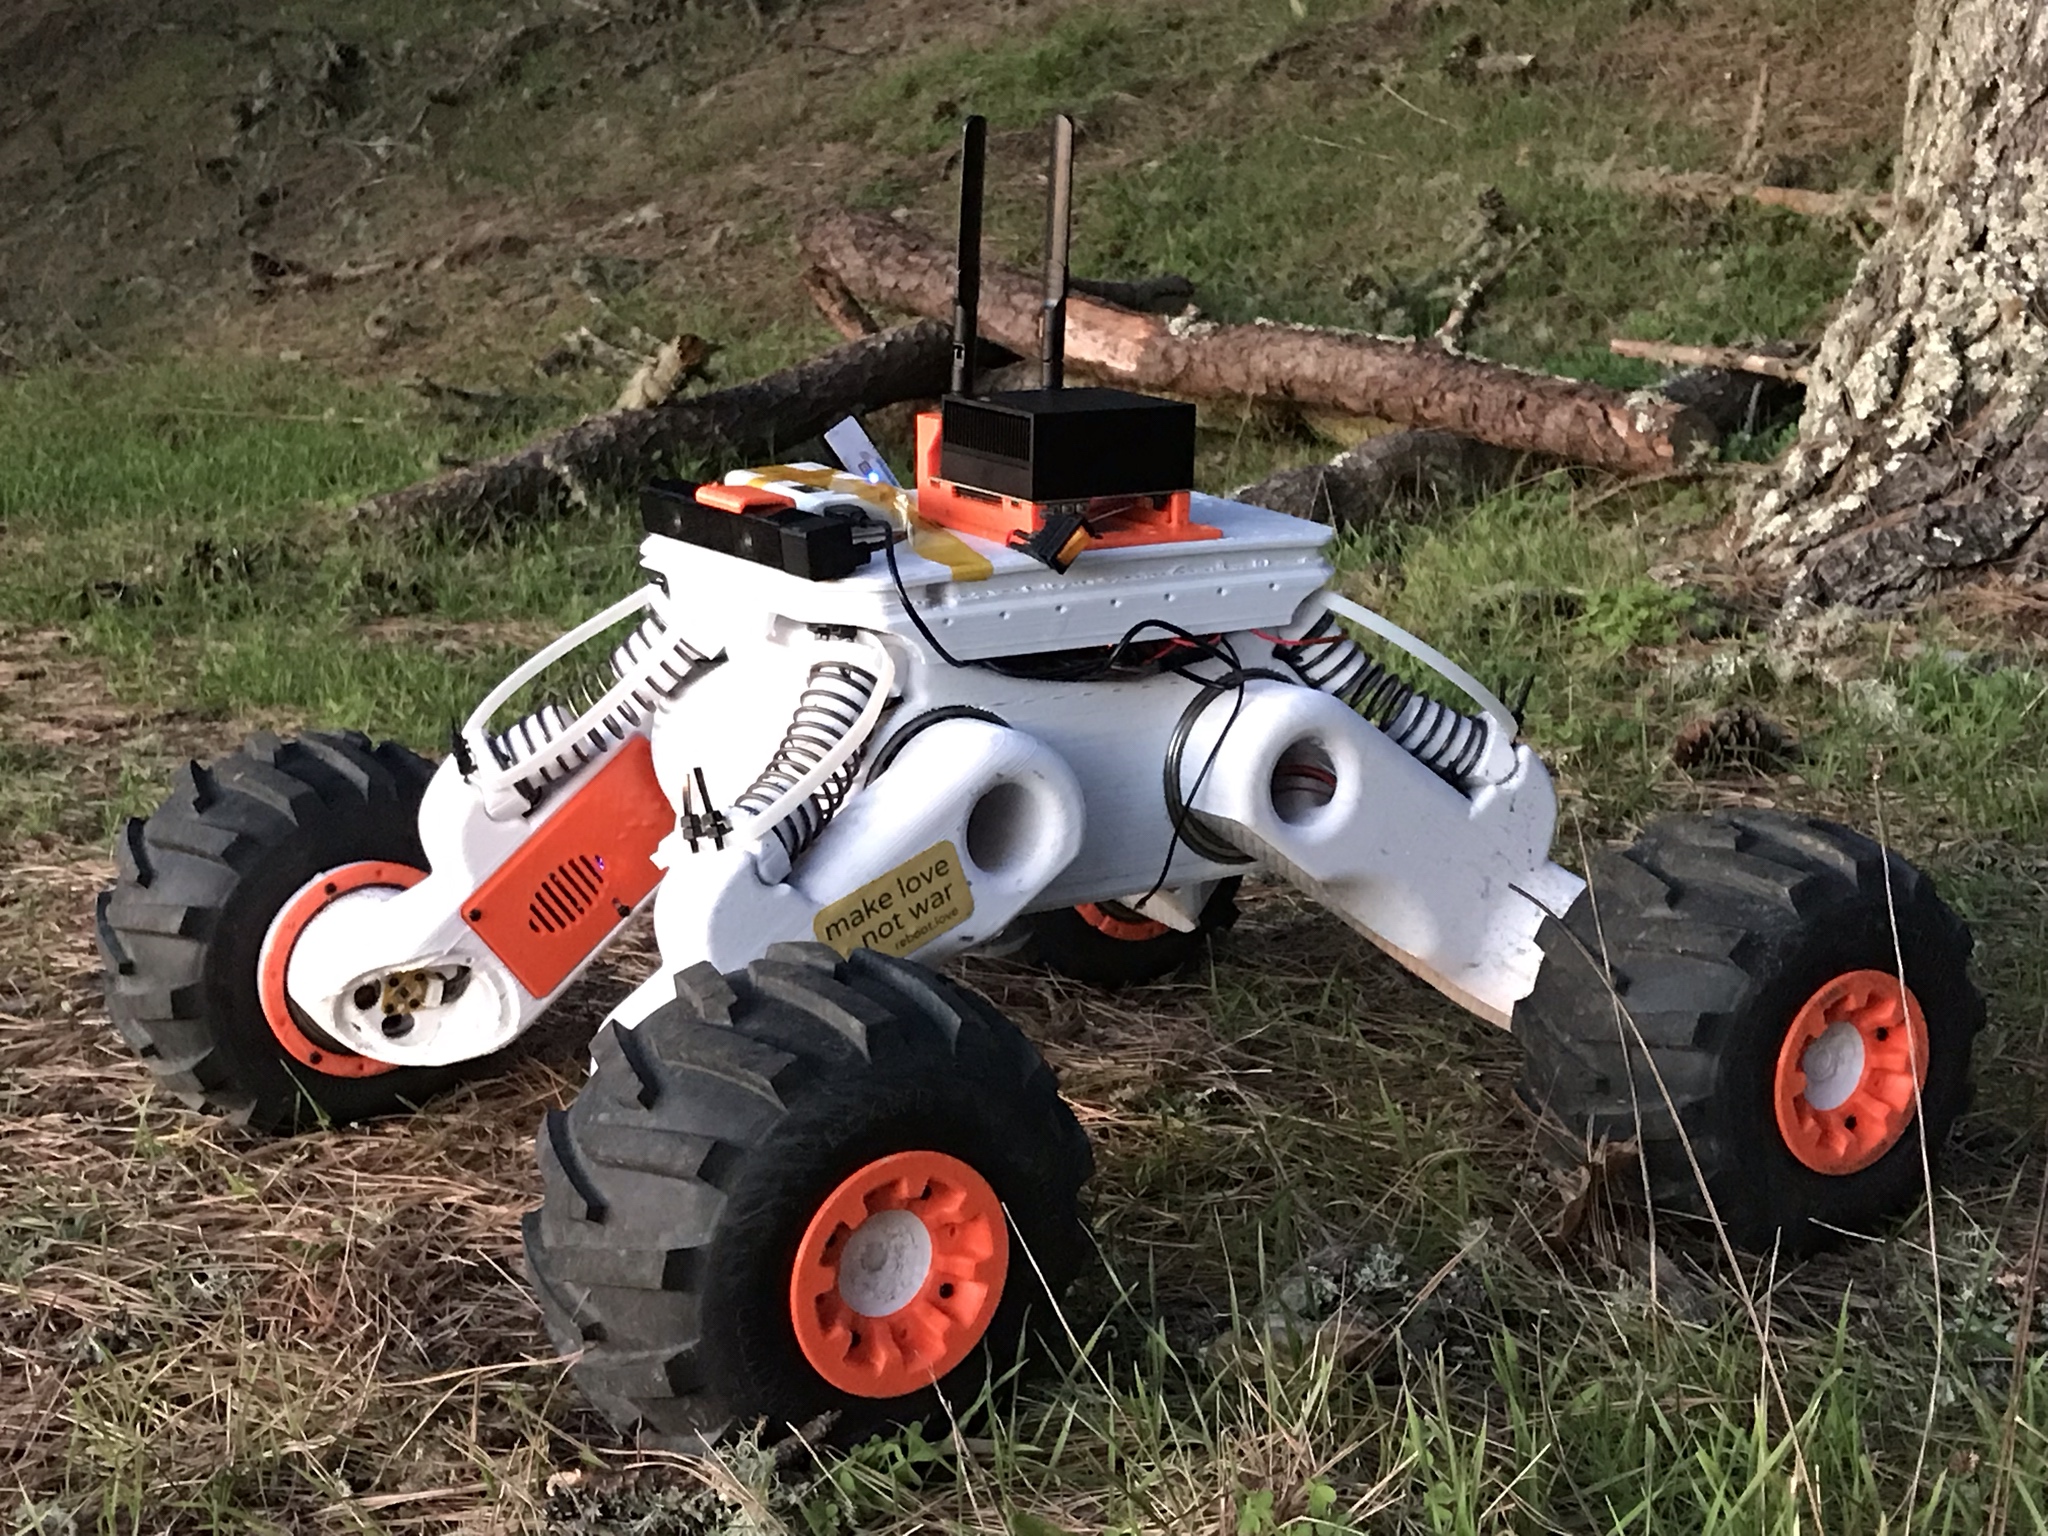
The image up top is from [Tlalexander]’s Rover image gallery, which contains a ton of fantastic pictures of the work that went into the gearboxes, a major part of the Rover’s design that we’ve seen in the past.


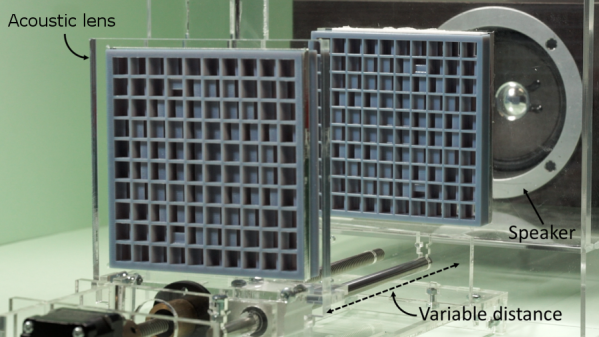
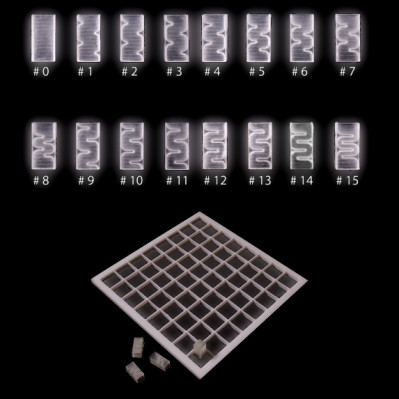 Researchers from the University of Sussex used 3D printing for a modular approach to acoustic lens design. 16 different pre-printed “bricks” (shown here) can be assembled in various combinations to get different results. There are limitations, however. The demonstration lenses only work in a narrow bandwidth, meaning that the sound they work with is limited to about an octave at best. That’s enough for a simple melody, but not nearly enough to cover a human’s full audible range.
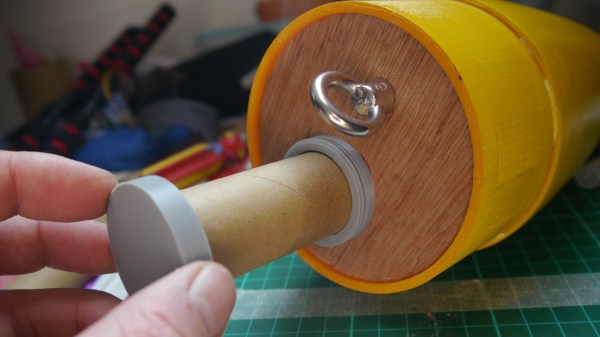
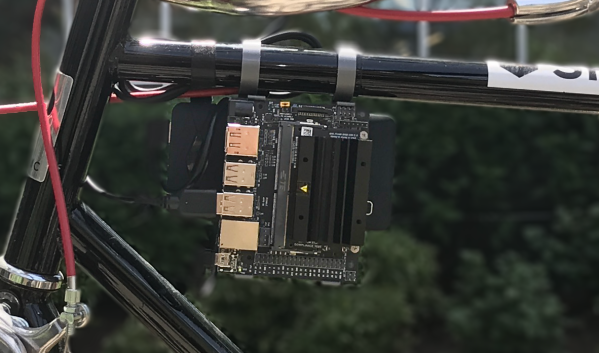
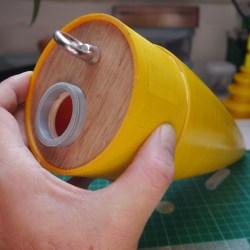 The payload container is a hollow tube with a 3D printed threaded adaptor attached to one end. Payload goes into the tube, and the tube inserts into a hole in the bulkhead, screwing down securely. The result is an easy way to send up something like a GPS tracker, possibly with a LoRa module attached to it. That combination is a popular one with high-altitude balloons, which, like rockets, also require people to retrieve them after not-entirely-predictable landings. LoRa wireless communications have very long range, but that doesn’t help if there’s an obstruction like a hill between you and the transmitter. In those cases,


