It’s not immediately clear to us why one would need a mouse for the original PlayStation (though we’re sure there’s no shortage of folks eager to jump down into the comments and tell us), but if you ever desire adding improved pointing capabilities to the nearly three decade old console, this project from [Vojtěch Salajka] is certainly one to keep an eye on.
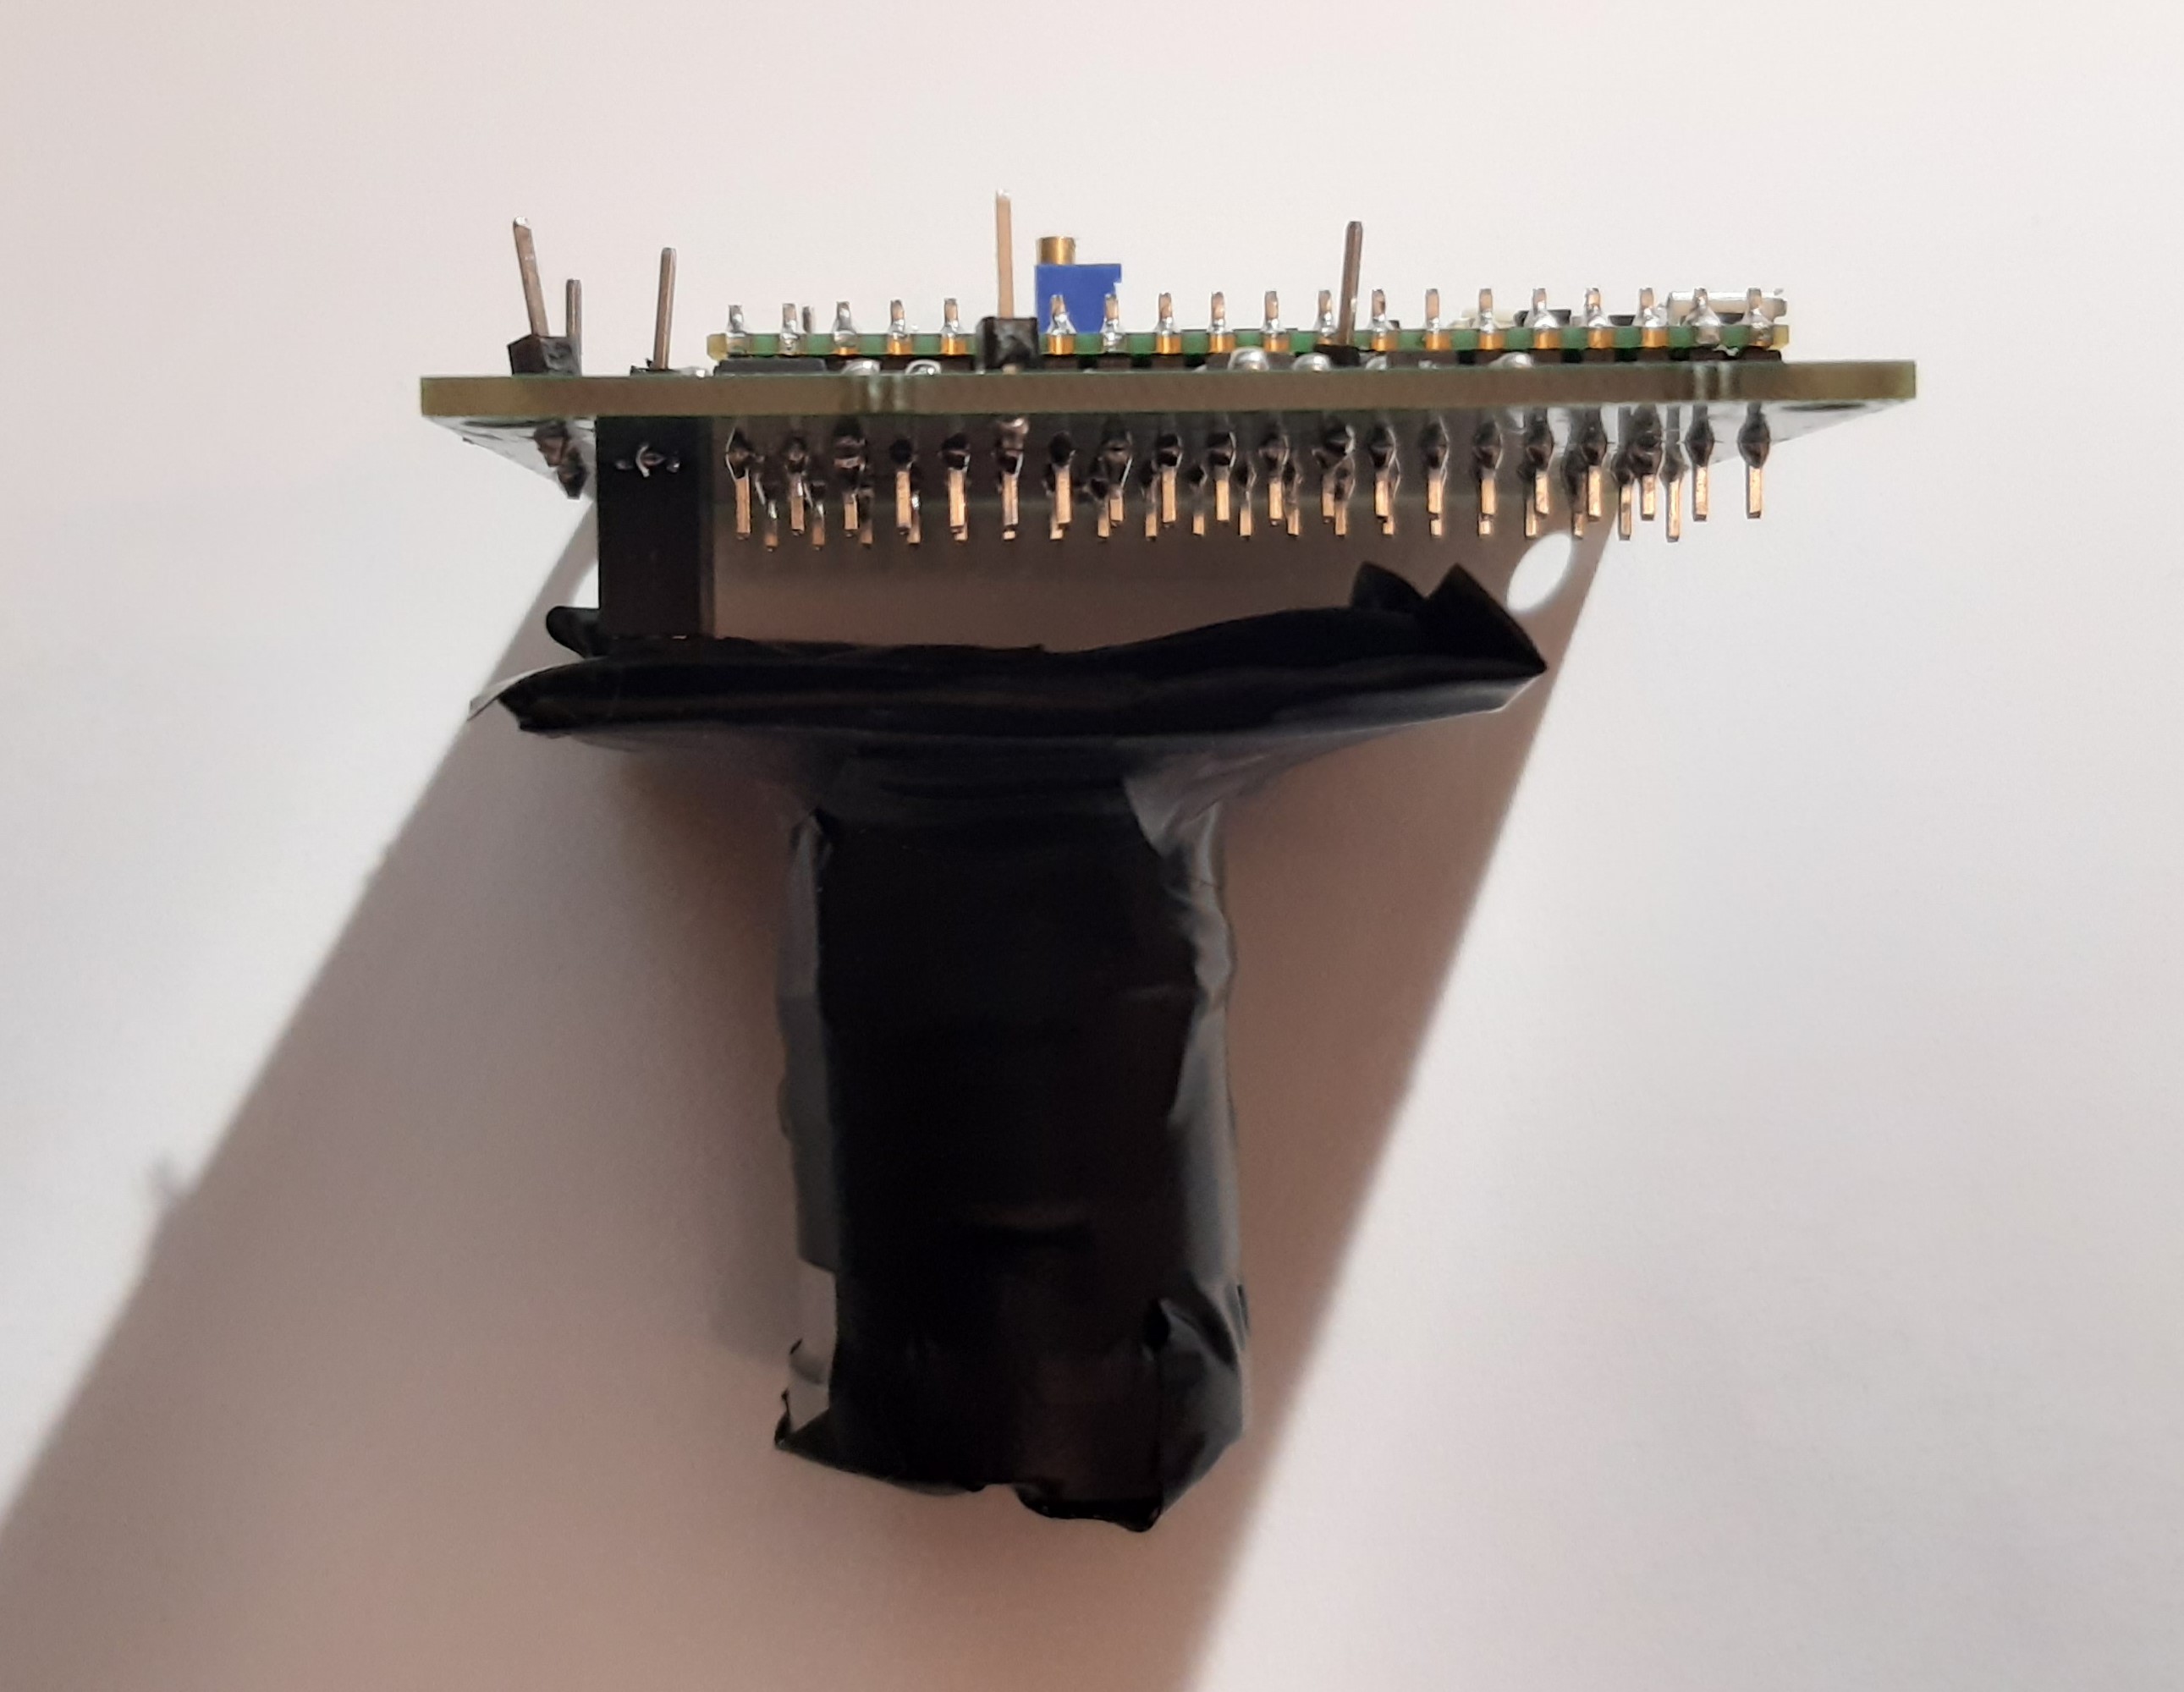
The aptly named “USB to PlayStation Mouse” project does exactly what it sounds like — adapts a generic USB mouse into an input device for Sony’s classic console. Putting one together requires a Raspberry Pi Pico, a 5 V DC-DC USB boost module with female USB-A connector, and a sacrificial controller or peripheral to provide the cable and proprietary connector.
With the hardware assembled per the simple wiring diagram, you just plug the Pico into your computer and copy over the firmware file. [Vojtěch] notes that you’ll need to unplug the mouse before attempting to upload the firmware, presumably because the data pins on the two USB ports have been tied together.
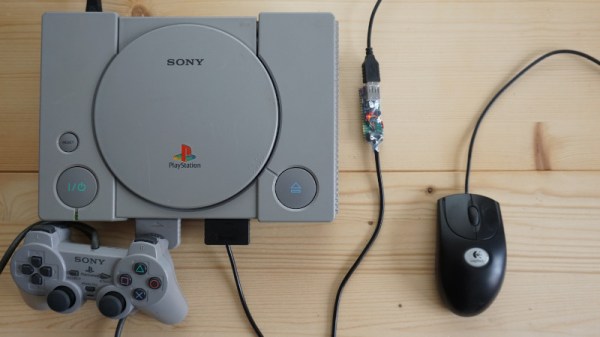
Don’t worry about having to find some obscure title to try out your new peripheral either, [Vojtěch] says the mouse works in the system’s main menu if you boot it without a disc in the drive. Now all you need is a few Raspberry Pi Pico PlayStation Memory Cards to complete the whole set.
In terms of units sold, it’s no secret that the GameCube was one of Nintendo’s poorest performing home consoles. You could argue increased competition meant sales of the quirky little machine were destined to fall short of the system’s legendary predecessors, but that didn’t keep the Wii from outselling it by a factor of five a few years later. Still, enough incredible games were released for the GameCube that the system still enjoys a considerable fanbase.
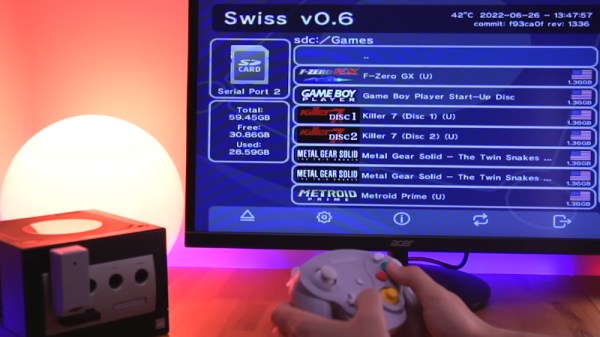
Now, with the release of PicoBoot by [webhdx], we suspect the GameCube is about to gain a whole new generation of fans. With just a Raspberry Pi Pico, some jumper wires, and a widely available third-party SD card adapter, this open source project bypasses the console’s original BIOS so it can boot directly into whatever homebrew application the user selects. With how cheap and easy to perform this modification is, we wouldn’t be surprised if it kicked off something of a renaissance for GameCube homebrew development.
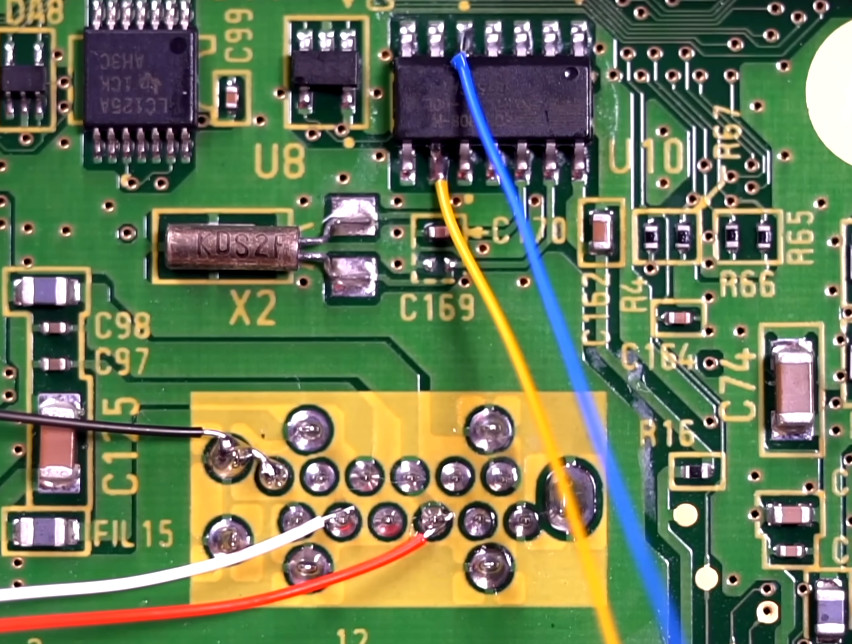
Installation takes just five wires.
In the video after the break, [Tito] of Macho Nacho Productionsprovides a rundown of this new project, including a fantastic step-by-step installation guide that covers everything from soldering the jumper wires to the console’s motherboard to getting the firmware installed on the Pico. He then demonstrates booting the console into various community developed front-ends and tools, showing just how versatile the modification is. While some will see this as little more than an easier way to run bootleg games, we can’t help but be excited about what the future holds now that getting your own code to run on the system is so easy.
Alright, maybe it’s not so easy. To solder on the five wires that will eventually snake their way to the GPIO pins of the Pi Pico, you’ll need to strip the console all the way down to the main board. That wouldn’t be too bad itself, but unfortunately to reach two of the connections you’ll need to remove the system’s massive heatsink — which means you’ll need to clean up the old sticky thermal pads and apply new ones if you don’t want your GameCube to turn into a GameCrisp. It’s nothing that would scare off the average Hackaday reader, but it might give pause to those less handy with an iron.
The release of PicoBoot comes hot on the heels of the revelation that the Raspberry Pi Pico can be used not only as an N64 flash cart but as a supercharged PlayStation Memory Card. These projects would all be significantly improved with a custom RP2040 board, and no doubt that’s the direction they’ll eventually head, but it’s hard not to be impressed by what the low-cost microcontroller development board is capable of in its native form. Especially now that it comes in WiFi flavor.
It’s almost hard to believe these days, what with modern game consoles packing terabytes of internal storage, but there was a time when the totality of your gaming career would be stored on an external memory card that held just a few megabytes of save data. Of course, before that you had to write down a sequence of random letters and numbers to pick up where you left off, but that’s a story for another day.
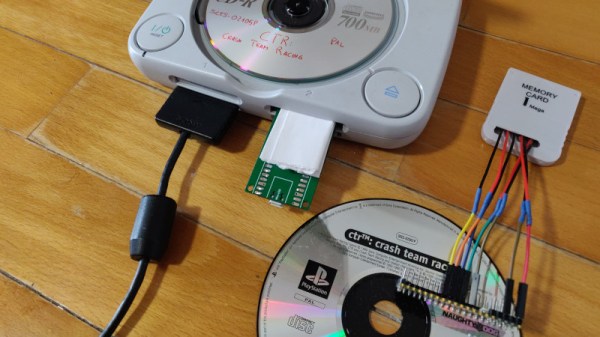
While the memory card concept might be quaint to the modern gamer, its modular nature does provide the hacker with some interesting avenues to explore. For example, take a look at the very impressive PicoMemcard project from [Daniele Giuliani]. Hardware wise, it doesn’t get much simpler than this. You just take the PCB from a cheap (or dead) PlayStation memory card, and solder seven jumpers to the edge connector contacts so you can plug them into the Pico. Then you’ve just got to upload the firmware to the Pico, and you’re done. Continue reading “Raspberry Pi Pico Replaces PlayStation Memory Card”→
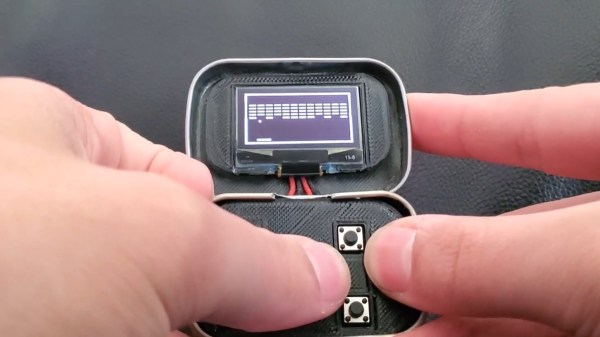
It’s said that good things come in small packages, which is hard to deny when we look at all the nifty projects out there that were built into an Altoids tin. Now, if that’s already true for the regular sized box, we can be doubly excited for anything crammed into their Smalls variety ones, which is what [Kayden Kehe] decided to use as housing for his mintyPico, a tiny gaming console running homebrew versions of Snake, Breakout, Pong, and a few more.
As the “Pico” might have already given away, the project is built around a Raspberry Pi Pico board, and being intended as portable device, [Kayden] went with a version that also houses LiPo battery charging circuitry. A set of 3d-printed parts pack the board along with a matching battery and a button panel neatly into the tin itself, while a size-appropriate SSH1106 OLED goes into the lid. All design files along with the MicroPython code of the games can be found on the project’s GitHub page.
You may have felt this strange sense of familiarity when you read the project’s name, and indeed, the mintyPi gaming console was a major inspiration for [Kayden] here, as was the Pico Snake project. Considering this was his junior year high school project, this is certainly an impressive and nice mash-up of those two projects.
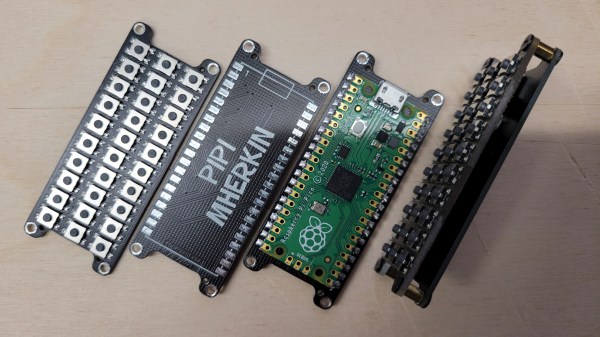
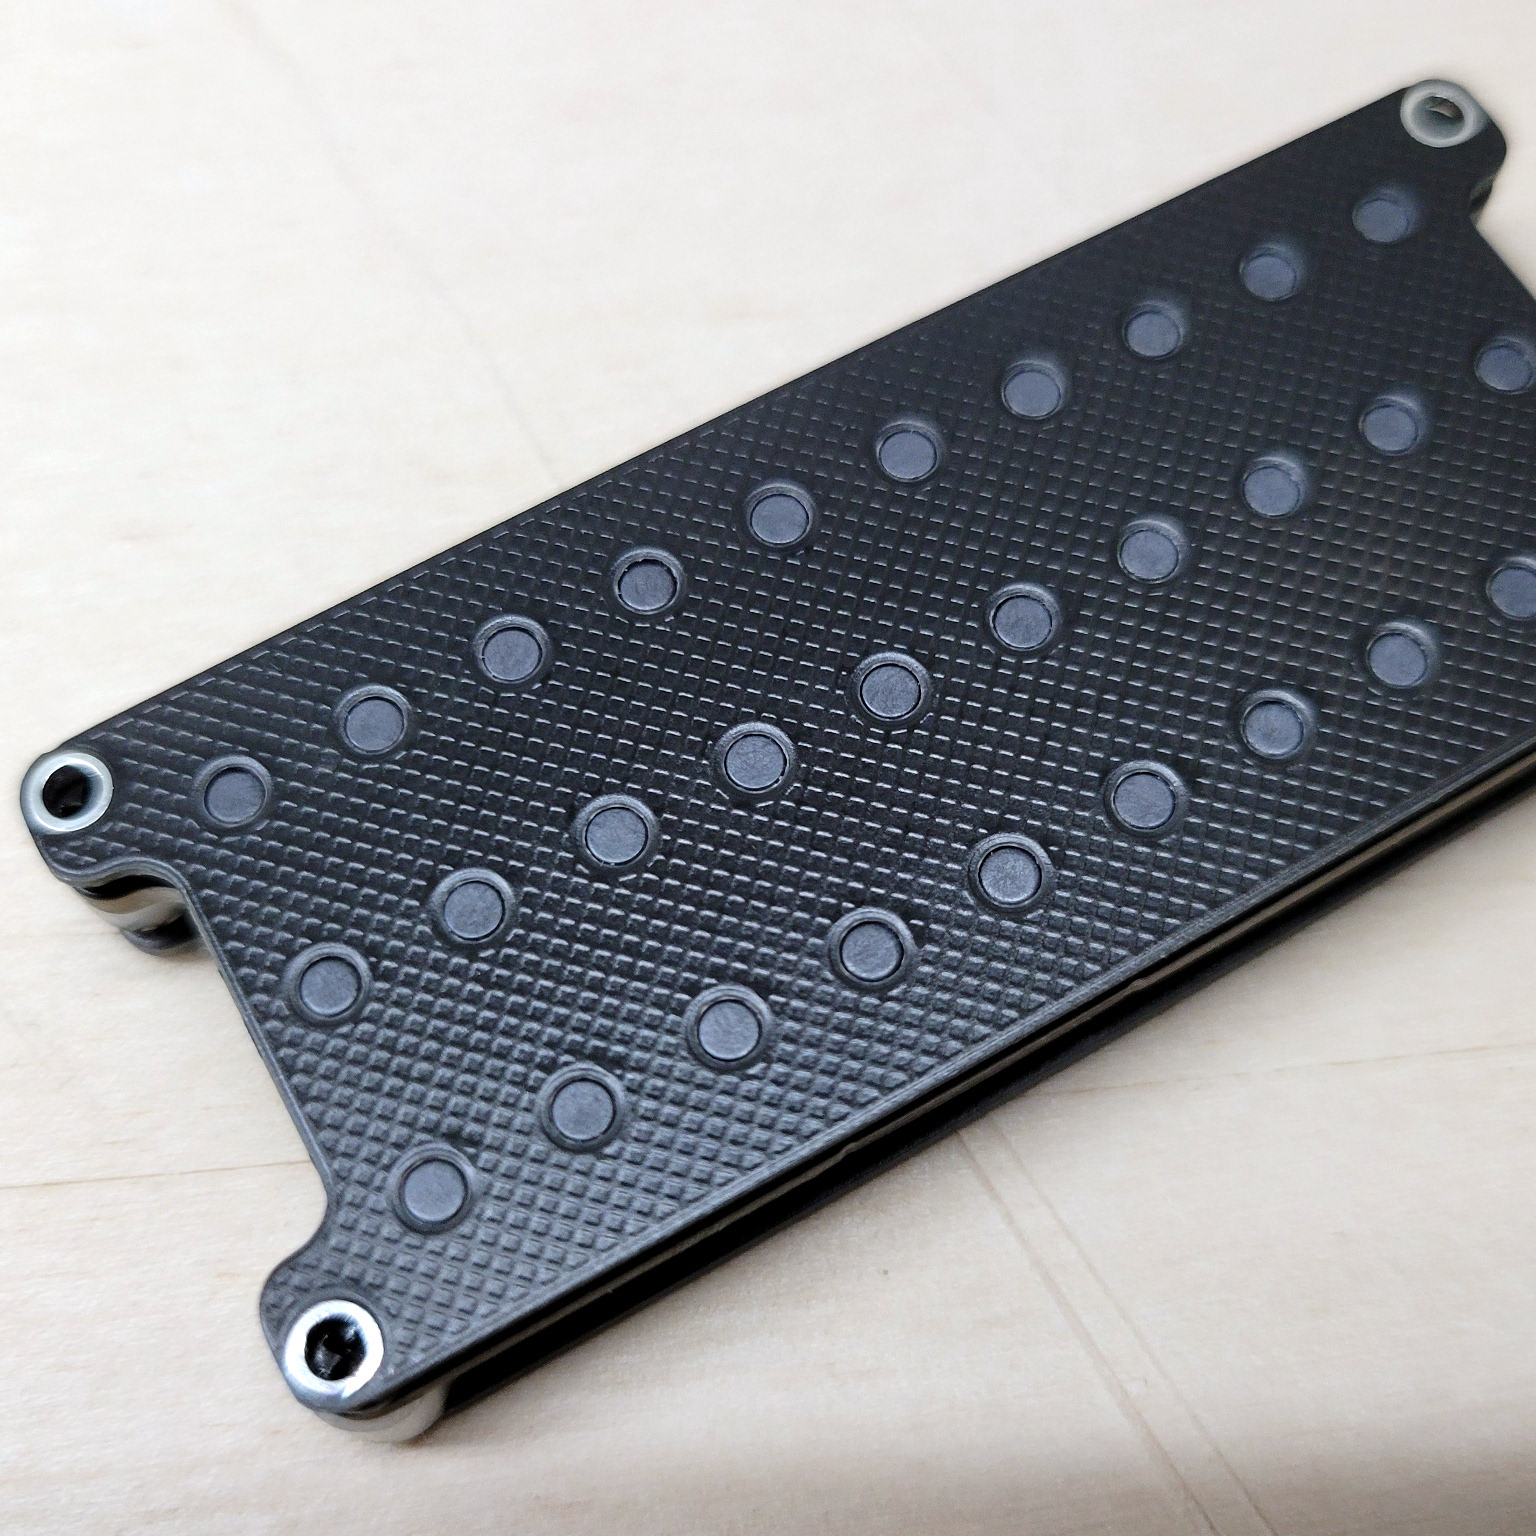
The PiPi Mherkin really, really can’t get much smaller. The diminutive keyboard design mounts directly to the Pi Pico responsible for driving it, has a similar footprint, and is only about 9 mm thick. It can’t get much smaller since it’s already about as small as the Pi Pico itself.
Running on the Pi Pico is the PRK firmware, a keyboard framework that makes the device appear as a USB peripheral, checking the “just works” box nicely. The buttons here look a little sunken, but the switches used are available in taller formats, so it’s just a matter of preference.
We have to admit the thing has a very clean look, but at such a small size we agree it is perhaps more of a compact macropad than an actual, functional keyboard. Still, it might find a place in the right project. Design files are online, if you’re interested.
If you like small, compact keyboards but would prefer normal-sized keys, check out the PiPi Mherkin’s big brother, the PiPi Gherkin which gets clever with dual-function tap/hold keys to provide full functionality from only 30 keys, with minimal hassle.
The build uses a Raspberry Pi Pico, which employs PWM to control the speed of the tape drive’s motor. This is achieved with the use of an NPN transistor driven by the PWM output of the Pico. This allows accurate control of motor speed, and thus pitch.
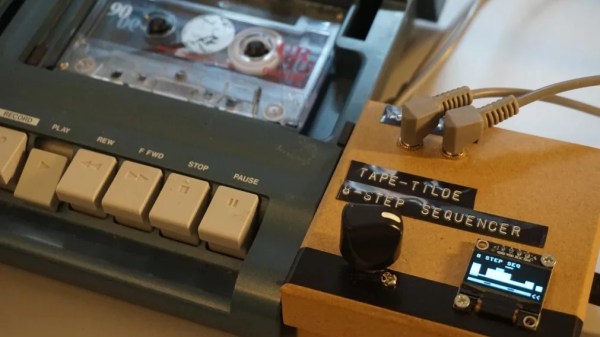
With that sorted out, the project was fleshed out with an OLED screen and a rotary encoder. These allow various patches or scripts to be run on the Pico, controlling the motor speed of the tape player in various ways. With a bit of work, [Issac] was also able to create a function that converted MIDI note values into PWM values that determine various motor speeds.
The natural thing to do next was to put in a tape with a looping sample at a set pitch, and then vary it in a sequence controlled by the Pico. The 8 steps of the sequence can be manually set with the rotary control, and in future, [Issac] even plans to add a real MIDI input, allowing the system to act as a monophonic synth.
If you prefer other routes to pitch shifting shenanigans, check out this project. Video after the break.
If you’re a radiation enthusiast, chances are you’ve got a Geiger counter lying around somewhere. While Geiger counters are useful to detect the amount of radiation present, and with a few tricks can also distinguish between the three types of radiation (alpha, beta and gamma), they are of limited use in identifying radioactive materials. For that you need a different instrument called a gamma-ray spectrometer.
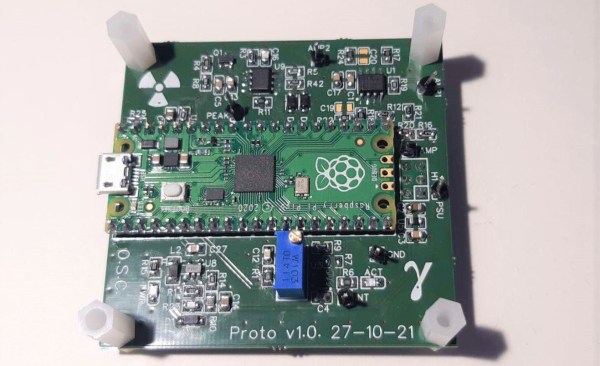
Spectrometers are usually expensive and complex instruments aimed at radiation professionals. But it doesn’t have to be that way: physics enthusiast [NuclearPhoenix] has designed a hand-held gamma spectrometer that’s easy to assemble and should fit in a hobbyist budget. It outputs spectral plots that you can compare with reference data to identify specific elements.
The scintillator and sensor are wrapped in black tape to block out ambient light.
The heart of the device is a scintillation crystal such as thallium-doped sodium iodide which converts incoming gamma rays into visible light. The resulting flashes are detected by a silicon photomultiplier whose output is amplified and processed before being digitized by a Raspberry Pi Pico’s ADC. The Pico calculates the pulses’ spectrum and generates a plot that can be stored on its on-board flash or downloaded to a computer.
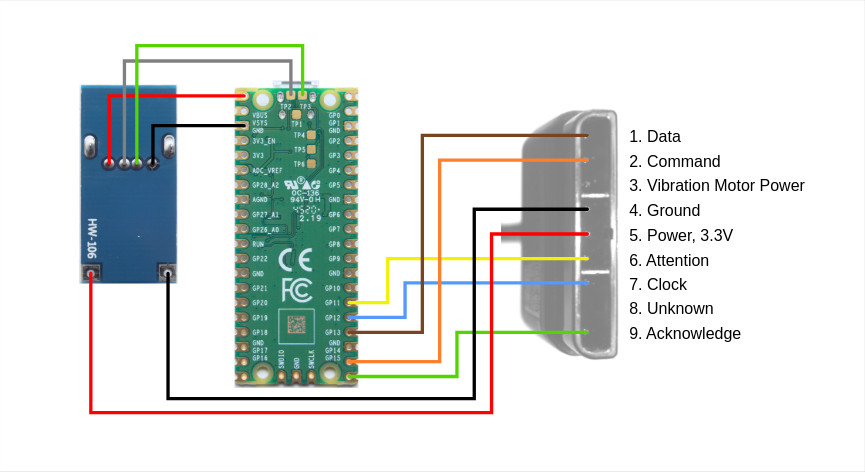 The aptly named “USB to PlayStation Mouse” project does exactly what it sounds like — adapts a generic USB mouse into an input device for Sony’s classic console. Putting one together requires a Raspberry Pi Pico, a 5 V DC-DC USB boost module with female USB-A connector, and a sacrificial controller or peripheral to provide the cable and proprietary connector.