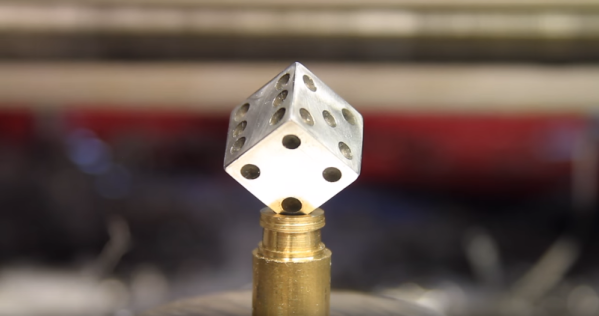
Though much of it is hidden from view, welding is a vital part of society. It’s the glue that holds together the framework of the cars we drive, the buildings we occupy, the appliances we use, and the heavy machinery that keeps us moving forward. Every year, the tireless search continues for stronger and lighter materials to streamline our journey into the future of transportation and space exploration.
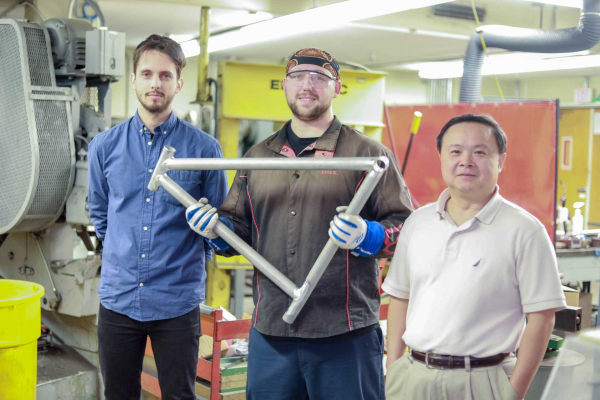
Some of these futuristic materials have been around for decades, but the technology needed to weld them lagged behind. A group of researchers at UCLA’s Samueli School of Engineering recently found the key to unlocking the weldability of aluminium alloy 7075, which was developed in the 1940s. By adding titanium carbide nanoparticles to the mix, they were able to create a bond that proved to be stronger than the pieces themselves.
Continue reading “Nanoparticles Make Mega Difference For “Unweldable” Aluminum”
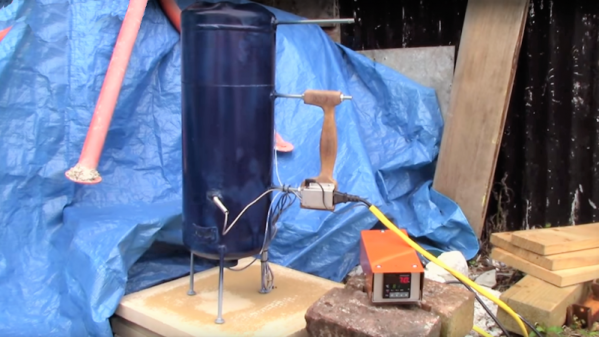
 Sure, electric foundries lack some of the sex-appeal of gas- or even charcoal-fueled foundries, but by eschewing the open flames and shooting sparks, [Turbo Conquering Mega Eagle] was able to integrate the crucible into the foundry body and create what looks for all the world like a Thermos bottle for molten aluminum.
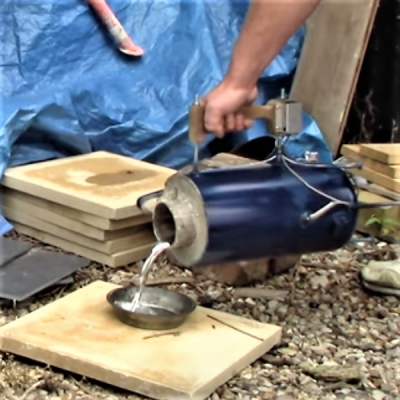


