Measuring air quality at any particular location isn’t too complicated. Just a sensor or two and a small microcontroller is generally all that’s needed. Predicting the upcoming air quality is a little more complicated, though, since so many factors determine how safe it will be to breathe the air outside. Luckily, though, we don’t need to know all of these factors and their complex interactions in order to predict air quality. We can train a computer to do that for us as [kutluhan_aktar] demonstrates with a machine learning-capable air quality meter.
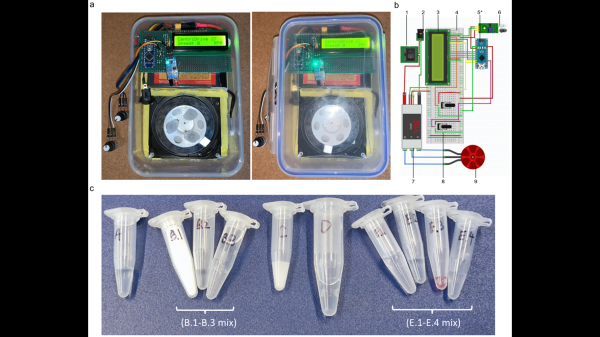
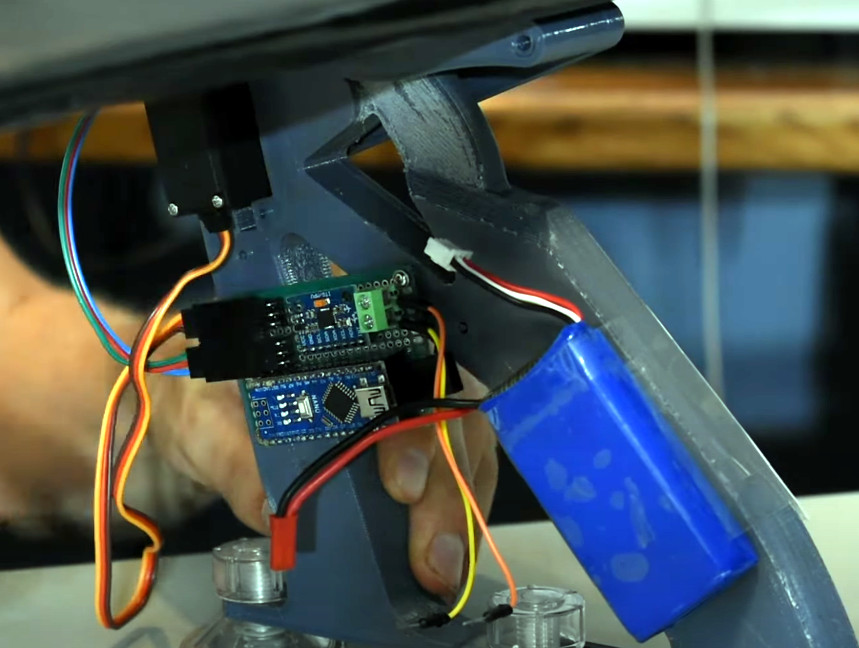
The build is based around an Arduino Nano 33 BLE which is connected to a small weather station outside. It specifically monitors ozone concentration as a benchmark for overall air quality but also uses an anemometer and a BMP180 precision pressure and temperature sensor to assist in training the algorithm. The weather data is sent over Bluetooth to a Raspberry Pi which is running TensorFlow. Once the neural network was trained, the model was sent back to the Arduino which is now capable of using it to make much more accurate predictions of future air quality.
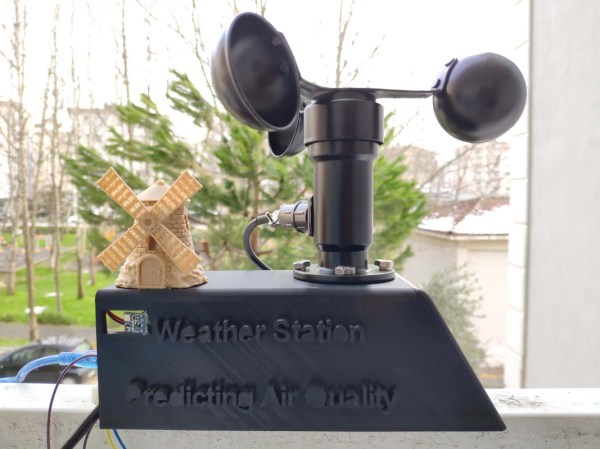
The build goes into quite a bit of detail on setting up the models, training them, and then using them on the Arduino. It’s an impressive build capped off with a fun 3D-printed case that resembles an old windmill. Using machine learning to help predict the weather is starting to become more commonplace as well, as we have seen before with this weather station that can predict rainfall intensity.