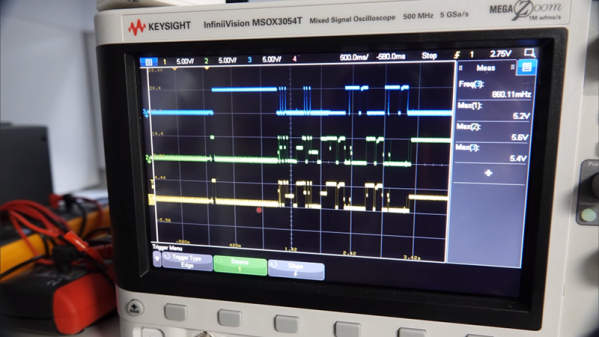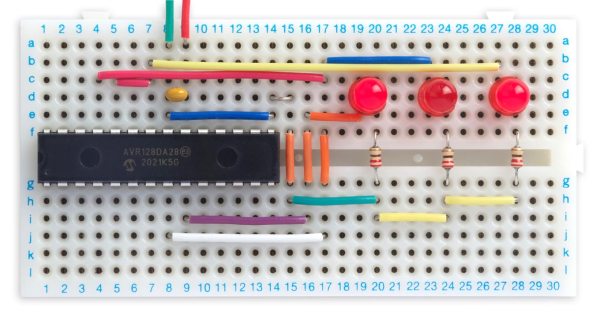
What a time to be alive when you can find inexpensive microcontrollers that come with programmable(ish) logic that can operate independently of the system clock. [David Johnson-Davies] recently built a proof of concept using the Configurable Custom Logic (CCL) that is available in some of the newer AVR microcontroller designs. It’s a simple implementation, a set of frequency dividers that blink three LEDs with up to a 90 MHz input signal. But the simplicity is the reason to love his write-up — you can wrap your head around it right away.
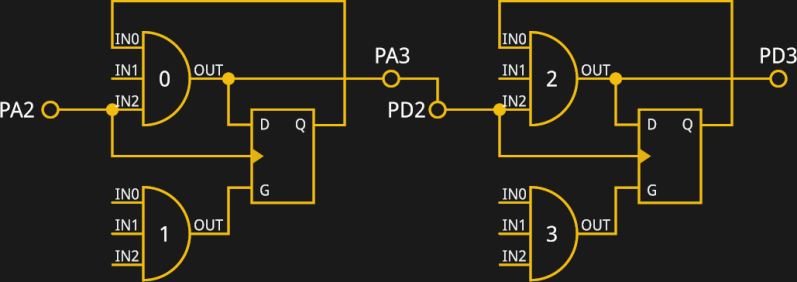
There are four lookup table (LUTs) used to form the frequency divider. Think of these like a NAND or XOR gate, but you get to decide how the output truth tables will perform. The output is fed into a sequencer which can be configured as a D/JK flip-flop or a D/RS latch, plus you can specify the signal edge, and of course define the clock source. An interesting trick here is to hold the G input of both D flip-flops high by feeding them LUTs set to all ones. Note that the output of the first divider (PA3) is feeding the external input (PD2) of the second divider.
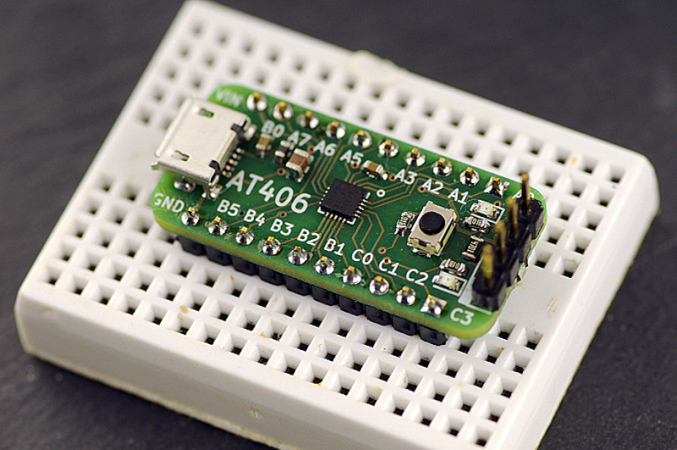
While the CCL is configured using the C code you flash to the microcontroller, it’s a hardware peripheral capable of operating independent of the chip’s system clock. The AVR128DA28 that’s used here tops out at 24 MHz (double that if you use the PLL) but [David] got reliable results from his clock divider feeding a signal as high as 90 MHz to the input pin. Of course you have the option of feeding internal clock signals to the CCL, but that wouldn’t seem nearly as interesting here. For the demo, [David] is actually toggling an IO pin which is connected to PA2 as the external input for the logic. Make sure you click through to his write-up linked above as he does an excellent job of walking through the sample code (just a couple-dozen lines to set this all up). Here’s the datasheet for this chip (PDF, page 447 for pertinent registers) and for a deeper dive the appnote on CCL (PDF).
So what is this all good for? We already saw an answer to that question back in January when [SM6VFZ] used the CCL peripheral to build a software-defined switch-mode converter. How awesome is that?