Upgrading the memory in a computer is usually a straightforward case of swapping out a few DIMMs or SODIMMs, with the most complex task being to identify the correct type of memory from the many available. But sometimes a laptop manufacturer can be particularly annoying, and restrict upgradability by soldering the RAM chips directly to the board. Upgrading memory should then be impossible, but this reckons without the skills of [Greg Davill], who worked through the process on his Dell XPS13.
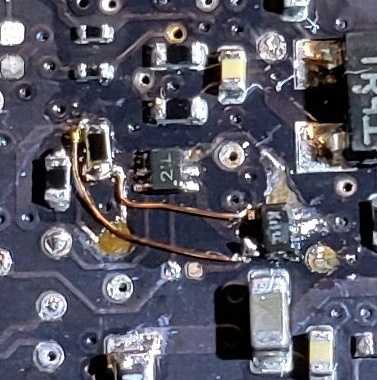
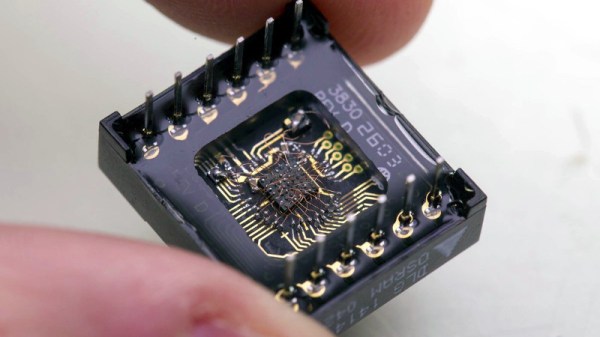
The write-up is a fascinating primer on how DRAM identification works, which for removable DIMMs is handled by an onboard FLASH chip containing the details of the chips on board. A soldered-on laptop has none of these, so instead it employs a series of resistors whose combination tells the BIOS what memory to expect. Some research revealed their configuration, at which point the correct chips were sourced. Surprisingly it’s not as easy as one might expect to buy small quantities of some RAM chips, but he was eventually able to find some via AliExpress. An aside is how he checked the chips he received for fakes, including the useful tip of hiring a dentist to take an x-ray.
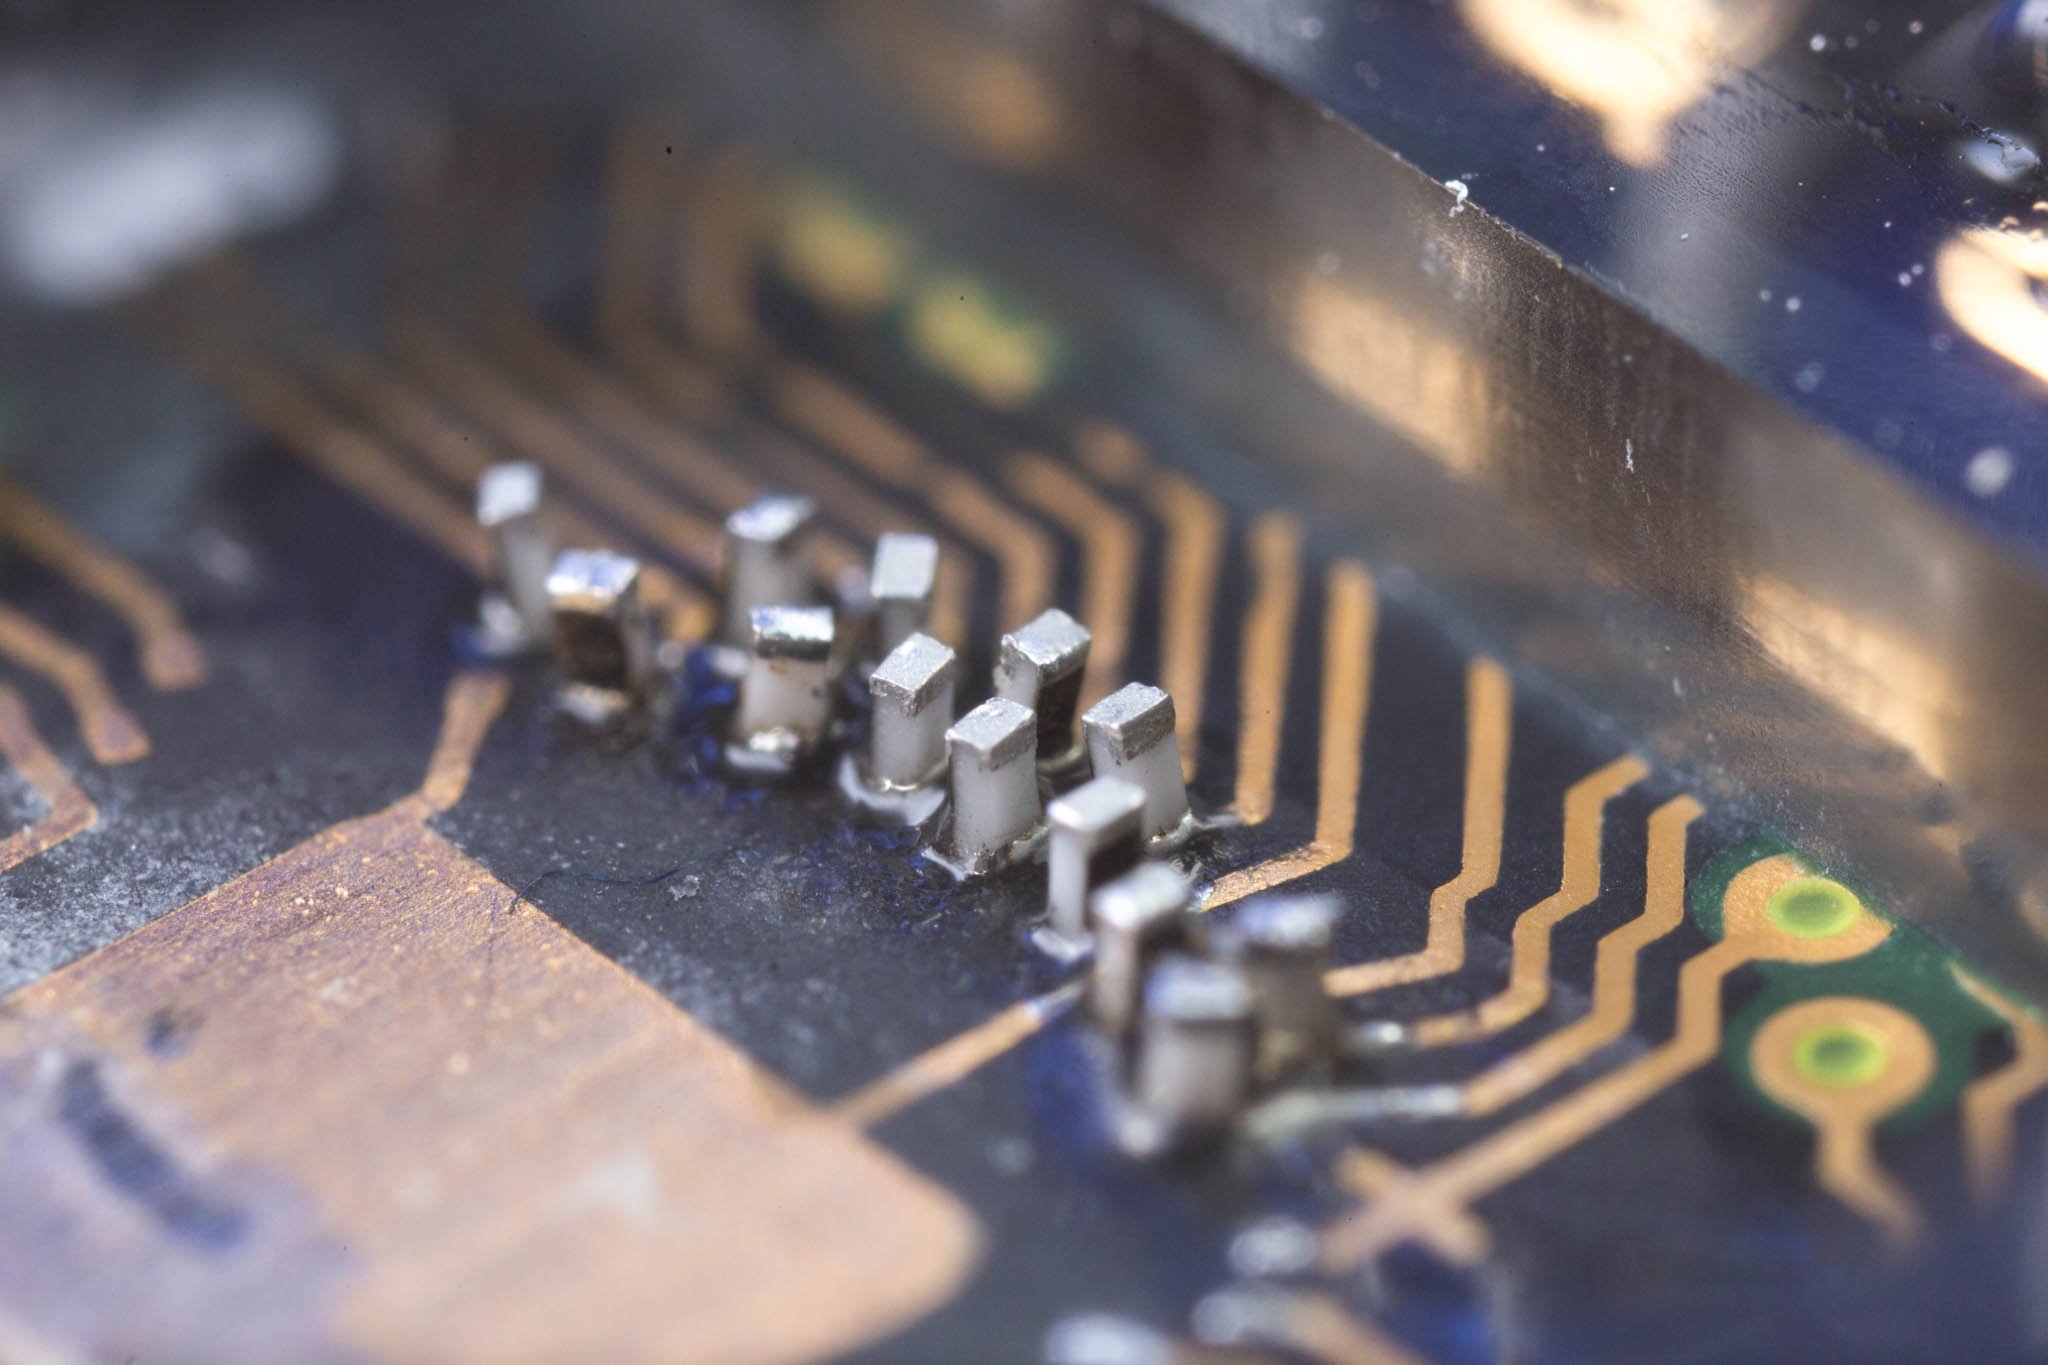
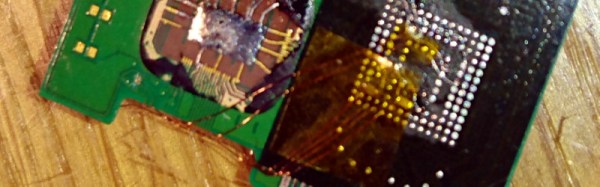
The final step is the non-trivial task of reballing and reworking the new BGAs onto the board, before testing the laptop and finding the process to be a success. We’ll leave you with his final words though: “But next time I think I’ll just buy the 16GB variant upfront.“.
We’ve seen quite a lot of [Greg]’s work here at Hackaday, one of his most recent was this amazing LED D20.