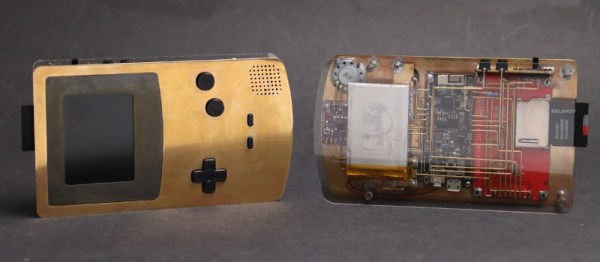
Nintendo’s Game Boy is legendary for being the meat in the handheld gaming revolution, as well as being nigh-on indestructible whether in the custody of children or soldiers in the Gulf War. However, [Jiri] decided to see if he could whip up a tribute of his own, in brass instead of plastic.
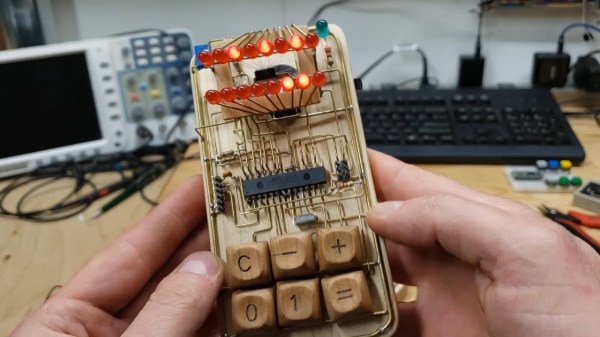
The hardware is based on the Odroid GO emulator firmware for the ESP32, running on a 2.2″ color TFT screen. It’s a great base for a custom build, which avoids gutting any precious classic hardware. It’s then assembled behind front plate milled out of brass, with delicate point-to-point brass wires giving it an artistic circuit sculpture look. The brass did prove difficult to work with at times, acting as a heat sink which prevented easy soldering of the standoffs in place. To get around this, [Jiri] used a hotplate to heat the plate from below, keeping it warm enough so that a hand iron could do the job.
The final result is a fun Game Boy emulator in a stylish case – though one you shouldn’t throw in a back pack lest it short out the exposed conductors. It would make a great gift for any lifelong Nintendo fan. [Jiri] is no strange to circuit sculpture, as we well know – we’ve featured his tools and methods before. Video after the break.

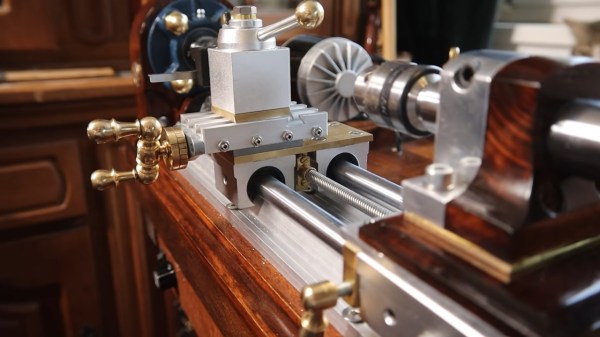
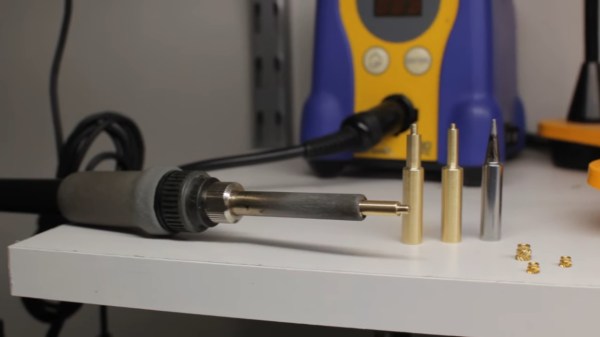
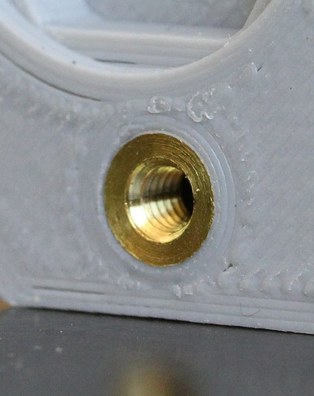 Like many of us, [Sean] has embraced the use of heat-set threaded inserts to beef up the mechanical connections on his 3D-printed parts. [Sean] dedicated a soldering iron to the task, equipping it with a tip especially for the job. But it was the flavor of iron proverbially known as a “fire stick” and he found that this iron was too hot for PLA prints. As the new owner of a lathe, he was able to make quick work of the job using a piece of brass rod stock. Luckily, Hakko tips just slip on the heating element, so no threading operations were needed. [Sean] made insert tips for multiple sized inserts, and the results speak for themselves.