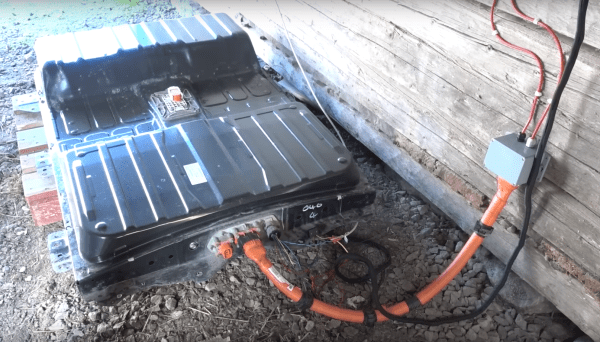
As electric cars continue to see increased adoption, one associated technology that was touted long ago that still hasn’t seen widespread adoption is vehicle-to-grid or vehicle-to-home. Since most cars are parked most of the time, this would allow the cars to perform load-levelling for the grid or even act as emergency generators on an individual basis when needed. While this hasn’t panned out for a variety of reasons, it is still possible to use an EV battery for use off-grid or as part of a grid tie solar system, and now you can do it without needing to disassemble the battery packs at all.
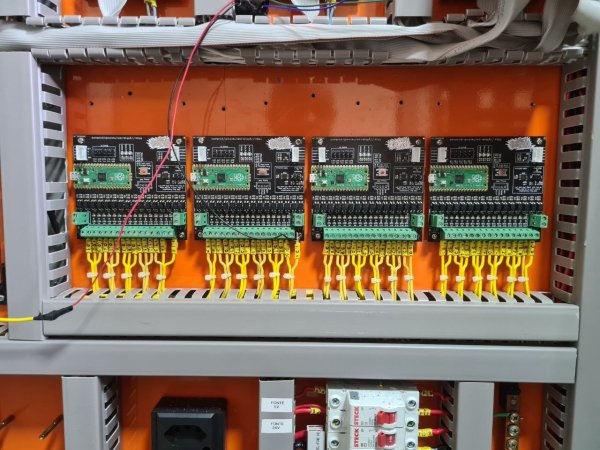
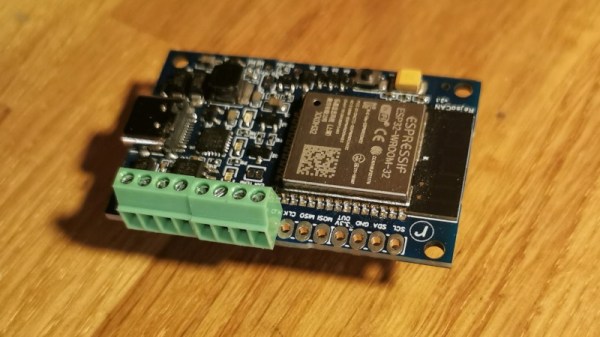
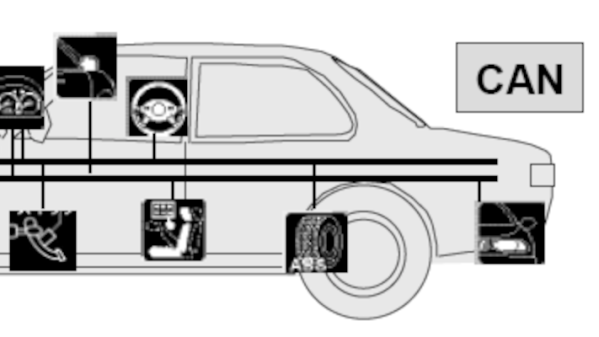
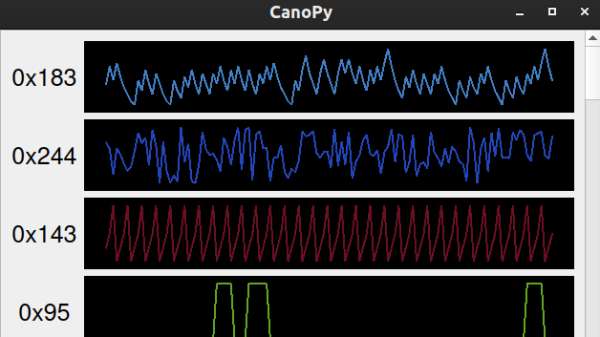
Normally when attempting to use a scrapped EV battery for another use, the cells would be removed from the OEM pack and reorganized to a specific voltage. This build, however, eliminates the need to modify the packs at all. A LilyGO ESP32 is used to convert the CAN bus messages from the battery pack to the Modbus communications protocol used by the inverters, in this case a Fronius Gen24, so the inverter and battery can coordinate energy delivery from one to the other automatically. With the hard part out of the way, the only other requirements are to connect a high voltage DC cable from the battery pack to the inverter.
[Dala], the creator of this project, has taken other steps to ensure safety as well that we’d recommend anyone attempting to recreate this build pays close attention to, as these battery packs contain an extremely large amount of energy. The system itself supports battery packs from Nissan Leafs as well as the Tesla Model 3, which can usually be found for comparably low prices. Building battery energy storage systems to make up for the lack of commercially-available vehicle-to-home systems isn’t the only use for an old EV battery, though. For example, it’s possible to use Leaf batteries to triple the range of other EVs like [Muxsan] did with this Nissan van.