Not Just Your Average DIY Spot Welder

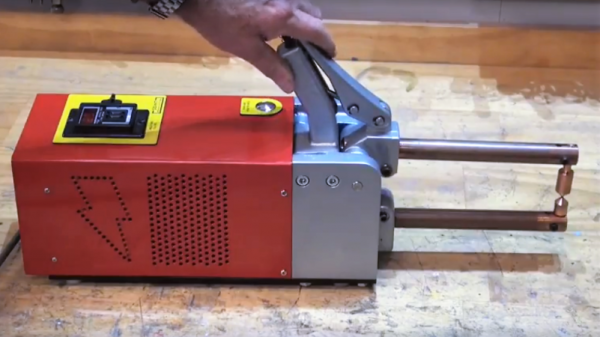
Microwave oven transformer spot welder builds are about as common as Nixie tube clocks around here. But this spot welder is anything but common, and it has some great lessons about manufacturing techniques and how to achieve a next level look.

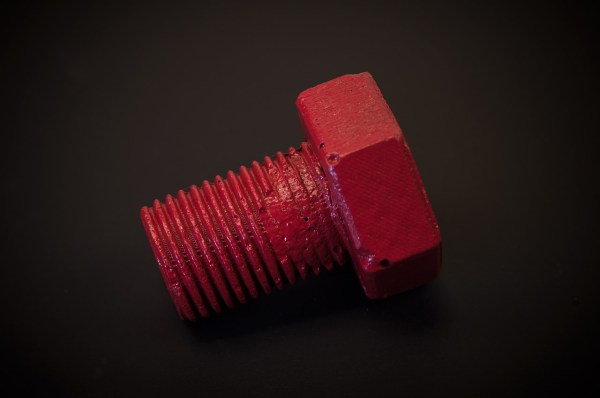
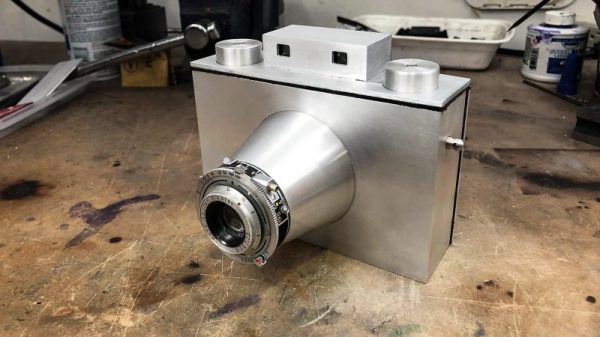
Far warning that [Mark Presling] has devoted no fewer than five videos to this build. You can find a playlist on his YouTube channel, and every one of them is well worth the time. The videos covering the meat of what went into this thing of beauty are below. The guts are pretty much what you expect from a spot welder — rewound MOT and a pulse timer — but the real treat is the metalwork. All the very robust parts for the jaws of the welder were sand cast in aluminum using 3D-printed patterns, machined to final dimensions, and powder coated. [Mark] gives an excellent primer on creating patterns in CAD, including how to compensate for shrinkage and make allowance for draft. There are tons of tips to glean from these videos, and plenty of inspiration for anyone looking to achieve a professional fit and finish.

In the category of Best Appearing Spot Welder, we’ll give this one the nod. Runners-up from recent years include this plastic case model and this free-standing semi-lethal unit.

Continue reading “Not Just Your Average DIY Spot Welder”

An Old Way To Make A New Crank Handle

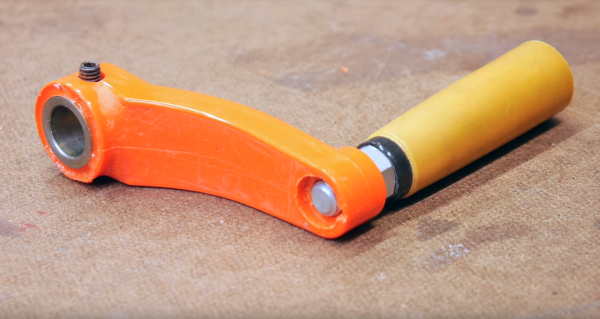
When the crank handle on [Eric Strebel]’s cheapo drill press broke in two, did he design and print a replacement? Nah. He kicked it old school and cast a new one in urethane resin.

In his newest video, [Eric] shows us his approach to molding and casting a handle that’s likely stronger than the original. The old crank handle attached to the shaft with a brass collar and a grub screw, so he planned around their reuse. After gluing the two pieces together and smoothing the joint with body filler, he packs the back of the handle with clay. This is a great idea. The original handle just has hollow ribbing, which is probably why it broke in the first place. It also simplifies the cast a great deal.

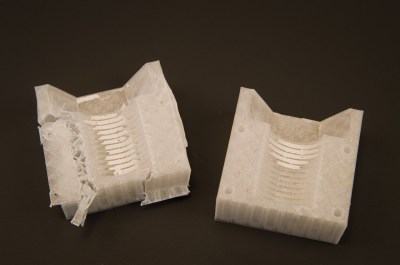
Here’s where things get really interesting. [Eric] planned to make a one-piece mold instead of two halves. At this point it becomes injection molding, so before he gets out the reusable molding box, he adds an injection sprue as an entry point for the resin, and a plug to support the sprue and the handle. Finally, [Eric] mixes up some nice bright Chevy orange resin and casts the new handle. A few hours later, he was back to drilling.

Crank past the break to watch [Eric]’s process, because it’s pretty fun to watch the resin rise in the clear silicone mold. If you want to take a deeper dive into injection molding, we can fill that need.

Continue reading “An Old Way To Make A New Crank Handle”

Junkyard Crossbow Aims To Be A Car Killer

[James], aka [Turbo Conquering Mega Eagle], is not your typical Hackaday poster boy. Most of his builds have a  “Junkyard Wars” vibe, and he’d clearly be a good man to have around in a zombie apocalypse. Especially if the undead start driving tanks around, for which purpose his current anti-tank compound crossbow is apparently being developed.

At its present prototype phase, [James]’ weapon o’ doom looks more fearsome than it actually is. But that’s OK — we’re all about iterative development here. Using leaf springs from a Toyota Hi-Lux truck, this crossbow can store a lot of energy, which is amplified by ludicrously large aluminum cams. [James] put a lot of effort into designing a stock that can deal with these forces, ending up with a composite design of laminated wood and metal. He put a lot of care into the trigger mechanism too, and the receiver sports not only a custom pistol grip cast from aluminum from his fire extinguisher foundry, but a hand-made Picatinny rail for mounting optics. Test shots near the end of the video below give a hint at the power this fully armed and operational crossbow will eventually have. The goal is to disable a running car by penetrating the engine block, and we’re looking forward to that snuff film.

If rubber band-powered crossbows are more your speed, take you pick — fully automatic, 3D-printed, or human-launching.

Continue reading “Junkyard Crossbow Aims To Be A Car Killer”

The Fine Art Of Heating And Cooling Your Beans

They say that if something is worth doing, it’s worth doing right. Those are good words to live by, but here at Hackaday we occasionally like to adhere to a slight variation of that saying: “If it’s worth doing, it’s worth overdoing”. So when we saw the incredible amount of work and careful research [Rob Linnaeus] was doing just to roast coffee beans, we knew he was onto something.

The heart of his coffee roaster is a vortex chamber with an opening on the side for a standard heat gun, and an aperture in the top where an eight cup flour sifter is to be placed. [Rob] modeled the chamber in Fusion 360 and verified its characteristics using RealFlow’s fluid simulation. He then created a negative of the chamber and printed it out on his Monoprice Maker Select 3D printer.

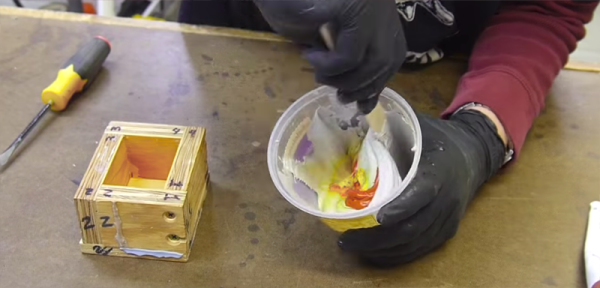
He filled the mold with a 1:1 mix of refractory cement and perlite, and used the back of a reciprocating saw to vibrate the mold as it set so any air bubbles would rise up to the surface. After curing for a day, [Rob] then removed the mold by heating it and peeling it away. Over the next several hours, the cast piece was fired in the oven at increasingly higher temperatures, from 200 °F all the way up to 500 °F. This part is critical, as trapped water could otherwise turn to steam and cause an explosion if the part was immediately subjected to high temperatures. If this sounds a lot like the process for making a small forge, that’s because it basically is. Continue reading “The Fine Art Of Heating And Cooling Your Beans”

Enresoning An IPhone 8 Ring

The iPhone 8 was just released last week, and that means some people were standing in line in front of an Apple store for hours waiting to get their hands on the latest and greatest glowing rectangle. [Patrick Adair] had a better idea: he would stand in front of an Apple store for four hours, then do something productive with his new smartphone. With the help of a waterjet, some resin, a lathe, and some very fine grades of sandpaper, he created the Apple Ring.

Setting aside the whole process of actually acquiring an iPhone 8 on launch day, the process of turning an iPhone into a ring is more or less what you would expect. First, the iPhone was cut into ring-shaped pieces on a waterjet cutter. Special care was taken to avoid the battery, and in the end [Patrick] was able to get a nice chunk ‘o phone that included the camera lens.

This ring piece was then embedded in clear resin. For this, [Patrick] used Alumilite epoxy, a pressure pot, and a toaster oven to cure the resin. Once the phone parts were firmly encased for the rest of eternity, the ring blank moved over to the lathe. The center of the ring was bored out, and the process of sanding, polishing and gluing in all the tiny parts that fell out during the process commenced. The end result actually looks pretty great, and even though it’s probably a little too bulky, it is a remarkable demonstration of the craft of turning.

You can check out [Patrick]’s video below, along with a video from the Waterjet Channel showing the deconstruction of a glowing rectangle.

Continue reading “Enresoning An IPhone 8 Ring”

A Thoughtful Variety Of Projects And Failures

Our friends at [The Thought Emporium] have been bringing us delightful projects but not all of them warrant a full-fledged video. What does anyone with a bevy of small but worthy projects do? They put them all together like so many mismatched LEGO blocks. Grab Bag #1 is the start of a semi-monthly video series which presents the smaller projects happening behind the scenes of [The Thought Emporium]’s usual video presentations.

Solar eclipse? There are two because the first was only enough to whet [The Thought Emporium]’s appetite. Ionic lifters? Learn about the favorite transformer around the shop and see what happens when high voltage wires get too close. TEA lasers? Use that transformer to make a legitimate laser with stuff around your house. Bismuth casting? Pet supply stores may have what you need to step up your casting game and it’s a total hack. Failures? We got them too.

We first covered ionocraft (lifters) awhile back. TEA lasers have been covered before. Casting is no stranger to hackaday but [The Thought Emporium] went outside the mold with their technique.

Continue reading “A Thoughtful Variety Of Projects And Failures”

Hackaday Prize Entry: An Open Source Kiln

For his Hackaday Prize entry, [Matt] is building a small kiln for melting metals and firing clay.  He’s making this kiln out of materials anyone can acquire — dirt and a bit of nichrome wire.

Most kiln builds you’ll find on the Internet use fancy refractory bricks and other materials you may not have in your back yard. [Matt]’s project is entirely DIY, and starts with a large pile of dirt and rocks. Aftter shaking off the sifted dirt, washing the rocks, straining off the gravel, getting rid of the sand, and siphoning off the water, [Matt] has a big bag of wet clay. This clay is mixed with perlite, an insulating, refractory material, molded into bricks, and fired. The result is a brick that looks good enough to be made into a kiln.

[Matt] has already put a lot of work into the calculations required to figure out the heat transfer of this kiln. At best, this kiln is going to take 14 hours to get up to temperature. That’s incredibly slow, but then again, this kiln will be electric, and will only use 1500 Watts. That’s nothing compared to a commercial electric kiln, but it is a build [Matt] designed himself without any outside help, using only parts he can easily acquire. In any event, this is an excellent project for the Hackaday Prize.