Simple Add-On Makes Cheap Plasma Cutter Suitable For CNC Use

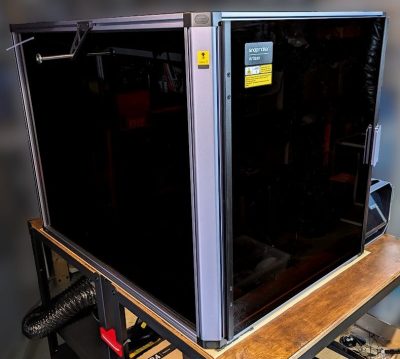
Plasma cutters are ridiculously cheap these days, just cruise by the usual online sources or your local Harbor Freight if you’ve got any doubt about that. But “cheap” and “good” don’t always intersect on a Venn diagram, and even when they do, not every plasma cutter is suitable for use on the spanking new CNC table you’re building. But luckily, there’s a mod for that.

As [Jake von Slatt] explains it, there are two kinds of plasma cutters on the market: high-frequency (HF) start and pilot arc start. The basic difference is that HF start cutters, which comprise the majority of cheap cutters on the market, need direct electrical contact with the workpiece to start the cutting action. Pilot arc torches, which are more suitable for CNC cutters, can strike the arc through a separate conductor without the need to contact the workpiece.

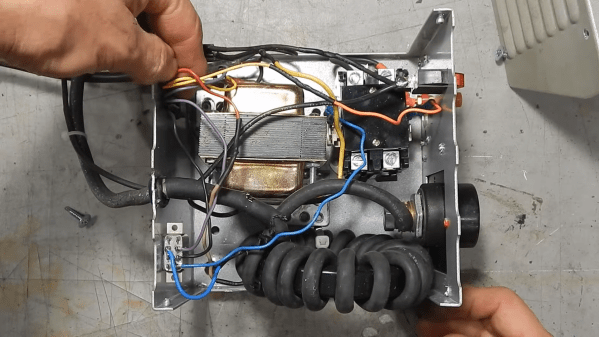
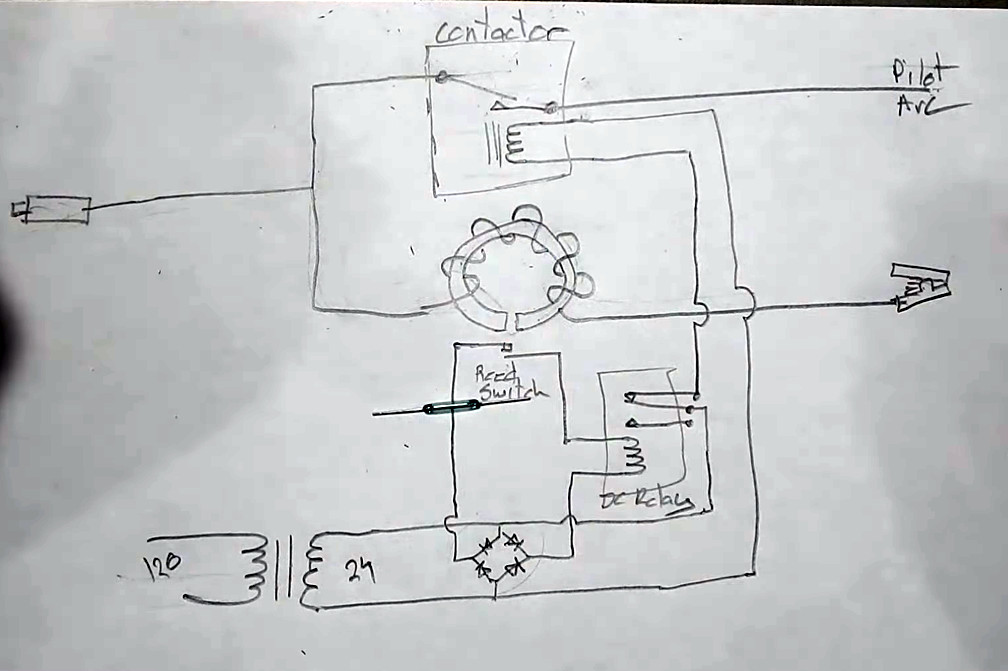
While there are homebrew bodges that claim to turn an HF torch into a pilot arc, [Jake]’s approach is a bit more complicated, and necessarily so. His add-on box intercepts the ground clamp — which is actually the positive conductor for plasma cutting — and switches it through a heavy-duty HVAC contactor. The 24 VDC coil of the contactor is controlled by a homebrew current sensor made from a huge toroid ferrite core wrapped with 20 turns of 6 AWG welding wire.

Before winding, the core is split in two and epoxied back together with a small magnetic reed switch bridging the gap. A simple 24 VDC power supply runs the whole thing. When the torch starts, the nozzle is connected to ground through the contactor, but as soon as the arc strikes and starts pulling cutting current through that toroid, the magnetic field closes the reed switch, which opens the contactor via a small DC relay. This removes the connection between the nozzle and ground, leaving the plasma to carry all the cutting current.

We’ve featured many, many CNC plasma cutter tables before, but most of these builds have concentrated on the table more than the cutter. It’s a refreshing change to get some insider tips on what kinds of cutters work best, and how to adapt what you’ve got for the job.

Continue reading “Simple Add-On Makes Cheap Plasma Cutter Suitable For CNC Use”

String Art Build Uses CNC To Make Stringy Art

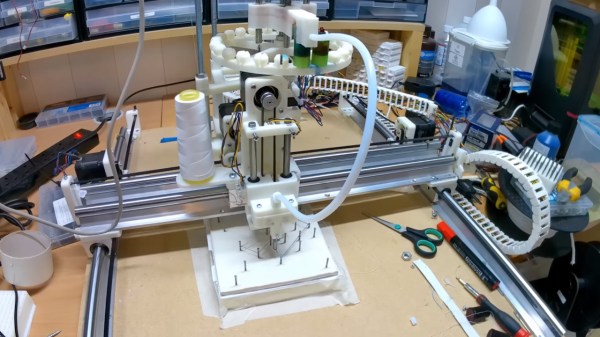
String art is as old as, well, string and something to hang it from. But, like most things, it gets more enjoyable when you involve a CNC. [Paul MH] went the whole hog with this build, creating a CNC string art builder that could handle the whole process, from placing the nails to running the string.

It’s an impressive build: you feed in an image, and the system calculates the location of the pins and the path that the string will need to follow. It then puts the nails into the board, pushes them in, and, with a custom attachment for the CNC, runs the string to create the art.

Of course, the path to this was filled with prototypes, failures, and dead ends. [Paul] has laid these out pretty well in the video for the project, which he just released. In this, problems like detecting when the nails are picked up and placed are detailed, and the prototypes and Rube Goldberg solutions that [Paul] came up with are covered.

Like all great projects, it is still a work in progress, but [Paul] has made some impressive progress, although he hasn’t posted the code and models for his custom parts yet. We’ve featured several string art builds, from polar platforms to fully formed commercial-grade builds that print your work for you.

Continue reading “String Art Build Uses CNC To Make Stringy Art”

Making An Injection Mold For Yourself

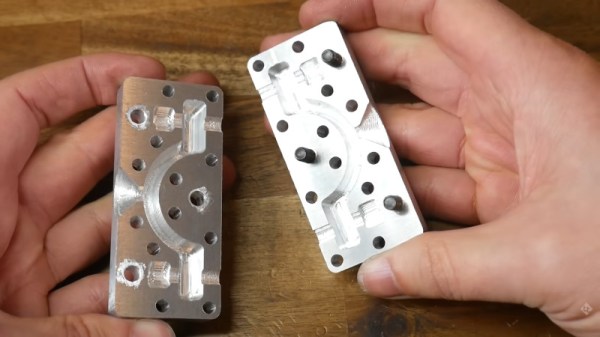
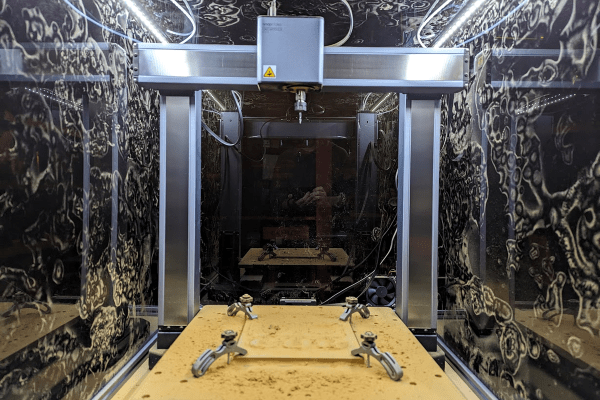
Injection molding is the obvious onward step from 3D printing when the making of a few plastic parts becomes their series manufacture. The problem with injection molding is though, that making a mold can be prohibitively expensive. Has the advent of affordable CNC machining changed that? [Teaching Tech] takes a look, and machines a mold for part of a bicycle bracket.

With a diversion into home-made silicone seals for the injection molding machine, he proceeds to machine the mold itself from a block of aluminium. It’s a basic introduction to mold construction for those of us who’ve never ventured in this direction before, and it provides some interesting lessons. As we’d expect he does a rough machining pass before returning with a ball-end tool to smooth off those curves, but there’s a lesson in measuring rather than believing the paperwork. The tool he used was a bit smaller then the spec, so his path left some rough edges that had to be returned to. Otherwise the use of a removable pair of bolts to form holes in the finished part is we guess obvious after watching the video, but it’s something we learned as injection molding newbies.

This video follows on from a previous one we also covered, in which we’re introduced to the machine itself.

Continue reading “Making An Injection Mold For Yourself”

Impulse Buying A 3040 CNC Machine, What Could Go Wrong?

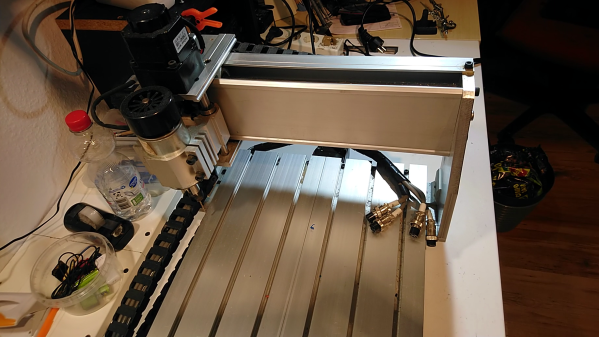
[joekutz] made an impulse purchase of a CNC machine. It was a 3040 CNC that looked reasonably complete and had an attractive price, what could possibly go wrong? As it happens, [joekutz] really didn’t know what he was in for. Sometimes the price is good, but you pay in other ways. But where some would see defeat, [joekutz] sees an opportunity to document the restoration.

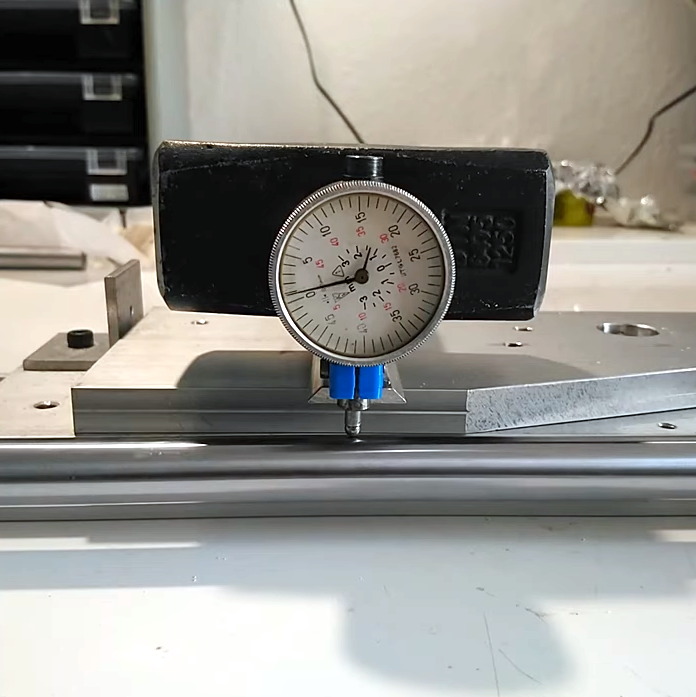
Dial indicators are useful tools for measuring how straight some parts aren’t.

The 3040 are relatively cheap and simple CNC machines that have been available from a variety of overseas retailers for years. They have 30 cm by 40 cm beds (hence the name) and while there are many variations, they all work about the same. [joekutz] expected that getting his up and running and converted to open source would be a fun weekend project, but it ended up taking far longer than that. In fact, it turns out that the machine was damaged in surprising and unexpected ways.

[joekutz] has a series of videos demonstrating the process of diagnosing and repairing the various things wrong with this device. In the first video, he dismantles the machine and discusses the next steps. In the second video, he takes some time to repair some dial indicators that will be critical for measuring the various things wrong with the CNC parts. Video number three delves into finding out the horrible things wrong with the machine, and the fourth is where repairs begin, including bending shafts and sanding blocks back into service.

Those videos are embedded below, and while the machine isn’t quite restored yet, progress is promising. We’ve seen easy and effective upgrades for such CNC machines before, but if you happen to be in more of a repair and restore situation, give [joekutz]’s work a look because it might just save you some time and frustration.

Continue reading “Impulse Buying A 3040 CNC Machine, What Could Go Wrong?”

Pen Plotter Uses Polar Coordinates

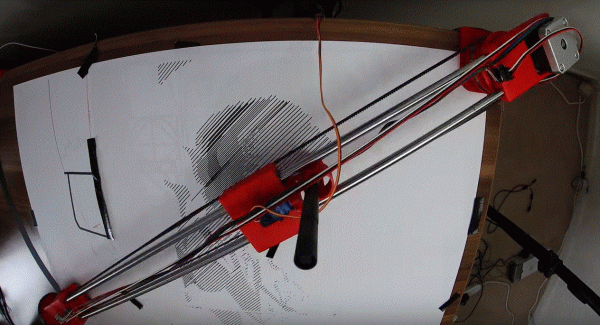
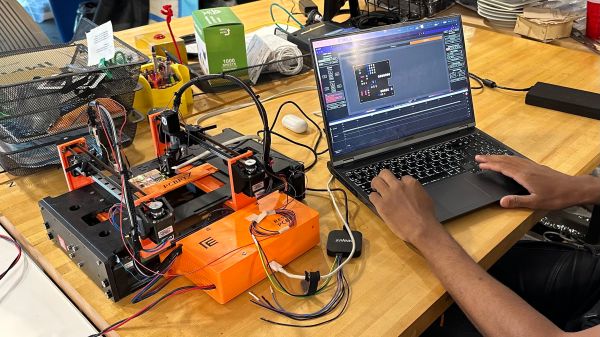
To keep track of a location in a two-dimensional space, two measurements are needed. Most of the time, we would naturally think to do this by the Cartesian method, measuring position along one axis and then again along a second axis. But this isn’t the only way of keeping track of position. Polar coordinates, where the distance from the origin and an angle are used as the two measurements, works just as well, and sometimes can be a preferred method. This pen plotter tosses the expected Cartesian methodology we would typically expect in favor of this polar system.

The first prototype that [AndrĂ©] built was a good proof of concept. A pen attached to a movable carriage on a single rotating arm produced passable drawings, but as all prototypes go this one needed some refinement. Limit switches at the ends of the table, as well as within the arm, served to orient the plotter so that it didn’t manually need to be zeroed out every time. A linear actuator was added to give finer control over the pen’s pressure on the table, and finally an encoder was added to the base of the plotter to more accurately correct positional errors in the rotating arm mechanism.

With everything said and done, the polar coordinate plotter seems to work just as well as its Cartesian cousins might, orienting it like this has some advantages as well. Specifically, it is more adapted to drawing curves or circles than an X-Y device might be able to, like we saw with this similar sand-drawing plotter. Also, if allowed to rotate its entire 360-degree reach instead of just the 90 degrees shown in the video, a machine like this could theoretically reach a wider workspace more easily than other plotters.

Continue reading “Pen Plotter Uses Polar Coordinates”

Hackaday Prize 2023: Circuit Scout Lends A Hand (Or Two) For Troubleshooting

Troubleshooting a circuit is easy, right? All you need is a couple of hands to hold the probes, another hand to twiddle the knobs, a pair of eyes to look at the schematic, another pair to look at the circuit board, and, for fancy work, X-ray vision to see through the board so you know what pads to probe. It’s child’s play!

In the real world, most of us don’t have all the extra parts needed to do the job right, which is where something like CircuitScout would come in mighty handy. [Fangzheng Liu] and [Thomas Juldo]’s design is a little like a small pick-and-place machine, except that instead of placing components, the dual gantries place probes on whatever test points you need to look at. The stepper-controlled gantries move independently over a fixture to hold the PCB in a known position so that the servo-controlled Z-axes can drive the probes down to the right place on the board.

As cool as the hardware is, the real treat is the software. A web-based GUI parses the PCB’s KiCAD files, allowing you to pick a test point on the schematic and have the machine move a probe to the right spot on the board. The video below shows CircuitScout moving probes from a Saleae logic analyzer around, which lets you both control the test setup and see the results without ever looking away from the screen.

CircuitScout seems like a brilliant idea that has a lot of potential both for ad hoc troubleshooting and for more formal production testing. It’s just exactly what we’re looking for in an entry for the Gearing Up round of the 2023 Hackaday Prize.

Continue reading “Hackaday Prize 2023: Circuit Scout Lends A Hand (Or Two) For Troubleshooting”

GrblHAL CNC Controller Based On RP2040 Pico

[Phil Barrett] designed a new CNC controller breakout board called the PicoCNC which uses the Raspberry Pi Pico RP2040 module and grblHAL. It packs a bunch of features typical of these controllers, and if you use the Pico W, you get WiFi connectivity along with USB. And if you don’t want connectivity, you can execute G-code directly from a micro SD card. The board is available in kit form, and schematics are posted on the GitHub repository above. Some of the features include four axes of motion, spindle control, limit switches, relay drivers, expansion headers, and opto-isolation.

This isn’t [Phil]’s first controller board. He also designed the grblHAL-based Teensy CNC controller breakout board, a step up from the usual Arduino-based modules at the time and boasting Ethernet support as well. According to the grblHAL site, nine different processors are now supported. There are well over a dozen CNC controller breakout boards listed as well. And don’t forget [bdring]’s 6-Pack grbl-ESP32 controller, a modular breakout board we covered a few years back. So pick your favorite board or roll your own and get moving.