For a hobby that’s ostensibly all about reaching out to touch someone, ham radio can often be a lonely activity. Lots of hams build and experiment with radio gear much more than they’re actually on the air, improving their equipment iteratively. The build-test-tweak-repeat cycle can get a little tedious, though, especially when you’re trying to assess signal strength and range and can’t find anyone to give you a report.
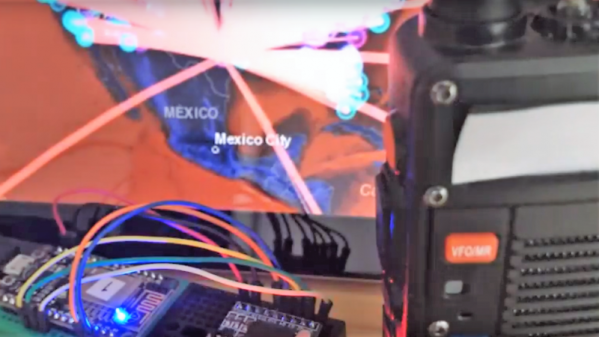
To close the loop on field testing, [WhiskeyTangoHotel] threw together a simple ham radio field confirmation unit that’s pretty slick. It relies on the fact that almost every ham radio designed for field use incorporates a DTMF encoder in the microphone or in the transceiver itself. Hams have used Touch Tones for in-band signaling control of their repeaters for decades, and even as newer digital control methods have been introduced, good old analog DTMF hangs in there. The device consists of a DTMF decoder attached to the headphone jack of a cheap handy talkie. When a DTMF tone is received, a NodeMCU connected to the decoder calls an IFTTT job to echo the key to [WTH]’s phone as an SMS message. That makes it easy to drive around and test whether his mobile rig is getting out. And since the receiver side is so portable, there’s a lot of flexibility in how tests can be arranged.
On the fence about ham as a hobby? We don’t blame you. But fun projects like this are the perfect excuse to go get licensed and start experimenting.
Continue reading “Simple Decoder Serves As Solo Ham’s Test Buddy”