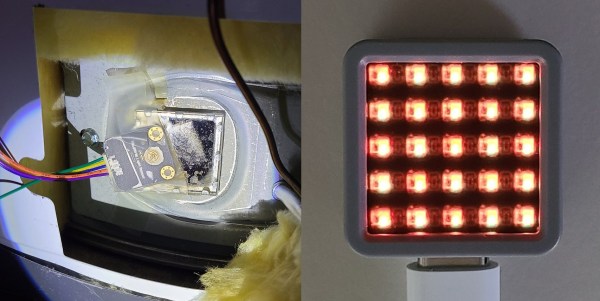
[WJCarpenter]’s gas water heater uses a small pilot light that needs to stay burning permanently to ignite the main burners as required. Four or five times a year, the pilot light goes out and needs to be manually lit. This involves an expedition from the upstairs bathroom to the basement, always in the early morning, after having spent a few fruitless minutes waiting for hot water. Having grown tired of this exercise, [WJCarpenter] built Water Watcher, a pilot light monitoring system with some ESPs and a light sensor.
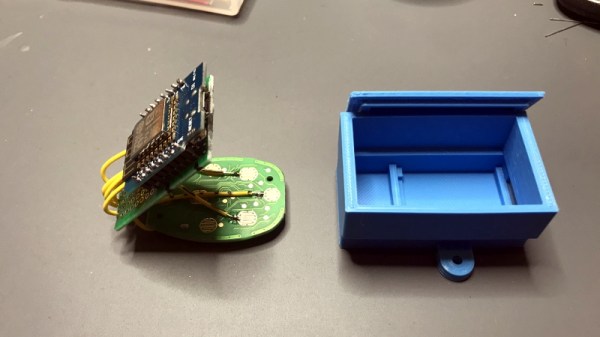
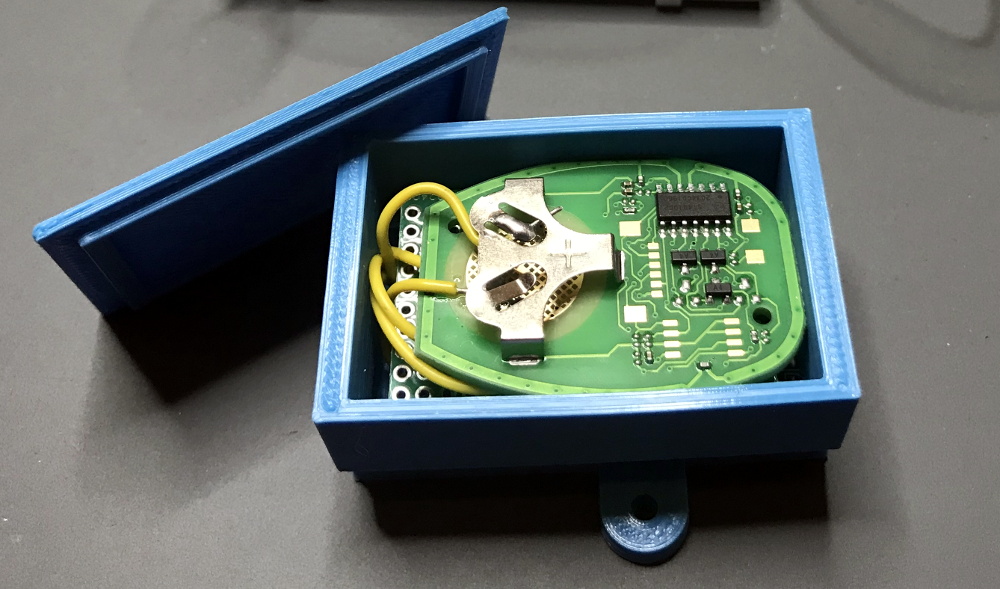
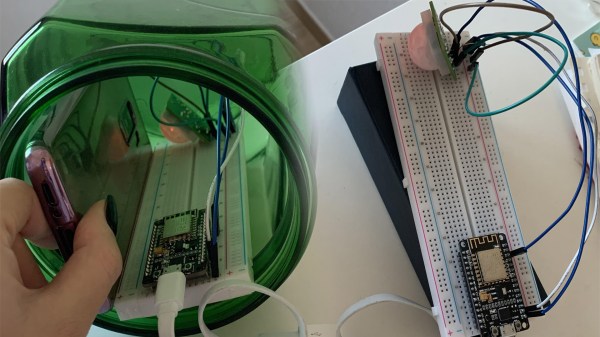
Water Watcher consists of an ESP8266 connected to a light sensor taped to the inspection window of the water heater. It reports the status of the pilot light over MQTT to an ESP32-based M5 Atom Matrix in the main bedroom, which displays it using a 5×5 RGB matrix, as demonstrated after the break. Both ESPs run ESPHome, so programming is as easy as giving it a YAML config file. [WJCarpenter] tested a few different light sensors, until he found the TSL2591, which is sensitive to the right wavelengths and has enough dynamic range for watching a pilot light.
This might not be a complicated hack, but we do not doubt that it reduces frustration a bit on those fateful mornings. Be sure to check out the Water Watcher project page, it’s an entertaining read! Continue reading “Keeping An Eye On The Water Heater Pilot Light”

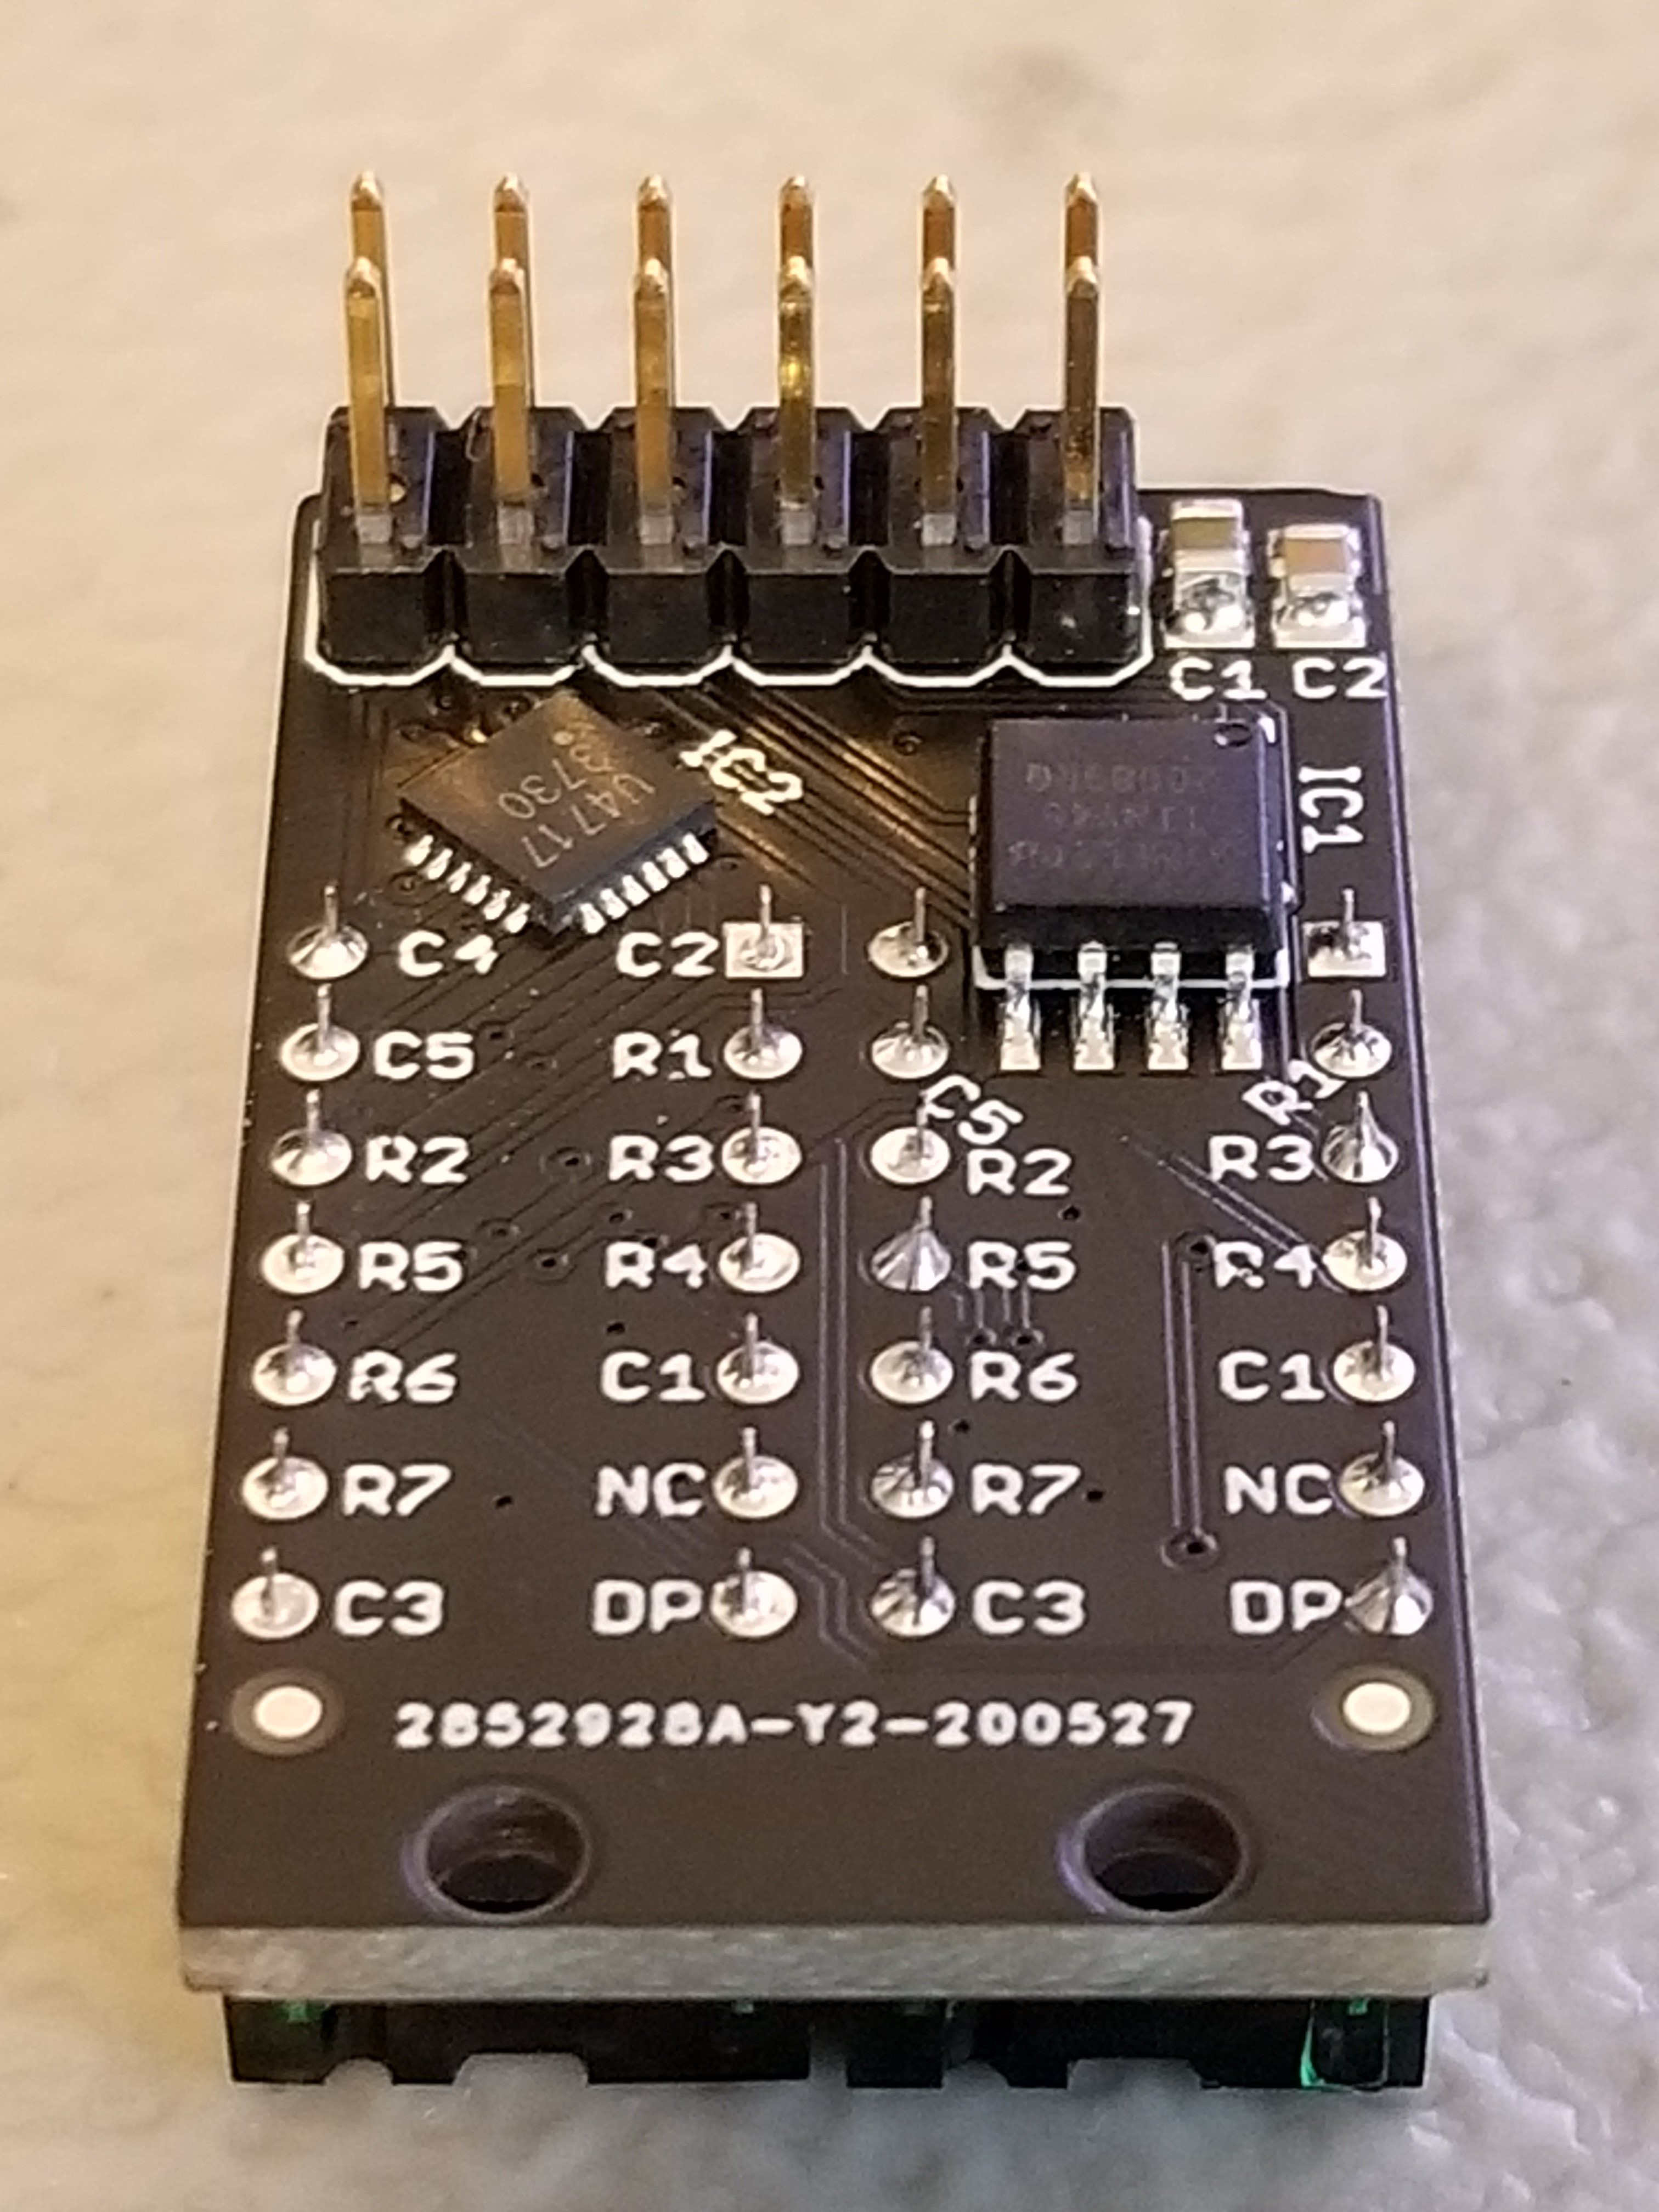 Each Pixie module is designed to host two gorgeous little


