Blinking an LED is generally considered the hardware equivalent of the classic “Hello World” project. It’s a quick and simple test to show that you’ve got the basics worked out, and a launching point for bigger and better things. So why should it be any different in this glorious new Internet of Things era?
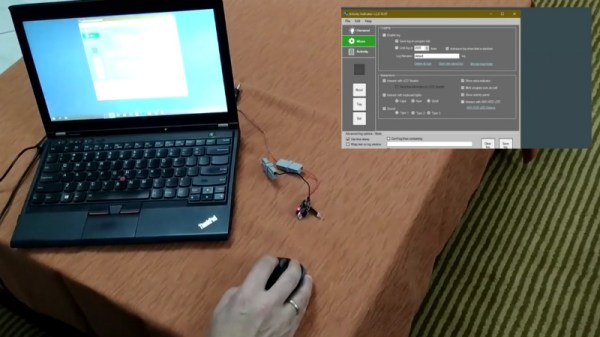
 The “WiFi HDD LED” created by [Limbo] is essentially just that, a status LED that can be triggered remotely thanks to the WiFi capability of the ever-popular ESP8266. Don’t think there’s much use for a wireless LED that blinks when your computer’s hard drive is thrashing around? Maybe not, but it’s definitely worth checking out if you’re looking for a good way to get your feet wet in the world of ESP hacking.
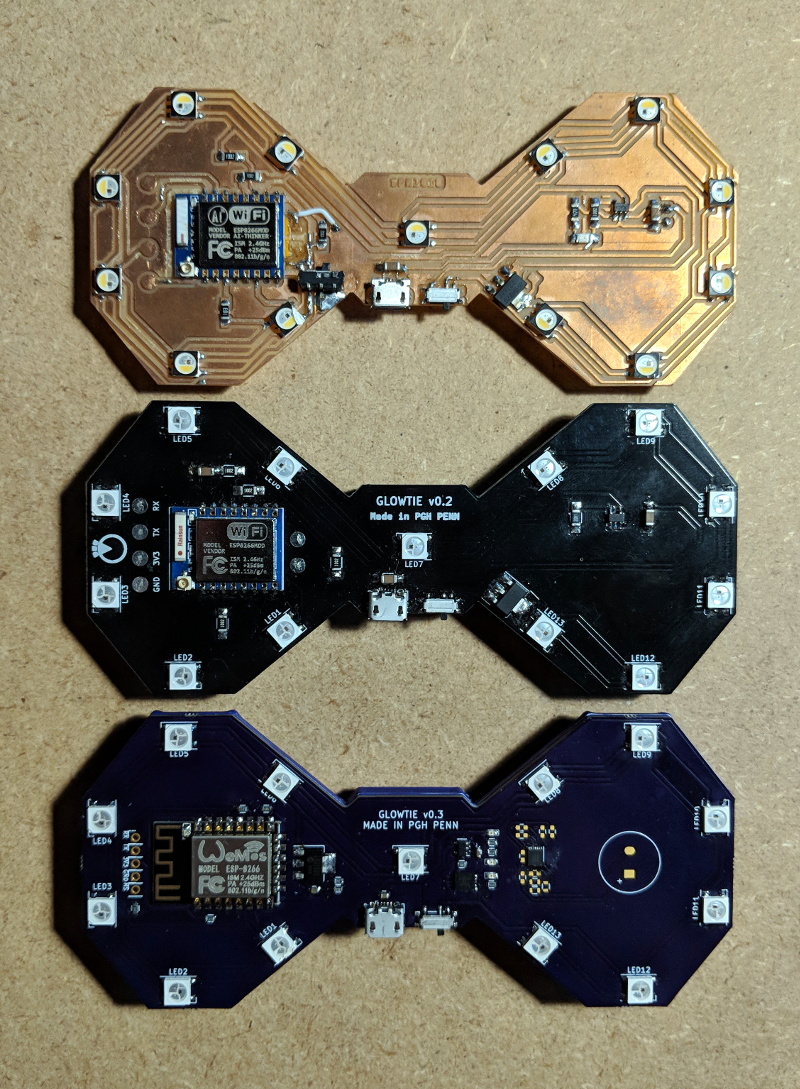
On the hardware side, this is exactly what you’d expect: an LED hanging off the digital pin of an ESP8266 module. If you go with the bare ESP-01 like [Limbo], things are somewhat more complex due to the need for a voltage regulator, but if you’re using one of the more common ESP development boards then there’s nothing else you need to add. Really, as a proof of concept you could even use the built-in LED on those boards.
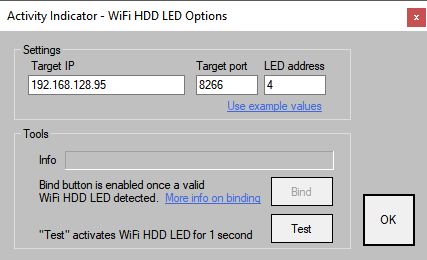
As you might imagine, this project is more about the software than the hardware. The code on both sides of the equation has been released as open source for your hacking pleasure, and is more capable than you’d probably expect. The LED is actually an extension of a system activity monitor that [Limbo] had previously developed and includes a binding function to make sure you’re talking to the right blinking ESP. It’s probably overkill for many purposes, but it’s a good example of how to do more robust UDP connections than we’re used to seeing.
This project is one of many that prove there’s more than one way to accomplish a particular goal, and that there’s something to be learned from even the most eccentric of hacks.