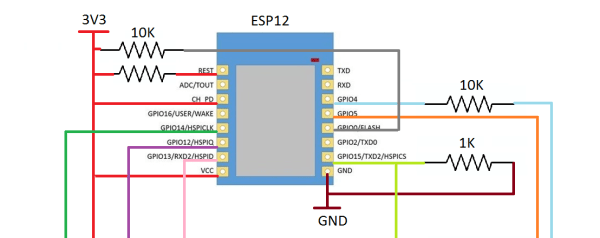
[Sven337]’s rebuild of a cheap and terrible baby monitor isn’t super visual, but it has so much more going on than it first seems. It’s also a how-to for streaming audio via UDP over WiFi with a pair of ESP8266 units, and includes a frank sharing of things that went wrong in the process and how they were addressed. [Sven337] even experimented with a couple of different methods for real-time compression of the transmitted audio data, for no other reason than the sake of doing things as well as they can reasonably be done without adding parts or spending extra money.
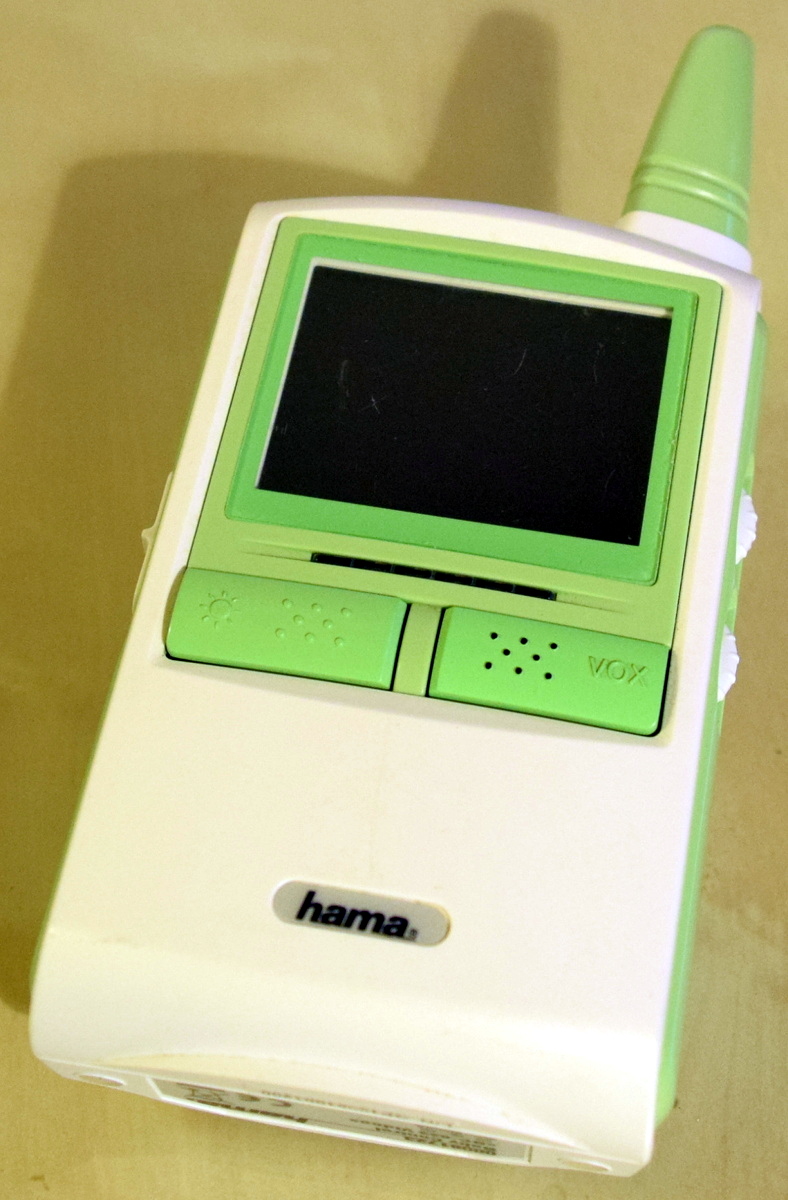 The original baby monitor had audio and video but was utterly useless for a number of reasons (French). The range and quality were terrible, and the audio was full of static and interference that was just as loud as anything the microphone actually picked up from the room. The user is left with two choices: either have white noise constantly coming through the receiver, or be unable to hear your child because you turned the volume down to get rid of the constant static. Our favorite part is the VOX “feature”: if the baby is quiet, it turns off the receiver’s screen; it has no effect whatsoever on the audio! As icing on the cake, the analog 2.4GHz transmitter interferes with the household WiFi when it transmits – which is all the time, because it’s always-on.
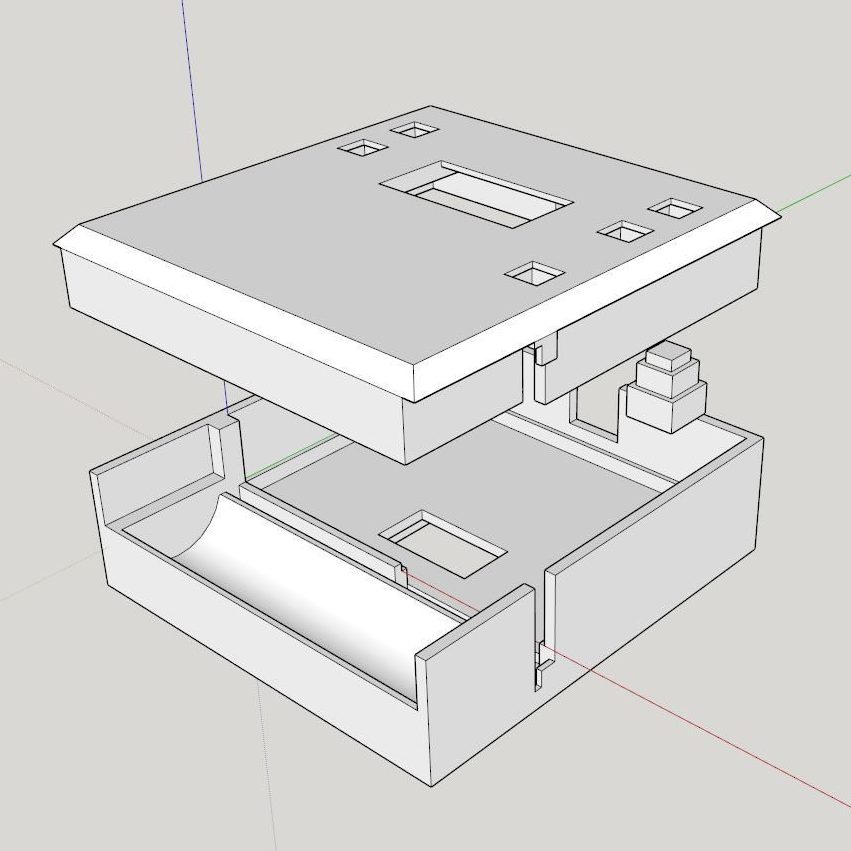
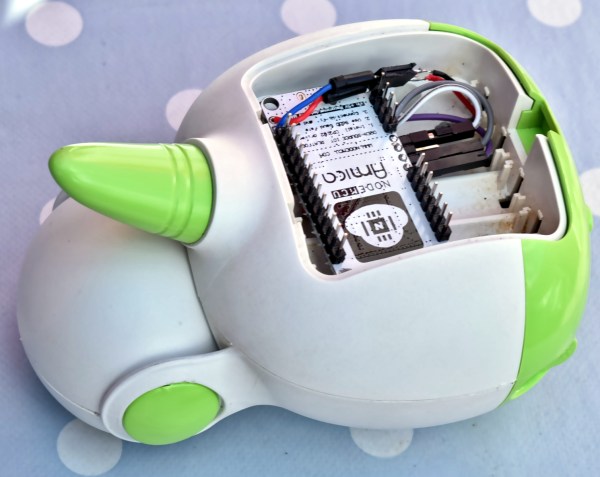
Small wonder [Sven337] decided to go the DIY route. Instead of getting dumped in the trash, the unit got rebuilt almost from the ground-up.
Continue reading “Baby Monitor Rebuild Is Also ESP8266 Audio Streaming How-To”