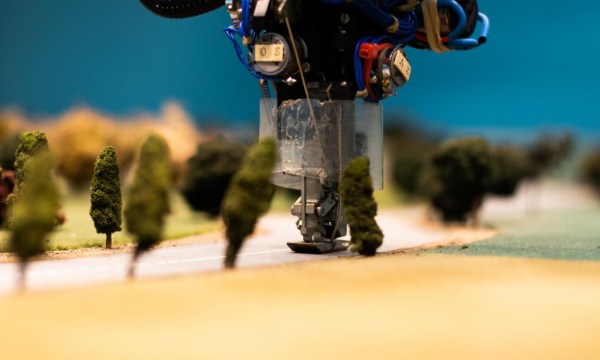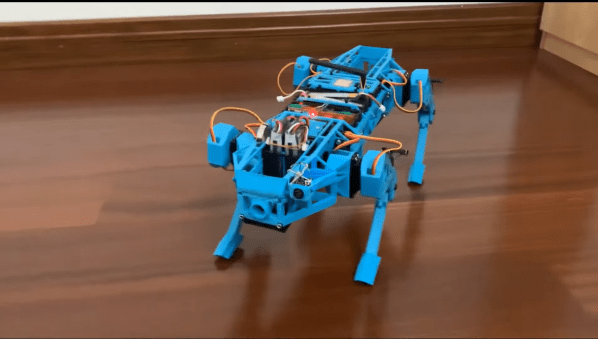
When you think of first person view (FPV) vehicles, aircraft might be what first comes to mind. However, [Limenitis Reducta] has brought a robot dog into the world, and plans to equip it for some FPV adventures.
The robot dog itself goes by the name of LOTP, for unspecified reasons, and was designed from the ground up in Fusion 360. A Teensy 3.5 is charged with running the show, managing control inputs and outputting the requisite instructions to the motor controllers to manage the walk cycle. Movement are issued via a custom RC controller. Thanks to an onboard IMU, the robotic platform is able to walk effectively and maintain its balance even on a sloping or moving platform.
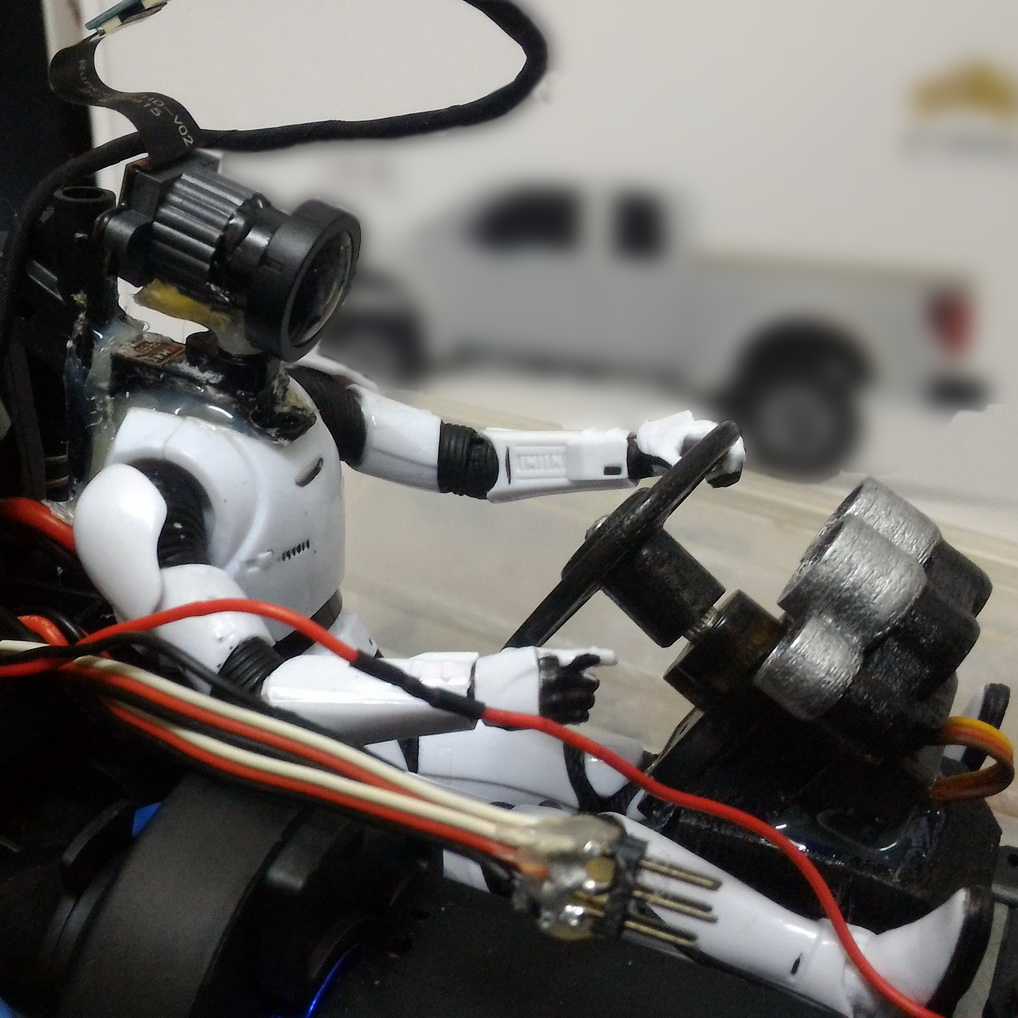
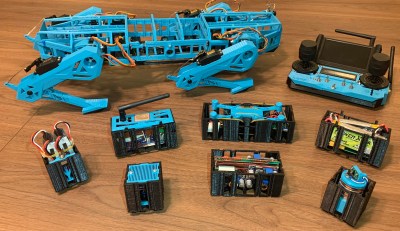
[Limenitis] has built the robot with a modular platform to support different duties. Equitable modules include a sensor for detecting dangerous gases, a drone launching platform, and a lidar module. There’s also a provision for a camera which sends live video to the remote controller. [Limenitis] has that implemented with what appears to be a regular drone FPV camera, a straightforward way to get the job done.
It’s a fun build that looks ready to scamper around on adventures outside. Doing so with an FPV camera certainly looks fun, and we’ve seen similar gear equipped on other robot dogs, too.