Generally speaking, home automation isn’t as cheap or as easy as most people would like. There are too many incompatible protocols, and more often than not, getting everything talking requires you to begrudgingly sign up for some “cloud” service that you didn’t ask for. If you’re an Apple aficionado, there can be even more hoops to jump through; getting your unsupported smart home devices working with that Cupertino designed ecosystem often involves running your own HomeKit bridge.
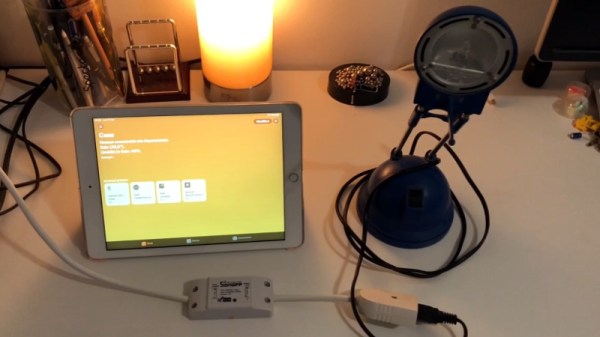
To try and simplify things, [Michele Gruppioni] has developed a firmware for the ubiquitous Sonoff WIFI Smart Switch that allows it to speak native HomeKit. No more using a Raspberry Pi to act as a mediator between your fancy Apple hardware and that stack of $4 Sonoff’s from AliExpress, they can now talk to each other directly. In the video after the break you can see that the iPad identifies the switch as unofficial device, but since it’s compliant with the HomeKit API, that doesn’t prevent them from talking to each other.
Not only will this MIT licensed firmware get your Sonoff Basic, Sonoff Slampher, or Sonoff S26 talking with your Apple gadgets, but it also provides a web interface and REST API so it retains compatibility with whatever else you might be running in your home automation setup. So while the more pedestrian users of your system might be turning the porch light on with their iPhones, you can still fire it up with a Bash script as nature intended.
Of course, if you don’t mind adding a Raspberry Pi bridge to the growing collection of devices on your network, we’ve got plenty of other HomeKit-enabled projects for you to take a look at.
Continue reading “Homekit Compatible Sonoff Firmware Without A Bridge”