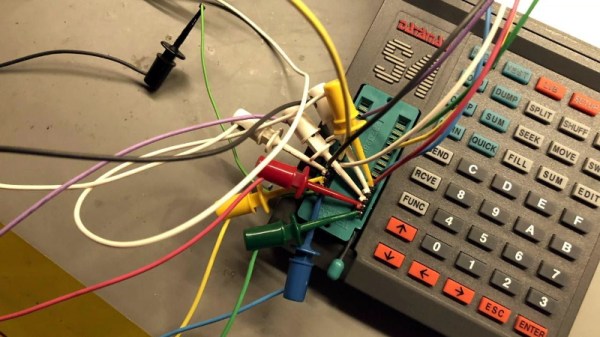
While trying to revive a Donkey Kong Jr arcade board, [Jelmer Bruijn] found himself in the market for an EPROM programmer and became the proud owner of a 1990’s era Dataman S4. Despite its age, it’s a fairly nice tool which allows you to read and write a laundry list of different EPROM types, all without being tied to a computer. The only catch is that a few types of chips need an adapter to work in the Dataman S4, some of which are unsurprisingly no longer available.
 After some above and beyond support from the current crew at Dataman set him on the right track, [Jelmer] decided to try his hand at reverse engineering how the old adapters worked so he could build his own. His ultimate goal was to read 40 pin EPROMs on the 32 pin Dataman S4, but in the end he says the information he gathered should be applicable for building other adapters if you ever find yourself in need of such things.
As you might expect, there’s a bit more to the project than a simple pin adapter. [Jelmer] assumed some kind of shift register or latching arrangement would be required to make up for the shortage of pins on the Dataman S4’s ZIF socket. It was just a matter of figuring out how it all went together.
Luckily, [Jelmer] found that the programmer would happily attempt to perform operations on a 16 bit EPROM even though no adapter was physically present. This gave him a chance to probe around with a logic analyzer to figure out what it was trying to accomplish. The trick turned out to be splitting the 16 bit bus into two 8 bit buses which are requested sequentially.
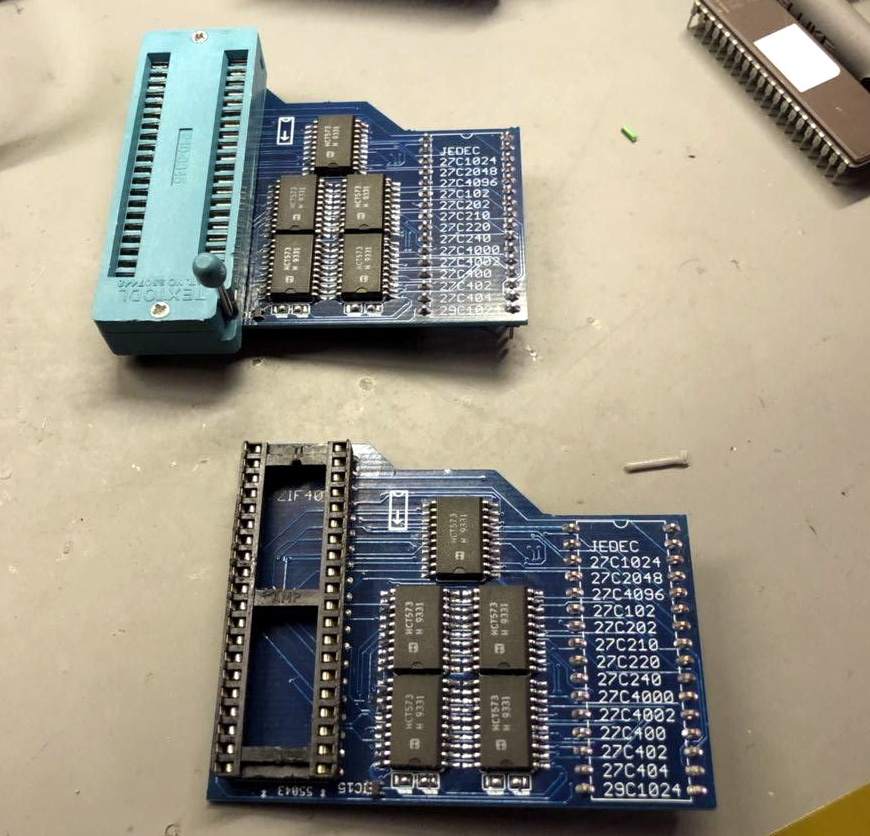
With careful observation, close studying of 16 bit chip datasheets, and much brow furrowing, he was eventually able to come up a design that used five 74xx573 latches and put a schematic together in Eagle. There were a few kinks to iron out when the boards finally arrived, but ultimately the design worked on the first try. [Jelmer] says the same technique should work for 42 pin EPROMs, but as Dataman still actually sell adapters for those he decided not to supply schematics for it.
[Jelmer] tells us that he was inspired to send this success story our way after reading how our very own [Elliot Williams] took the long away around to erase a couple UV EPROMs recently While this isn’t the first time we’ve seen somebody have to hack support for 16 bit EPROMs into their programmer, it’s good to see that the manufacturer at least had the customer’s back in this case.