Wheels are typically just simple cylinders, though fans of I, Robot (2004) may have admired the handsome vehicle featuring ball wheels that was driven by the protagonist. YouTuber [Brick Technology] decided to evaluate the use of spherical wheels with a Lego car design.
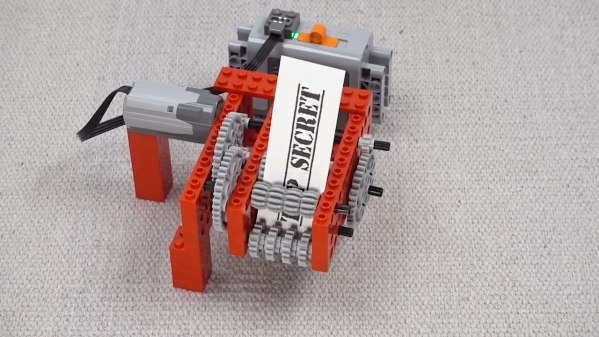
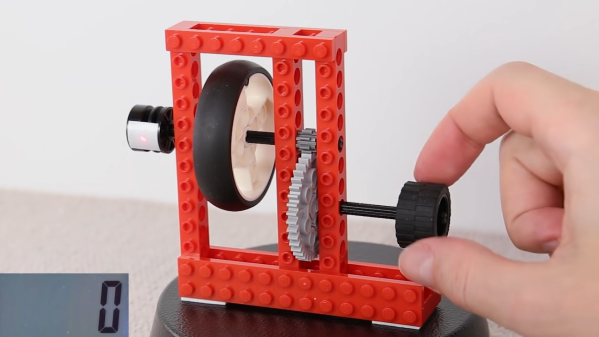
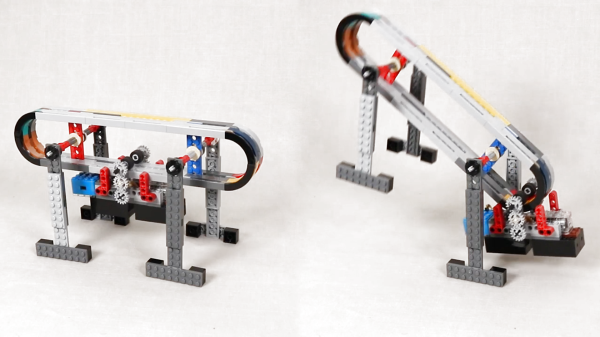
The benefit of ball wheels is that they can turn in multiple directions when driven on different axes, with the benefit of improved maneuverability. With a set of drive rollers spring loaded with rubber bands pushing against the 52mm Duplo spheres, the ball wheels can be rotated both forward and back as well as left and right. This gives the Lego car a rather neat strafing ability, as well as the ability to spin on the spot or steer in a more traditional fashion. The car is controlled via smartphone, thanks to BuWizz modules that allow remote control of the Lego motors.
Ball wheels are unlikely to catch on in mainstream automobiles; the mechanical complexity required to drive them makes such designs impractical for cars. However, omniwheels and similar designs have found some applications on forklifts and other such slow-speed applications where the ability to move in any direction is very useful. Video after the break.
Continue reading “Lego Car Demonstrates Proper Use Of Ball Wheels”