If you had asked us yesterday what peak nightlight technology looked like, we might have said one of those LED panels that you stick in the outlet. At least it beats one of those little wimpy light bulbs behind the seashell, anyway. But after looking at a detailed teardown of the “Glow Light” from Casper, we’ve learned a lot about the modern nightlight. Such as the fact that there are adults who not only sleep with nightlights, but are willing to pay $89 USD for one.
 But more importantly, as [Tyler Mincey] demonstrates in his excellent look inside one of these high-end nightlights, they are gorgeous pieces of engineering. Even if a nightlight next to the bed has long since gone the way of pajamas with feet on them for you personally, we think you’ll be impressed just how much technology has gone into these softly glowing gadgets.
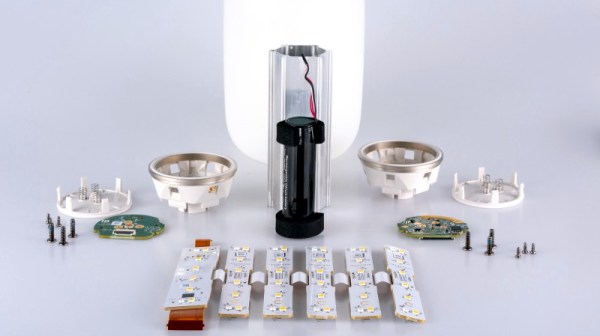
On the outside they might look like marshmallows, but the insides look far more like what you’d expect from an expensive piece of consumer gear. It’s based on the Nordic nRF52832 Bluetooth SoC which is becoming an increasingly common sight in consumer gadgets, and uses an inertial measurement unit (IMU) to detect when it’s moved or twisted and adjusts the light output accordingly. If you’ve got the disposable income for two of these things, they’ll even synchronize so that twisting one will dim its counterpart.
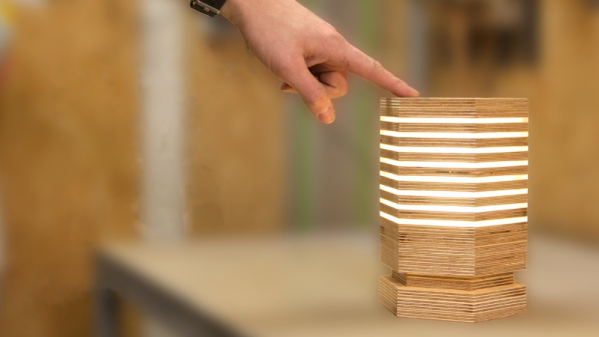
The teardown that [Tyler] did on the Glow Light is quite frankly one of the best we’ve ever seen, and while it might be a bit light on the gritty technical details, it more than makes up for that with the fantastic pictures that are about as close to actual hardware porn as you can get. The only question we have now is, how long until a hacker replicates this design with a 3D printed enclosure and an ESP?
[Thanks to Adrian for the tip.]

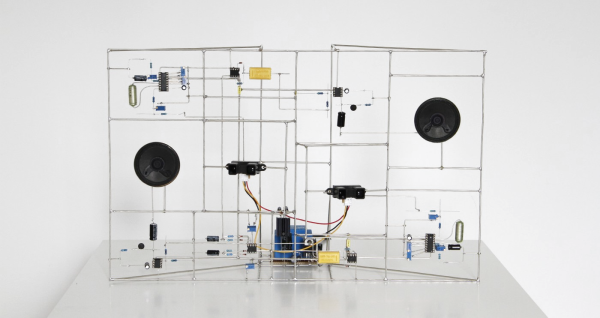
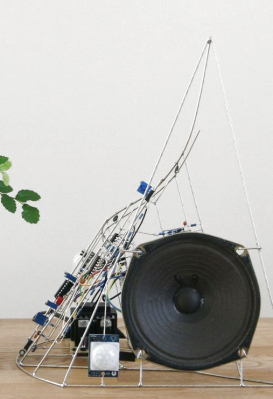 When it rains, it pours (wonderful electronic sculpture!). The last time we posted about freeform circuit sculptures there were a few eye-catching comments mentioning other fine examples of the craft. One such artist is [Eirik Brandal], who has a large