Any project that contains something called a “flux modulator” instantly commands our attention. And while we’re pretty sure that [Retsetman] didn’t invent it after hitting his head on the toilet, this magnetic gearbox is still really cool.
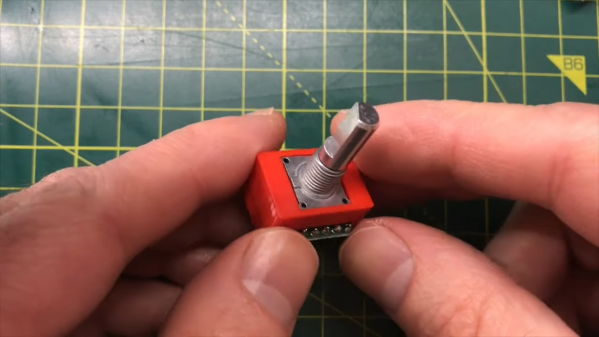
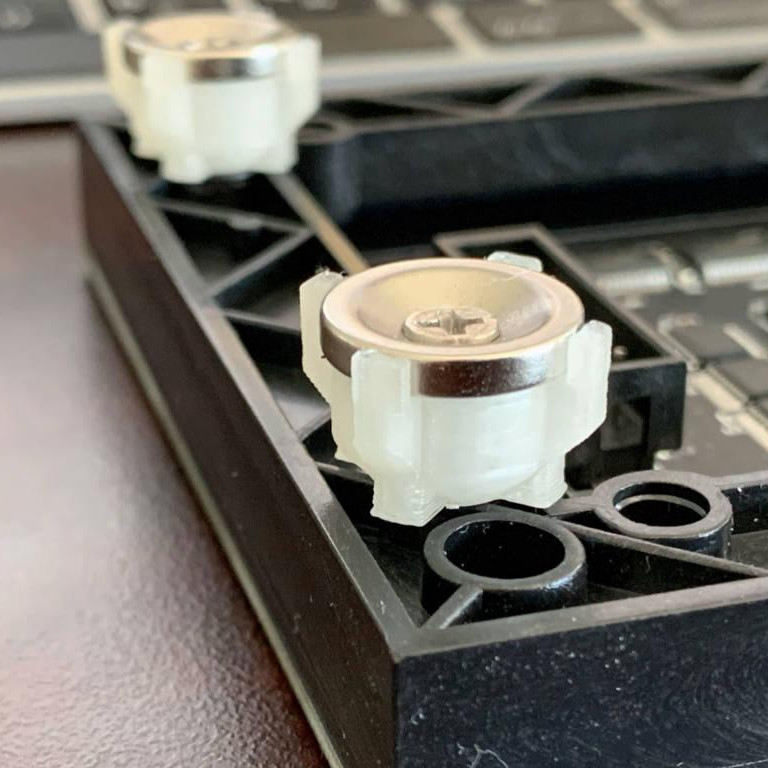
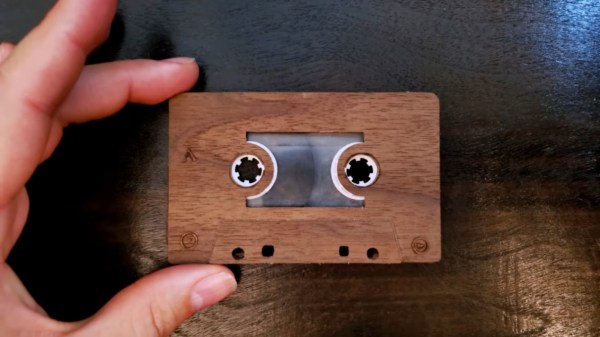
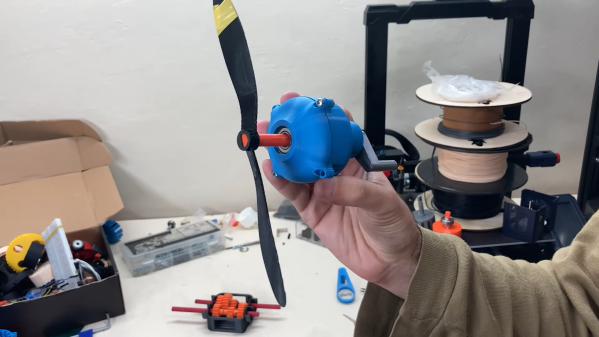
Where most gearboxes have, you know, gears, a magnetic gearbox works by coupling input and output shafts not with meshing teeth but via magnetic attraction. [Retsetman]’s version has three circular elements nested together on a common axis, and while not exactly a planetary gear in the traditional sense, he still uses planetary terminology to explain how it works. The inner sun gear is a rotor with four pairs of bar magnets on its outer circumference. An outer ring gear has ten pairs of magnets, making the ratio of “teeth” between the two gears 10:2. Between these two elements is the aforementioned flux modulator, roughly equivalent to the planet gears of a traditional gearbox, with twelve grub screws around its circumference. The screws serve to conduct magnetic flux between the magnets, dragging the rotating elements along for the ride.
This gearbox appears to be a refinement on [Retsetman]’s earlier design, and while he provides no build files that we can find, it shouldn’t be too hard to roll your own designs for the printed parts.
Continue reading “Magnetic Gearbox Design Improvements Are Toothless But Still Cool”