A little over a year ago, we ran a contest that challenged readers to leave the comfort of their PCBs and breadboards. We wanted to see circuits built in three dimensions, with extra points awarded for creativity and artistic flair. Truth be told there was initially some concern that the “Circuit Sculpture” contest was a bit too abstract for the Hackaday community, but the overwhelming number of absolutely gorgeous entries certainly put those doubts to rest.
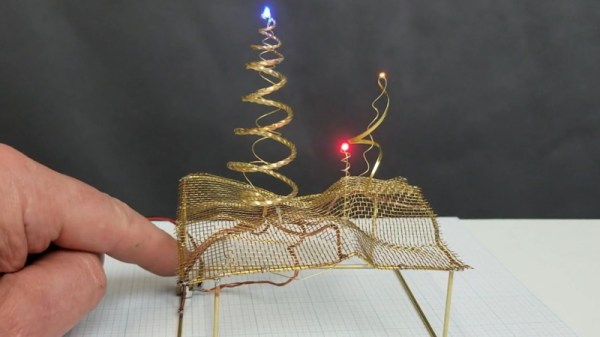
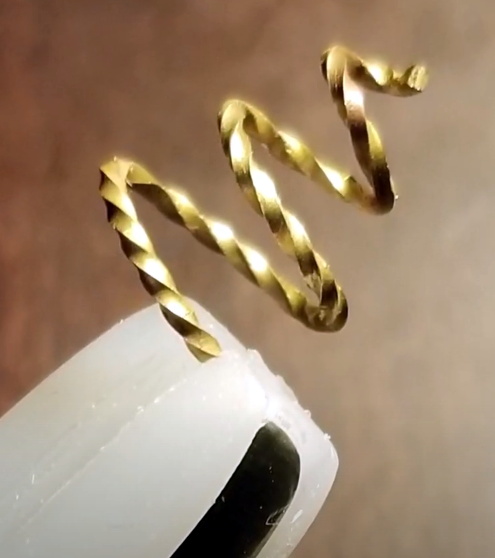
In a recent video, [Michael Aichlmayr] walks viewers through the creation of his mesmerizing entry Wonderlandscape, which ended up taking honorable mention in the Circuit Sculpture contest for Best Metalworks. Though this is much more than just a simple walk-through of a project. Sure you’ll see how brass bar stock was artfully twisted and wrapped to create a metallic winterscape that looks like it could have come from Bob Ross’s hitherto unknown cyberpunk period, but that’s only half the story.
In the video, [Michael] recalls how he discovered the burgeoning electronic sculpture community, and points to a few exceptional examples that got him hooked on finding the beauty that’s usually hidden inside of a plastic enclosure. Eventually he heard about the Circuit Sculpture contest, and decided it was the perfect opportunity to build something of his own. That’s right, Wonderlandscape is his very first attempt at turning electronics into art.
But the best may be yet to come. [Michael] explains that, due to the time constraints of the contest, he had to use metal stock purchased from the crafts store. But his ultimate goal is actually to melt down salvaged brass and bronze components and make his own wire and rods. We can’t wait to see what he’ll be able to accomplish when he starts working with his own custom made metal, and are eagerly awaiting the future video that he says will go over the techniques he’s been working on.
This story is a great reminder of how stepping out of your comfort zone once and awhile can be a good thing. Entering the contest with no previous experience was a risk to be sure, but [Michael] came out the other side more experienced and with a few new friends in the community. So why not enter our latest contest and see where it takes you?