[Pete] admits that his MIDI-based slide advance alert system is definitely a niche solution to a niche problem, but it is a wonderful example of using available tools to serve a specific need. The issue was this: [Pete] is involved in numerous presentations streamed over video, and needed a simple and effective way for the Presenter to notify the Producer (the one responsible for the video streaming and camera switching) to discreetly advance slides on cue.
 To most of us, this is a simple problem to solve. Provide the presenter with a USB macro keyboard to trigger the keyboard shortcuts for slide advancement, and the job’s done. But that didn’t quite cut it for [Pete]. In their situation, the Producer is managing more than just the slides as they switch between cameras, watch the chat window, and manage the video streaming itself. Triggering slide advancement via keyboard shortcuts only works if the presentation software is in focus when the buttons are pressed, which isn’t guaranteed.
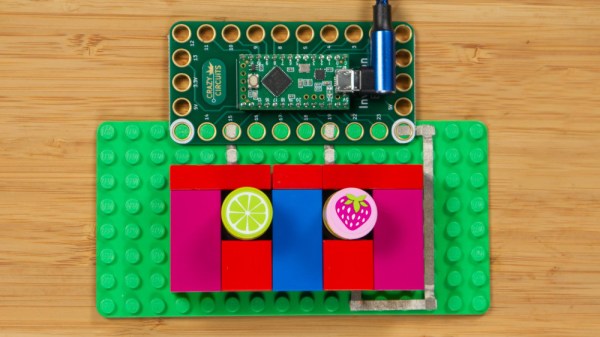
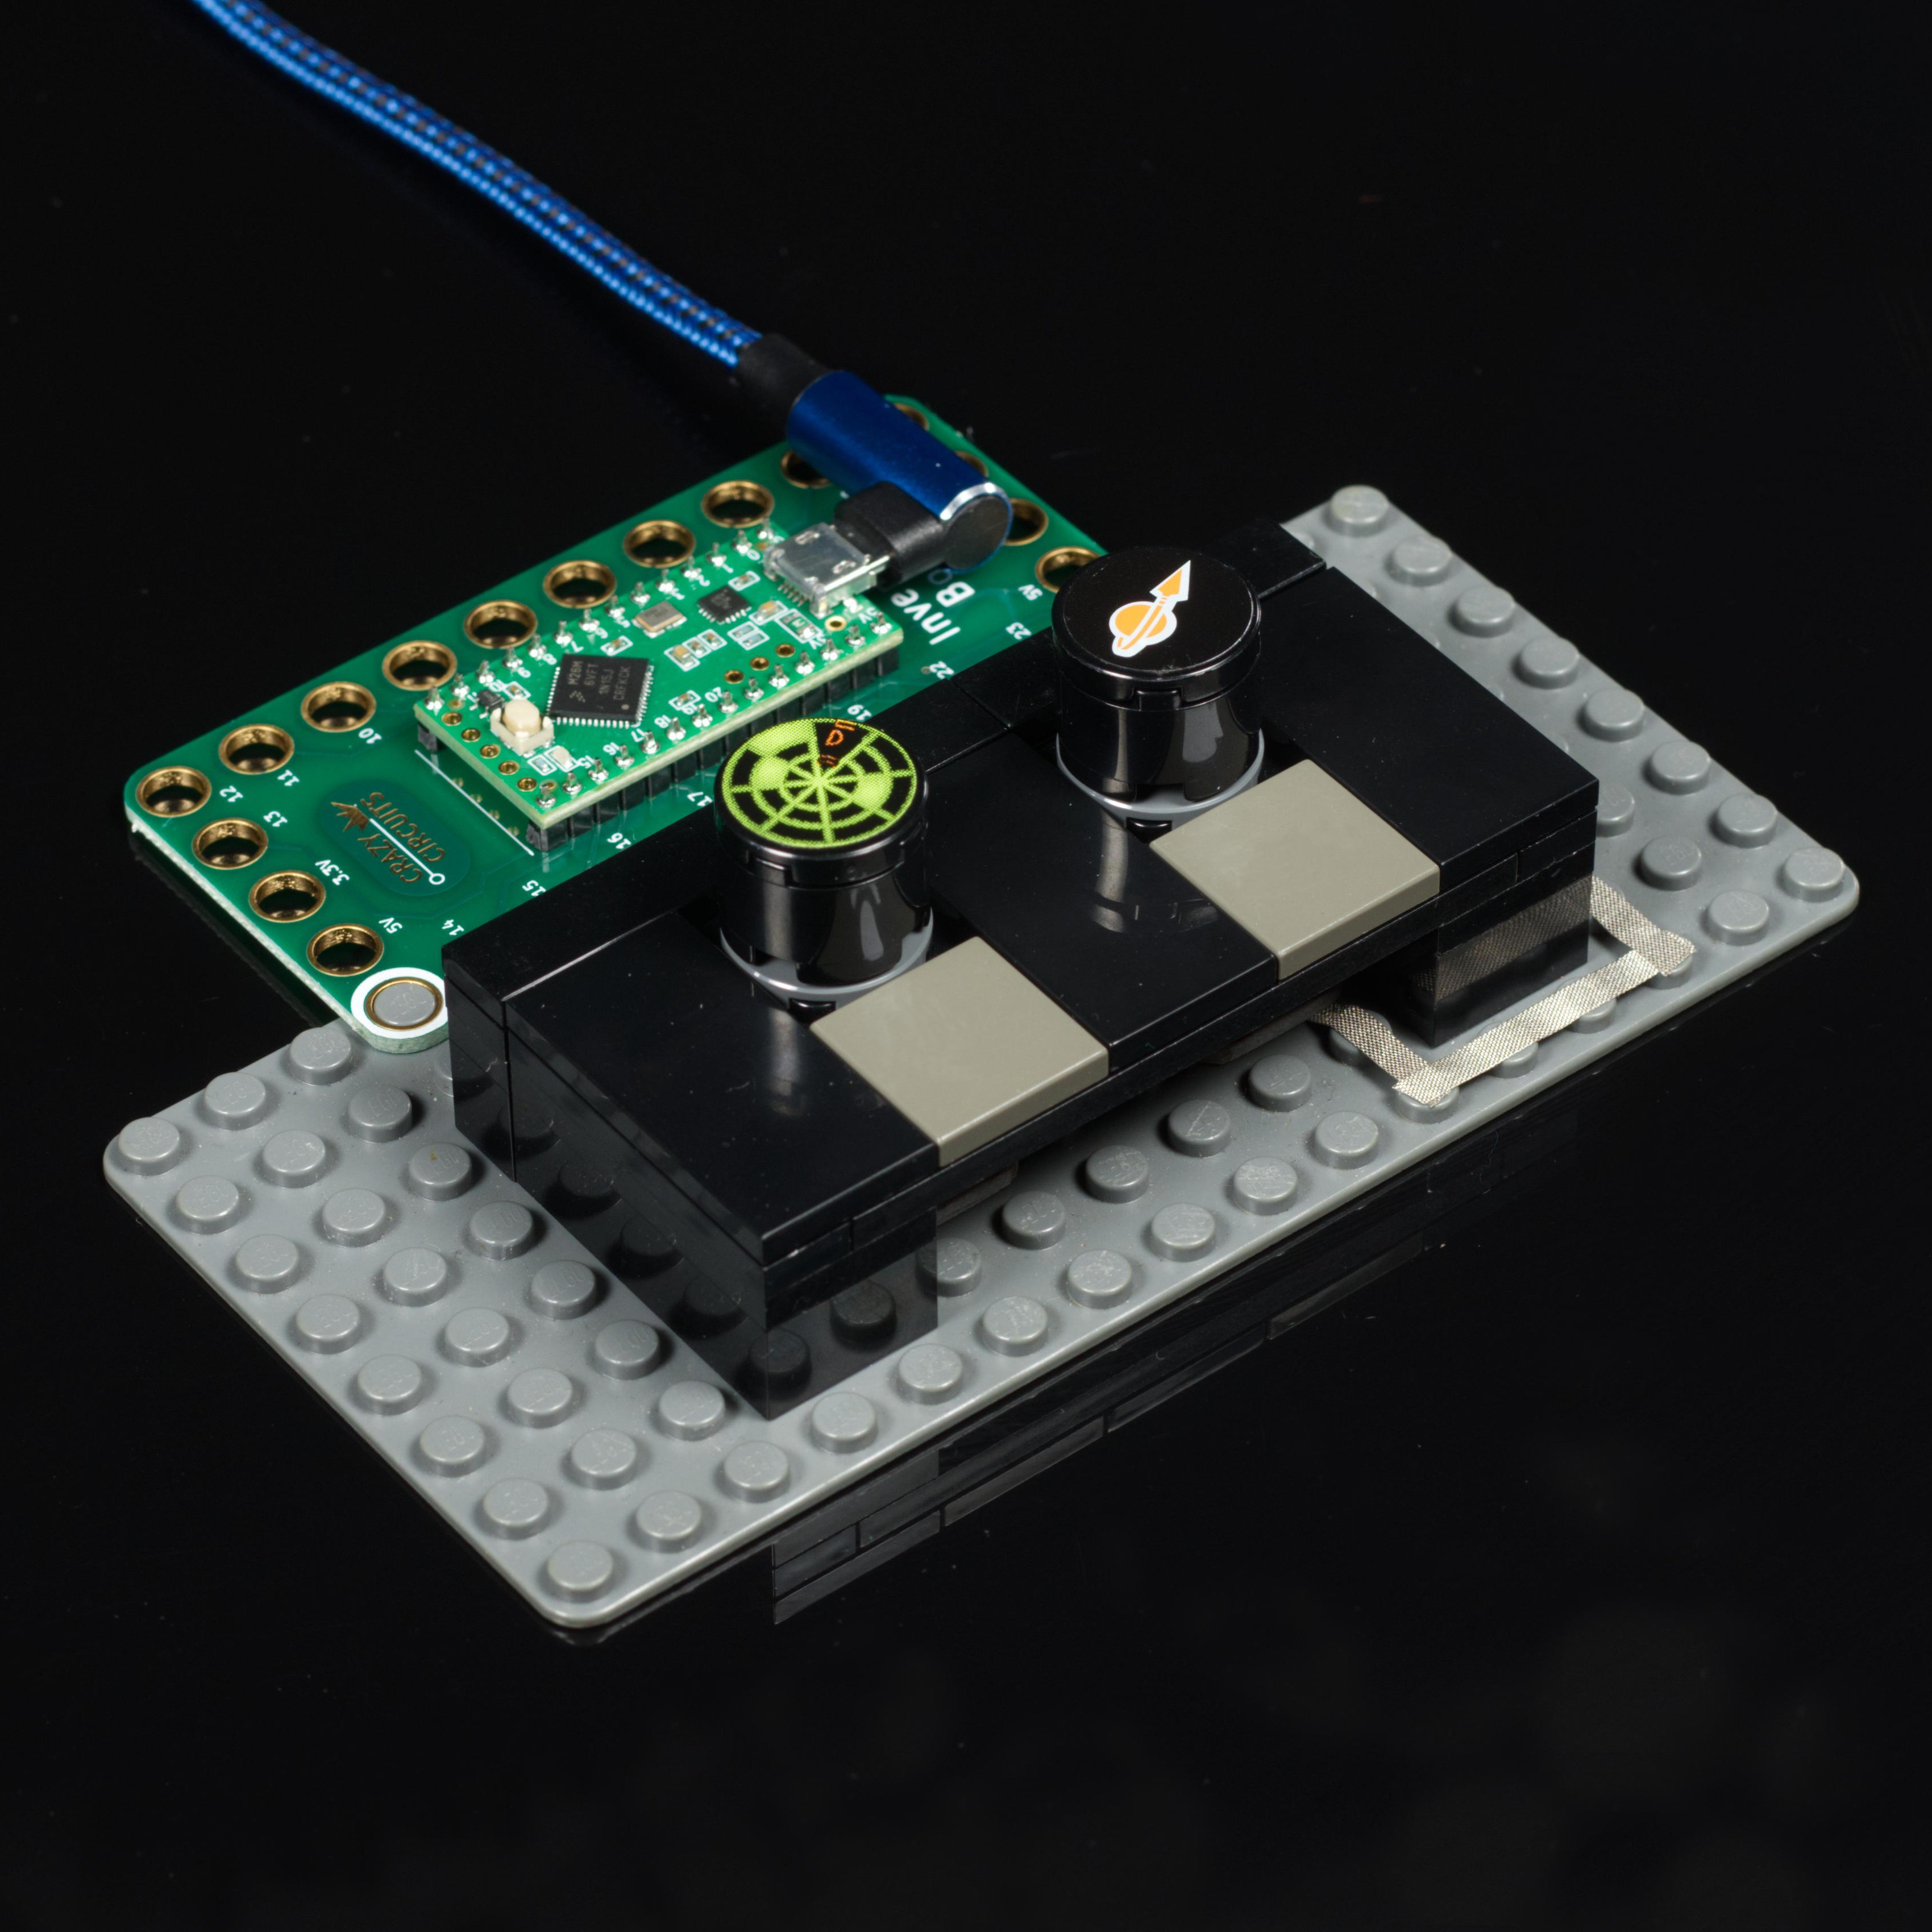
[Pete’s] solution was to make a small two-button device (one button for next slide, one for previous slide) that uses MIDI to communicate with a small custom application on the producer’s machine, and doesn’t care about application focus. Pressing the slide advance button plays a distinct tone into the producer’s headphones, plus the custom application displays “Forward”, “Back”, or “Waiting” in a window, depending on the state of the Presenter’s buttons. The design is available on Instructables for anyone wanting a closer look.
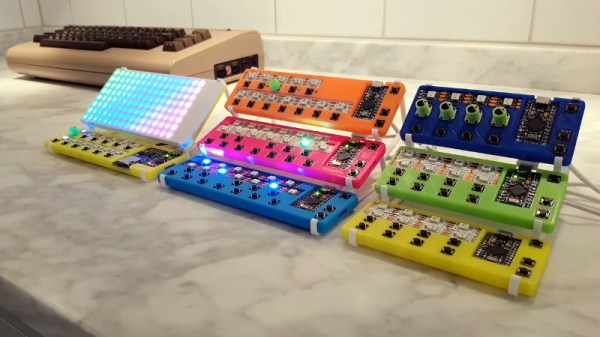
[Pete] reports that it works and it’s far more discreet than saying “next slide, please” twenty or more times per presentation. You may notice from the photo that LEGO bricks play a prominent part in the device, and if you’d like to see more of that sort of thing, make sure to check out these other brick-mountable PCB designs.