Hanging around the machining community online, you’d be more than familiar with clapped out Bridgeport mills, which are practically a meme at this point. But mills come in all shapes and sizes, from the stout old iron from the days of yore, to smaller, compact builds. [Honus] decided to build the latter, and shared the details of the project.
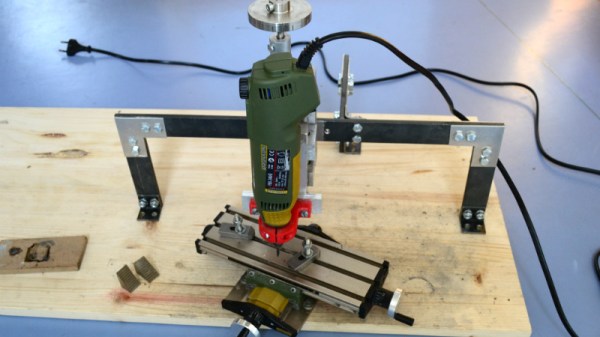
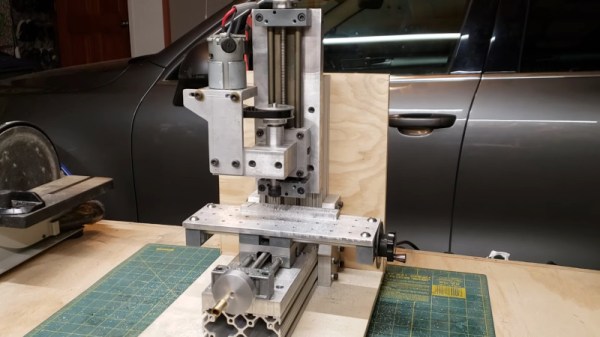
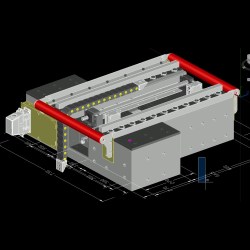
The aim of [Honus’s] build is to create a small benchtop mill, capable of handling the smaller tasks. The frame of the mill is built out of 80/20 extrusion, with plenty of aluminium plate to go along with it. Igus linear slides handle the X, Y and Z axes. An old brushed Makita drill motor serves as the spindle drive, controlled by an old R/C speed controller hooked up to an Arduino. [Honus] then fabbed up various bits and pieces as neccessary to bring it all together.
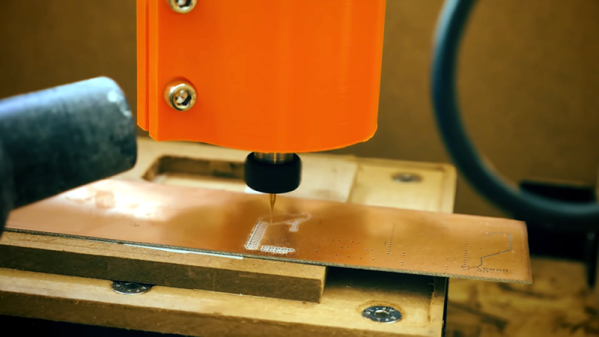
The mill is neat and tidy, and looks to do a good job machining aluminium. We imagine it should prove highly useful in [Honus’s] workshop. If you’re contemplating getting yourself some desk-sized tools, perhaps consider an engraver as well! Video after the break.

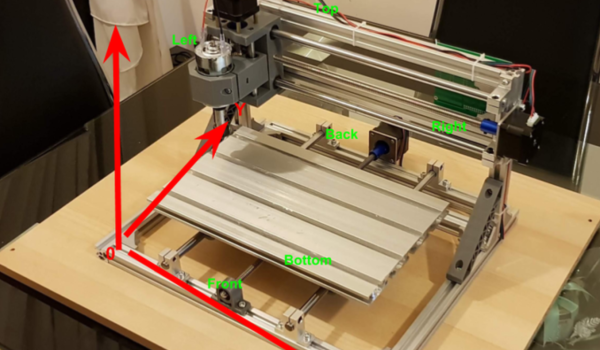
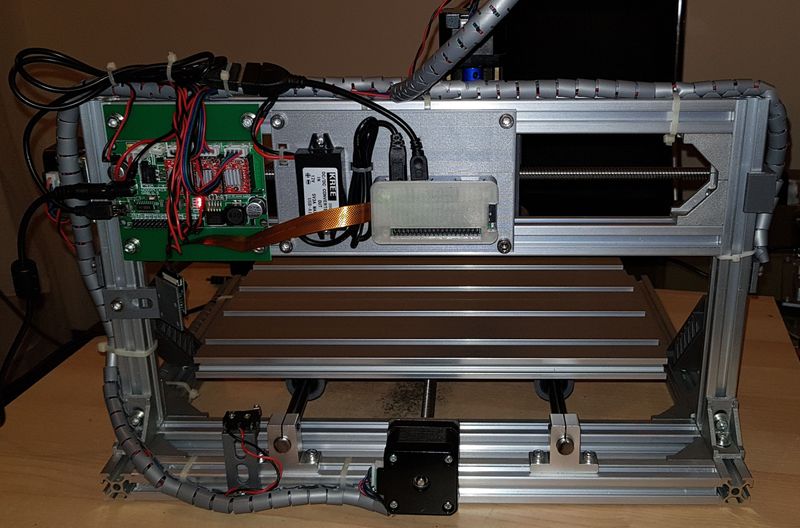 Which cheap CNC mills are we talking about? They go by a few names. Last year our own
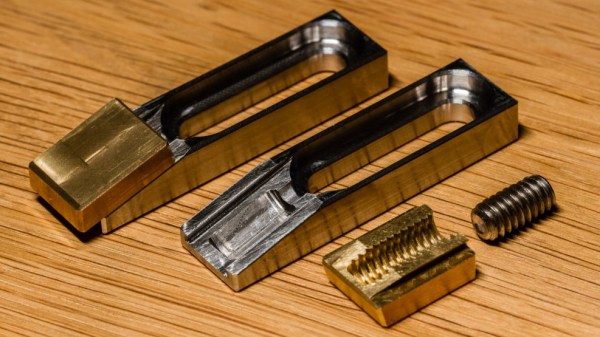
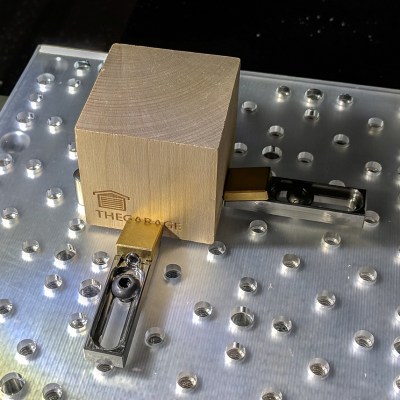 The usual way to secure a piece of stock to a fixturing table is to use top-down clamps, which hold the workpiece from the top and screw down into the table. However, this method limits how much of the stock can be accessed by the cutting tool, because the clamps are in the way. The most common way around this is to mount a vise to the table and clamp the workpiece in that. This leaves the top surface completely accessible. Unfortunately, [Kevin]’s benchtop Roland MDX-450 has a limited work area and he simply couldn’t spare the room. His solution was toe clamps, which screw down to the table and have little tabs that move inwards and downward. The tabs do the work of clamping and securing a piece of stock while maintaining a very low profile themselves.