A signal generator that can produce the usual sine, square, and triangle waves is handy and has been a staple of electronic benches for decades. Being able to craft custom signals opens up new horizons, but historically, these instruments were expensive. The price has come down, though, and [Rishin Goswami] made a 5 MHz 8-bit signal generator with 131K data points of arbitrary waveform for a low price: about $20. If you want to spend a bit more, you can improve the output DAC and op amps, but even that should cost well under $100, all in.
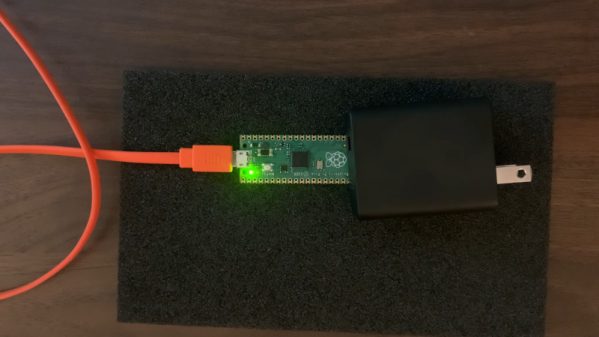
This is one of those projects that seems easy until you start digging into it. For example, storing some points and generating signals using any microcontroller isn’t a big deal. But minimizing jitter and maximizing speed with a conventional processor is difficult. That’s why [Rishin] uses a Raspberry Pi Pico. The programmable I/O units are perfect for generating waveform data fast and reliably. You can see the project go through its paces in the video below.
The Pi streams data to an 8-bit DAC. However, it would be easy to improve resolution with a different converter. The DAC0808 also limits the instrument’s sample rate. The processor could likely go much faster if it had a DAC accommodating higher speeds.
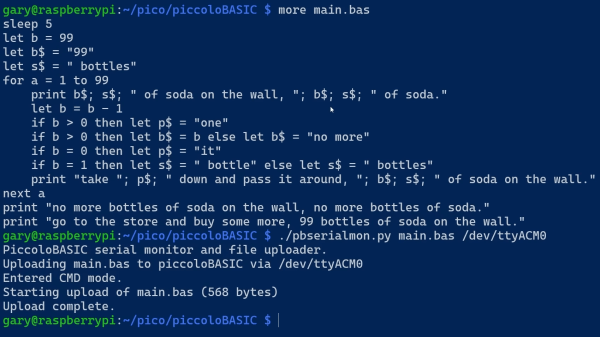
This is just a proof-of-concept, so don’t expect fancy GUIs or the ability to import spreadsheets. You control the device from a command-line-like interface. Still, a good example of how to take advantage of the Pi’s hardware. We took a shot at a similar device nearly a decade ago. Those programmable I/O blocks are finding uses in some surprising applications.