ABS is a durable material that can be 3D printed, but requires a 100° C build surface. The print bed of [Pat]’s Bambu Lab A1 Mini is unable to get that hot, which means he can not print ABS…or can he? By fiddling a few settings, he prints ABS no problem with only a 60° C bed, thanks to a PLA interface layer.
Here’s what’s going on: first [Pat] prints a single layer of PLA, then does a filament swap for ABS (which the printer thinks is PETG with extrusion temperature bumped to 255° C and a tweaked flow rate) and lets the print finish. The end result is an ABS part with a single layer of PLA at the bottom, all printed on a 60° C bed. That PLA layer peels off easily, leaving a nice finish behind.
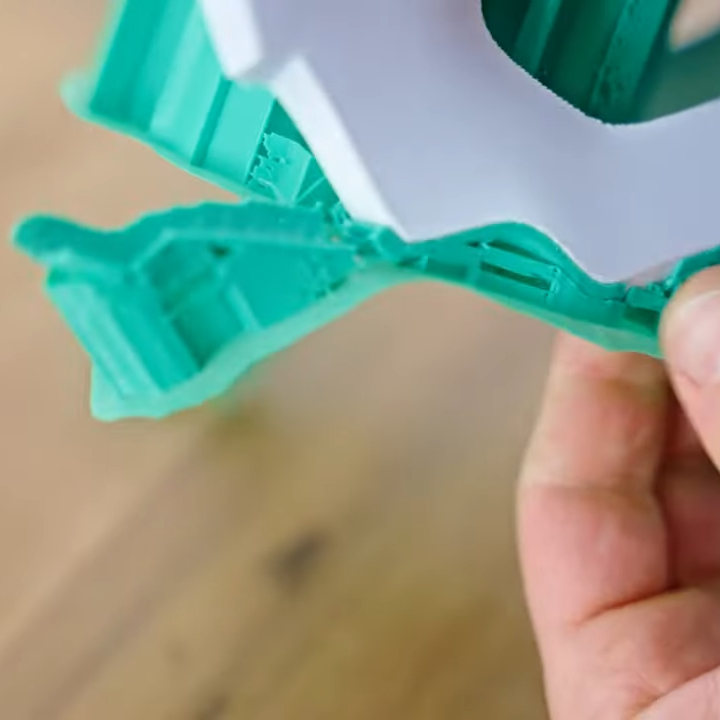
[Pat] is printing small parts in ABS for a custom skeletal mouse shell (pictured above) and his results are fantastic. We’re curious how this technique would fare with larger ABS objects, which tend to have more issues with warping and shrinkage. But it seems that at least for small parts, it’s a reliable and clever way to go.
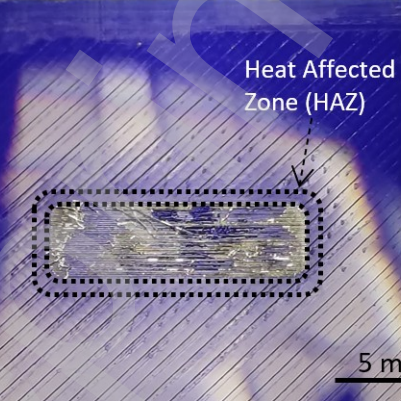
We originally saw how [JanTec Engineering] used this technique to get less warping with ABS. As for why PLA is the way to go for the interface layer, we’ve learned that PLA only really truly sticks to PLA, making it a great interface or support for other filaments in general. (PETG on the other hand wants to stick to everything but PLA.)