We will be the first to admit that it’s often hard to be productive while working from home, especially if no one’s ever really looking over your shoulder. Well, here is one creepy way to feel as though someone is keeping an eye on you, if that’s what gets you to straighten up and fly right. The Eyecam research project by [Marc Teyssier] et. al. is a realistic, motorized eyeball that includes a camera and hangs out on top of your computer monitor. It aims to spark conversation about the sensors that are all around us already in various cold and clinical forms. It’s an open source project with a paper and a repo and a how-to video in the works.
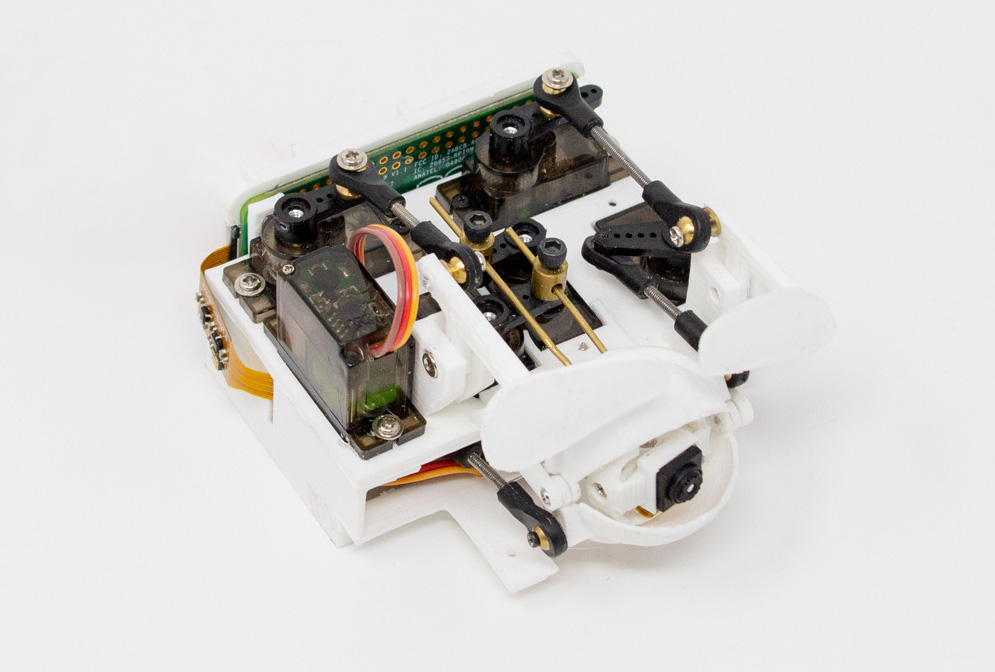 The eyebrow-raising design pulls no punches in the uncanny department: the eye behaves as you’d expect (if you could have expected this) — it blinks, looks around, and can even waggle its brow. The eyeball, brow, and eyelids are actuated by a total of six servos that are controlled by an Arduino Nano.
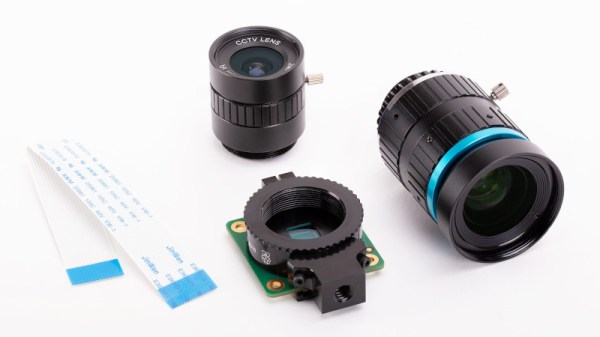
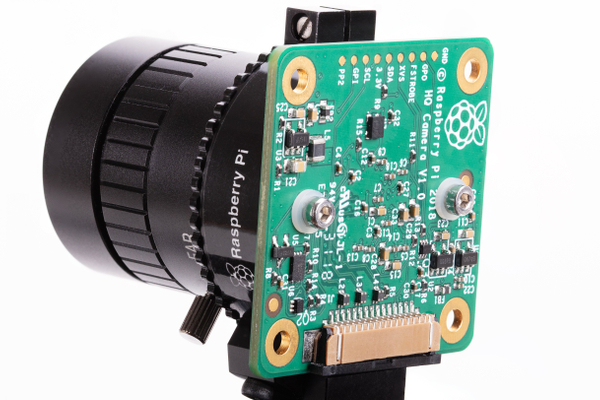
Inside the eyeball is a Raspberry Pi camera connected to a Raspi Zero for the web cam portion of this intriguing horror show. Keep an eye out after the break for the Eyecam infomercial.
Creepy or fascinating, it succeeds in making people think about the vast amount of sensors around us now, and what the future of them could look like. Would mimicking eye contact be an improvement over the standard black and gray oblong eye? Perhaps a pair of eyes would be less unsettling, we’re not really sure. But we are left to wonder what’s next, a microphone that looks like an ear? Probably. Will it have hair sprouting from it? Perhaps.
Yeah, it’s true; two eyes are more on the mesmerizing side, but still creepy, especially when they follow you around the room and can shoot frickin’ laser beams.