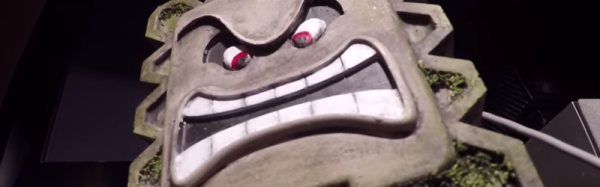
[Geeksmithing] wanted to respond to a challenge to build a USB hub using cement. Being a fan of Mario Brothers, a fitting homage is to build a retro-gaming console from cement to look just like your favorite Mario-crushing foe. With a Raspberry Pi Zero and a USB hub embedded in it, [Geeksmithing] brought the Mario universe character that’s a large cement block — the Thwomp — to life.
[Geeksmithing] went through five iterations before he arrived at one that worked properly. Initially, he tried using a 3D printed mold; the cement stuck to the plastic ruining the cement on the face. He then switched to using a mold in liquid rubber (after printing out a positive model of the Thwomp to use when creating the mold). But the foam board frame for the mold didn’t hold, so [Geeksmithing] added some wood to stabilize things. Unfortunately, the rubber stuck to both the foam board and the 3D model making it extremely difficult to get the model out.
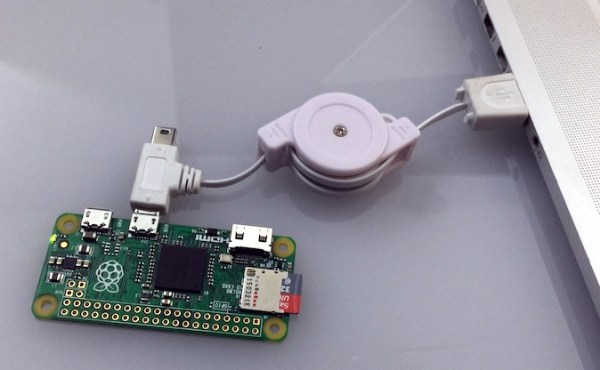
![Like [Han] in carbonite, that's a Rapsberry Pi Zero being encased in cement](https://hackaday.com/wp-content/uploads/2016/12/raspberry-pi-thwomp.png?w=400)
The final casting worked and after painting, [Geeksmithing] had a finished cement Thwomp console that would play retro games. He missed the deadline for the USB Hub Challenge, but it’s still a great looking console, and his video has a lot of detail about what went wrong (and right) during his builds. There’s a great playlist on YouTube of the other entries in the challenge, check them out along with [Geeksmithing]’s video below!


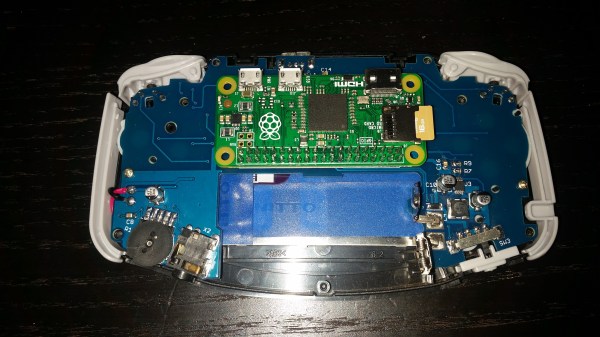
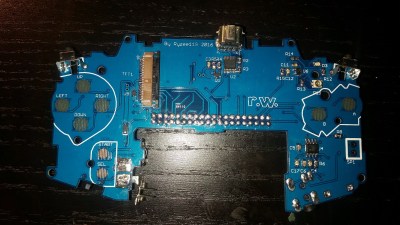
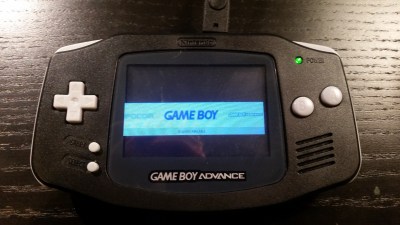 It’s not until you notice that it really shouldn’t be playing any games without a cartridge inserted that you know something is not right in the Mushroom Kingdom. When you look inside you see the edge of a Raspberry Pi Zero instead of the card edge connector you expected.