Prosumer DSLRs have been a boon to the democratization of digital media. Gear that once commanded professional prices is now available to those on more modest budgets. Not only has this unleashed a torrent of online content, it has also started a wave of camera hacks and accessories, like this automatic focus puller based on a Kinect and a Raspberry Pi.
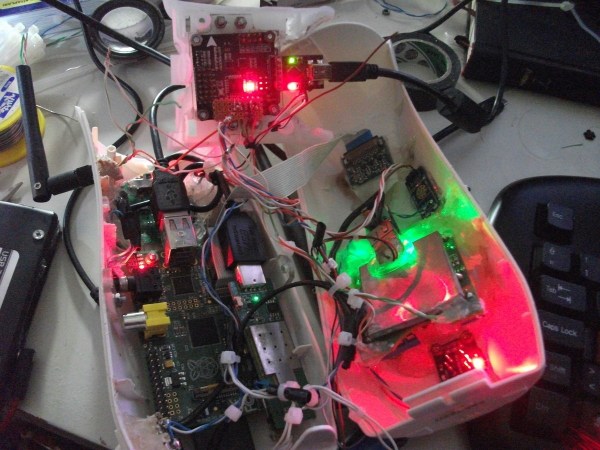
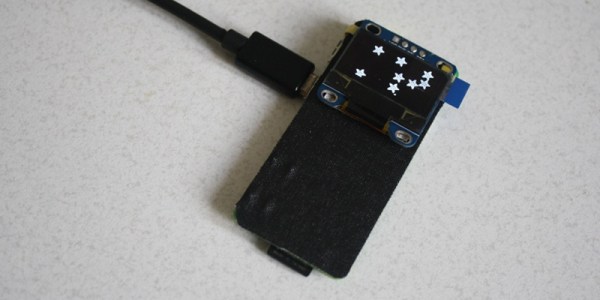
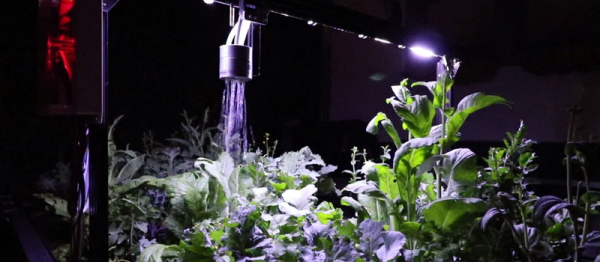
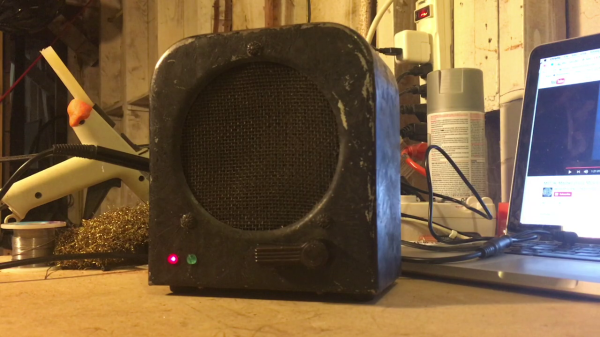
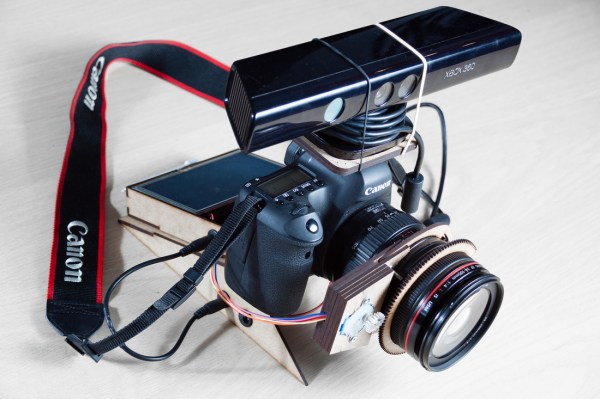
For [Tom Piessens], the Canon EOS 5D has been a solid platform but suffers from a problem. The narrow depth of field possible with DSLRs makes it difficult to maintain focus on subjects that are moving relative to the camera, making follow-focus scenes like this classic hard to reproduce. Aiming for a better system than the stock autofocus, [Tom] grafted a Kinect sensor and a stepper motor actuator to a Raspberry Pi, and used the Kinect’s depth map to drive the focus ring. Parts are laser-cut, including a nice enclosure for the Pi and display that makes the whole thing reasonably portable. The video below shows the focus remaining locked on a selected region of interest. It seems like movement along only one axis is allowed; we’d love to see this system expanded to follow a designated object no matter where it moves in the frame.
If you’re in need of a follow-focus rig but don’t have a geared lens, check out these 3D-printed lens gears. They’d be a great complement to this backwoods focus-puller.
Continue reading “Kinect And Raspberry Pi Add Focus Pulling To DSLR”