We see many projects here at Hackaday, about which their creators are unreasonably modest. We like a good cyberdeck, and we think [betaraybiff] is one of those creators from their project description for a Prototype Cyberdeck of Questionable Practical Use. It may be a prototype, but we think it could be quite a practical computer.
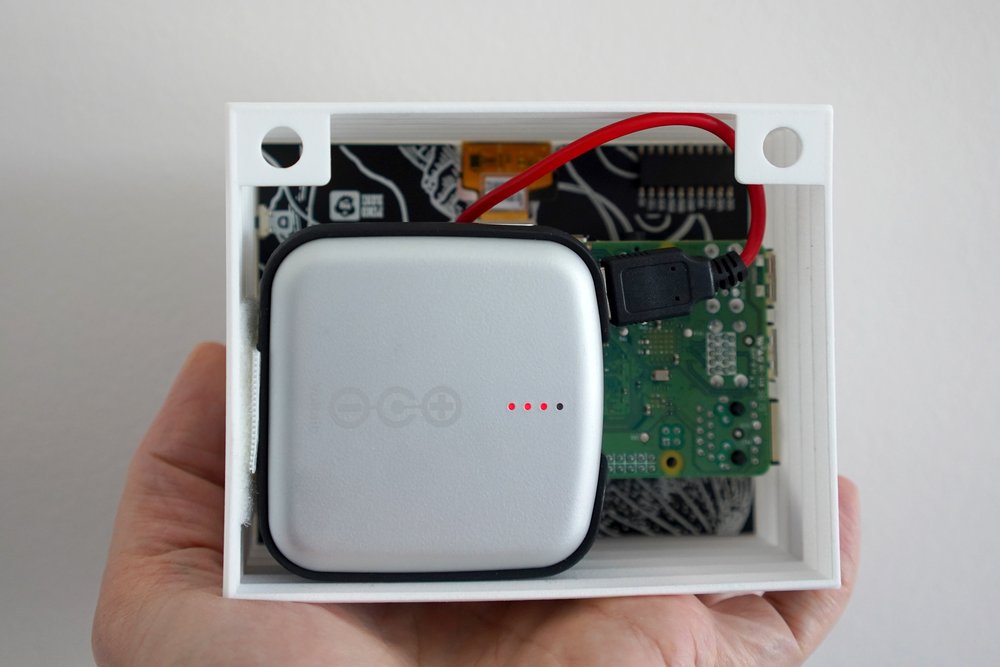
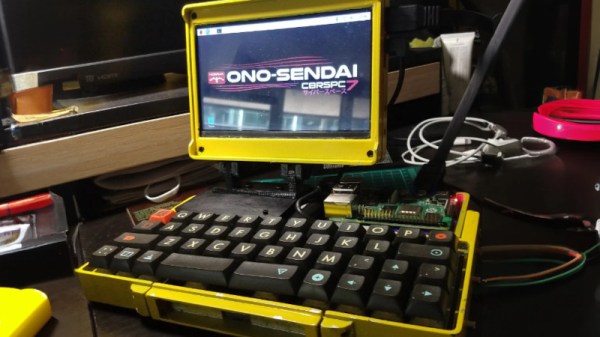
At its heart is the ubiquitous Raspberry Pi 4 paired with a PiSugar power supply and a minimalist mechanical keyboard. The case is the interesting part, because it’s well-designed to be 3D printed in sections with the HDMI display hinging up from above the keyboard. The Pi is open and visible on top of the deck, but this could easily be covered with another printed piece if desired.
So we disagree on the practicality, given a train journey and this cyberdeck we think we could easily crack out a Hackaday article or two. Never undersell your creations, like this one they’re almost certainly better than you think.
If you’d like to see more of the 2022 Cyberdeck Contest, take a look at the best of the best.