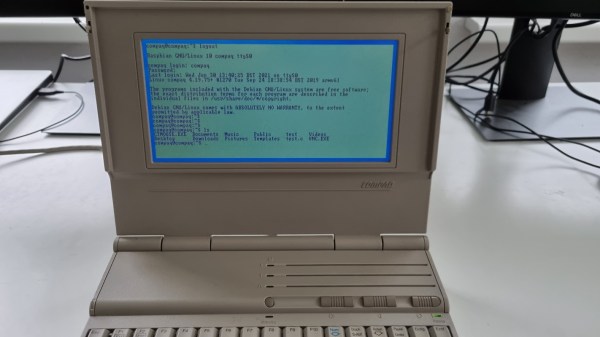
A common example of the sheer amount of computing power available to almost anyone today is comparing a smartphone to the Apollo guidance computer. This classic computer was the first to use integrated circuits so it’s fairly obvious that most modern technology would be orders of magnitude more powerful, but we don’t need to go back to the 1960s to see this disparity. Simply going back to 1989 and getting a Compaq laptop from that era running again, while using a Raspberry Pi Zero to help it along, illustrates this point well enough.
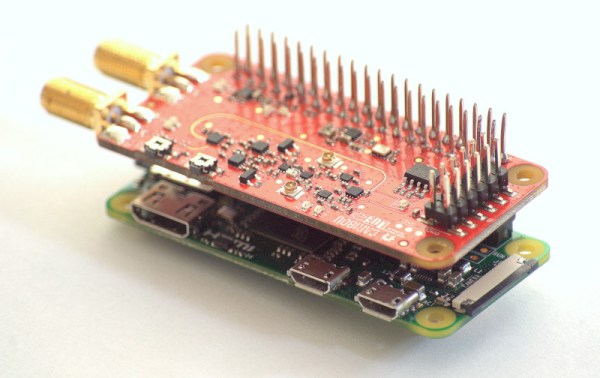
[befinitiv] was able to get a Raspberry Pi installed inside of the original computer case, and didn’t simply connect the original keyboard and display and then call it a completed build. The original 286 processor is connected to the Pi with a serial link, so both devices can communicate with each other. Booting up the computer into DOS and running a small piece of software allows the computer into a Linux terminal emulator hosted on the Raspberry Pi. The terminal can be exited and the computer will return back to its original DOS setup. This also helps to bypass the floppy disk drive for transferring files to the 286 as well, since files can be retrieved wirelessly on the Pi and then sent to the 286.
This is quite an interesting mashup of new and old technology, and with the Pi being around two orders of magnitude more powerful than the 286 and wedged into vacant space inside the original case, [befinitiv] points out that this amalgamation of computers is “borderline useful”. It’s certainly an upgrade for the Compaq, and for others attempting to get ancient hardware on the internet, don’t forget that you can always use hardware like this to access Hackaday’s retro site.