A wise senator once noted that democracy dies with thunderous applause. Similarly, it’s also how privacy dies, as we invite more and more smart devices willingly into our homes that are built by companies that don’t tend to have our best interests in mind. If you’re not willing to toss all of these admittedly useful devices out of the house but still want to keep an eye on what they’re doing, though, [Nick Bild] has a handy project that lets you keep an eye on them when they try to access the network.
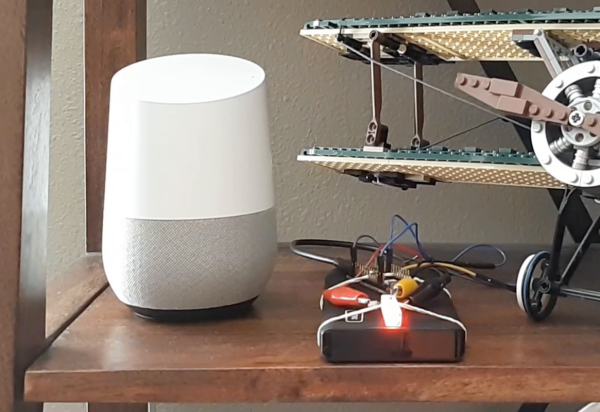
The device is built on a Raspberry Pi that acts as a middle man for these devices on his home network. Any traffic they attempt to send gets sent through the Pi which sniffs the traffic via a Python script and is able to detect when they are accessing their cloud services. From there, the Pi sends an alert to an IoT Arduino connected to an LED which illuminates during the time in which the smart devices are active.
The build is an interesting one because many smart devices are known to listen in to day-to-day conversation even without speaking the code phrase (i.e. “Hey Google” etc.) and this is a great way to have some peace-of-mind that a device is inactive at any particular moment. However, it’s not a foolproof way of guaranteeing privacy, as plenty of devices might be accessing other services, and still other devices have even been known to ship with hidden hardware.