For anyone who has dealt with the programming language Forth, odds are good that you picked it up back in the 80s. Since the language is still in use for many applications, though, you might not have this sort of nostalgic feeling for the language that some might have. For that, though, you might want to try out [Richard]’s implementation which simulates the microcomputers of the 80s using this unique language.
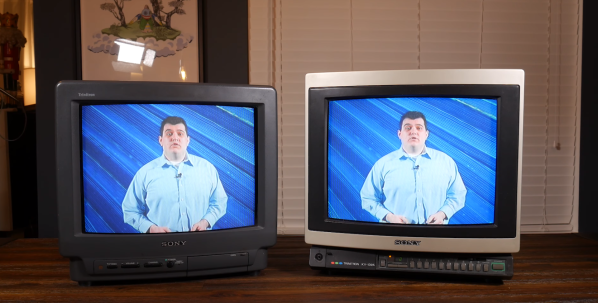
The system has an FPGA-based CPU written in Verilog. It runs on a Nexys-3 board and features PS/2 Keyboard input, a VGA output with a VHDL VT100 terminal emulation module, access to the Flash and onboard SRAM, and a UART. With all of that put together it’s virtually a Forth-based time machine. It’s also extremely well documented even if you’re just curious how it works and aren’t planning on building your own.
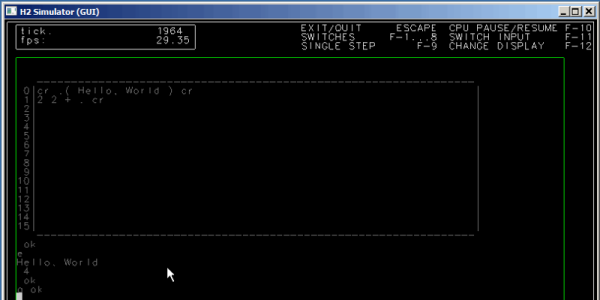
The project also includes a CPU simulator written in C which can model the entire computer if you don’t have the hardware for building the actual computer. [Richard] also released everything that you’d need to roll out your own Forth computer on the GitHub page. There are other ways of heading way back to the 1980s, though, like using the quirky Parralax Propeller.


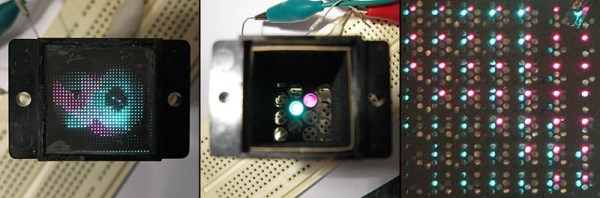
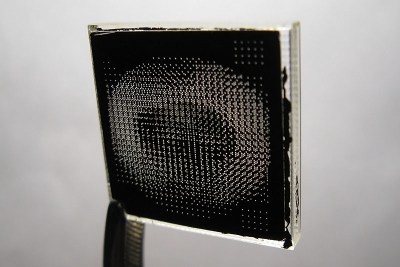
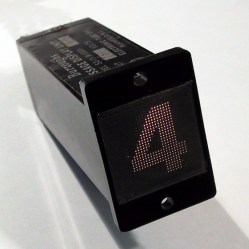 Ever heard of a sphericular display? [AnubisTTP] laid hands on