The history of consumer electronics is littered with devices that are relatively uninteresting at first, but become spectacular platforms for hardware exploitation once a few select people figure out how everything ticks. The Linksys WRT54G was just a router until someone figured out how to put a complete Linux system on them. Those RTL-SDR dongles were just for capturing over the air TV until someone realized they were actually a software-defined radio. The CueCat was just dot-com boom marketing garbage until… well, we picked up a lot of CueCats regardless.
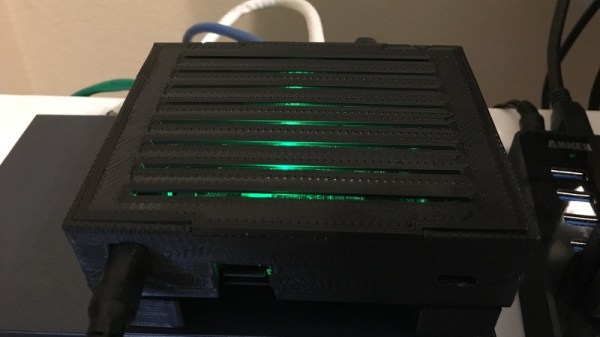
Now there’s a new device sitting on the shelves at Walmart just waiting for some Linux hackers to have a go. It’s the Tzumi MagicTV, a device that allows you to watch over-the-air television on your phone. What’s inside? It’s a WiFi router, an RTL-SDR, and a battery pack in one tiny package. The best part? It costs $13, and apparently Walmart is just blowing them out.
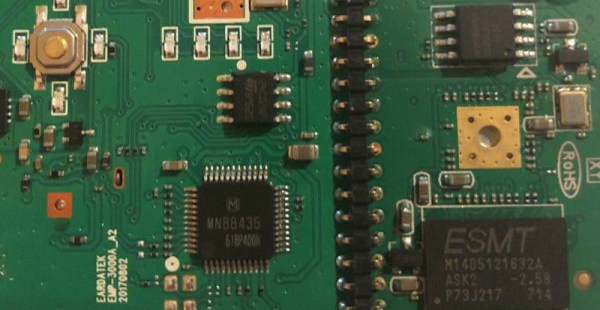
Right now, there aren’t too many details on what’s going on inside the Tzumi MagicTV box, however, the discussion over on the RTLSDR subreddit has revealed enough to give us a good idea of what’s going on. The router inside the MagicTV is a TP-Link TL-WR703N, the exact same WiFi router that took the WRT54G’s place as the king of hackable routers a few years ago. The SDR chip is the same as the Astrometa DVB-T2, one of the common TV tuners on-a-stick. Other than that, there are TX and RX pins on the board, SSH is open, no one knows the password, but as of this writing, a few people are putting John the Ripper to work trying to break into this box.
What is the end goal of cracking this Linux box wide open? Well, it’s a WiFi router and an SDR, so if you want to make your own Flightaware ADS-B logger, that could be on the table. Of course, you could actually use it for its intended purpose and pull down over-the-air TV to your local network, but that seems so pedestrian after getting root on a $13 box from Walmart.
Thanks [Adam] for the tip!

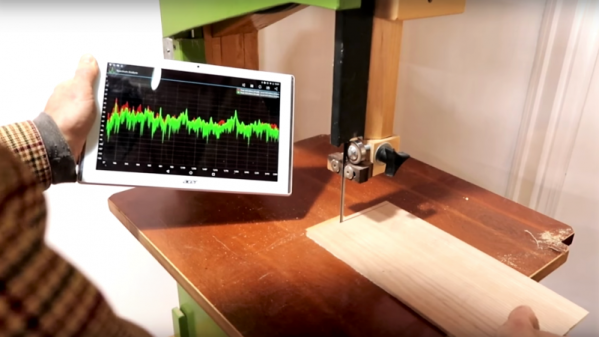
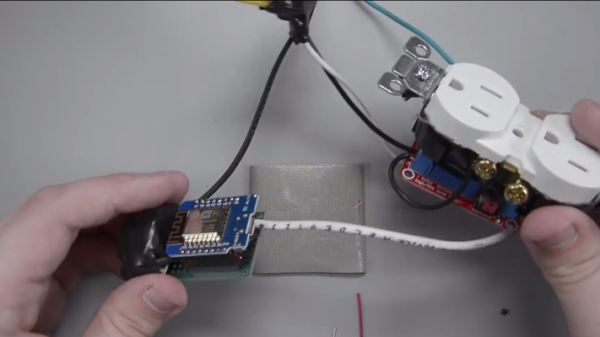
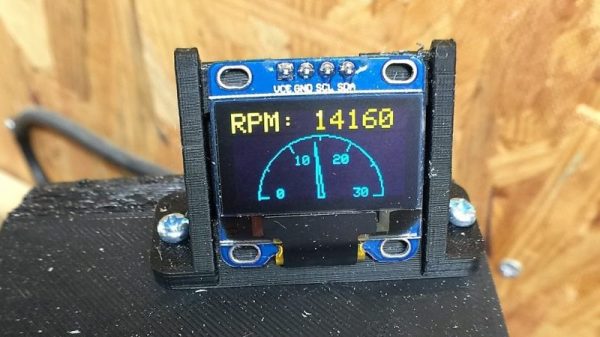
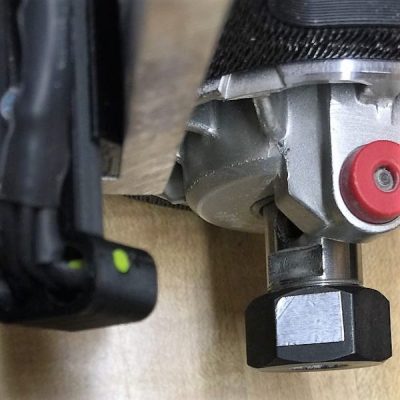 The CNC router in question is the popular Sienci, and the 3D-printed brackets for the photodiode and LED are somewhat specific for that machine. But [tmbarbour] has included STL files in his exhaustively detailed write-up, so modifying them to fit another machine should be easy. The sensor hangs down just far enough to watch a reflector on one of the flats of the collet nut; we’d worry about the reflector surviving tool changes, but it’s just a piece of shiny tape that’s easily replaced. The sensor feeds into a DIO pin on a Nano, and a small OLED display shows a digital readout along with an analog gauge. The display update speed is decent — not too laggy. Impressive build overall, and we like the idea of using a piece of PLA filament as a rivet to hold the diodes into the sensor arm.