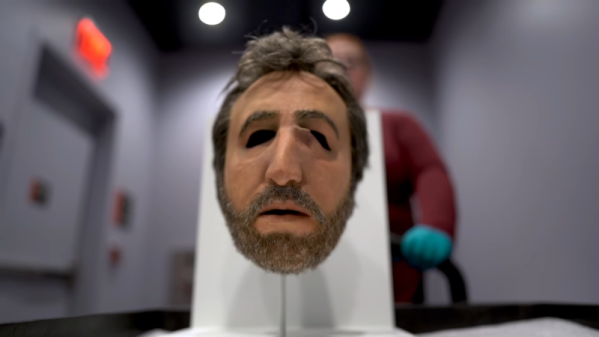
In a year of semiconductor shortages it’s a difficult task to deliver an electronic conference badge, so this year’s BornHack camp in Denmark had an SAO prototyping board as its badge. Some people made blinkies with theirs, but that wasn’t enough for [Inne] who had to go a step further with a light-up pneumatic bubble badge. It’s based upon a previous project producing silicone inflatable bubbles, but in a portable badge form.
On the front of the PCB is a multi-colour LED for illumination, while on the back is a small microcontroller board, a pressure sensor, and a motor driver circuit. A small air pump and battery sits in a pocket connected by a cable and a flexible tube, allowing the bubble to inflate at will. An interesting detail was the use of a cut-down hypodermic needle to carry the air through the silicone wall of the bubble. When seen up close at the camp it was an unnervingly organic effect, if there’s an uncanny valley of badges this is it.
We don’t see much in the way of soft robotics on these pages, so this happy crossover with BadgeLife is a special treat. It’s not entirely alone here though.
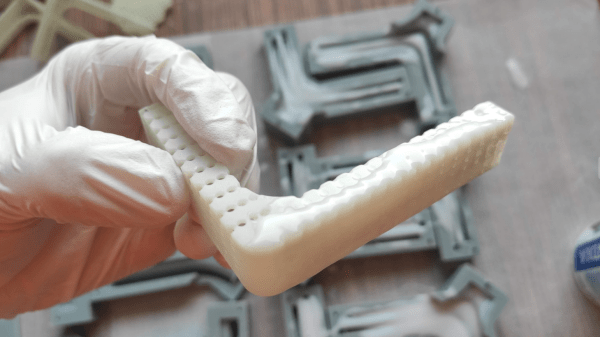
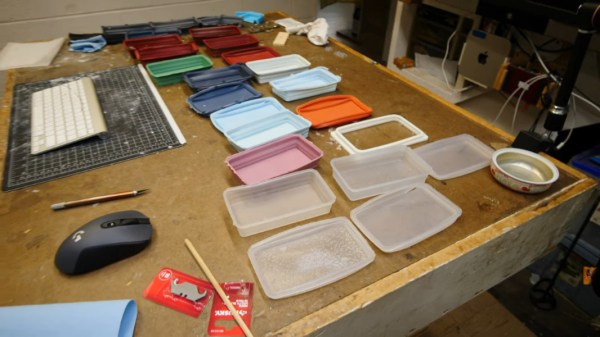
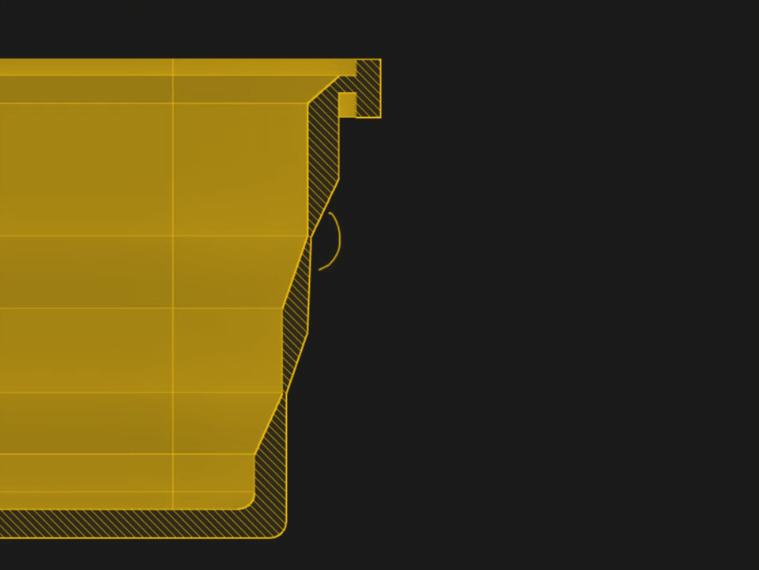
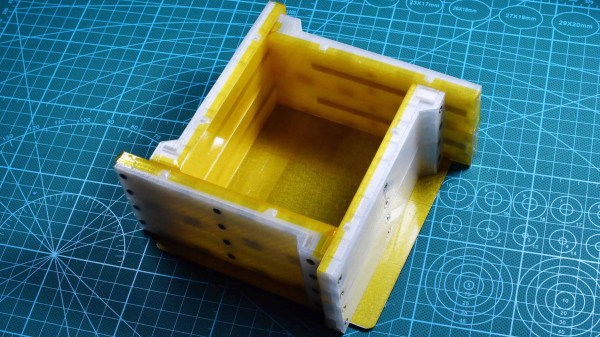
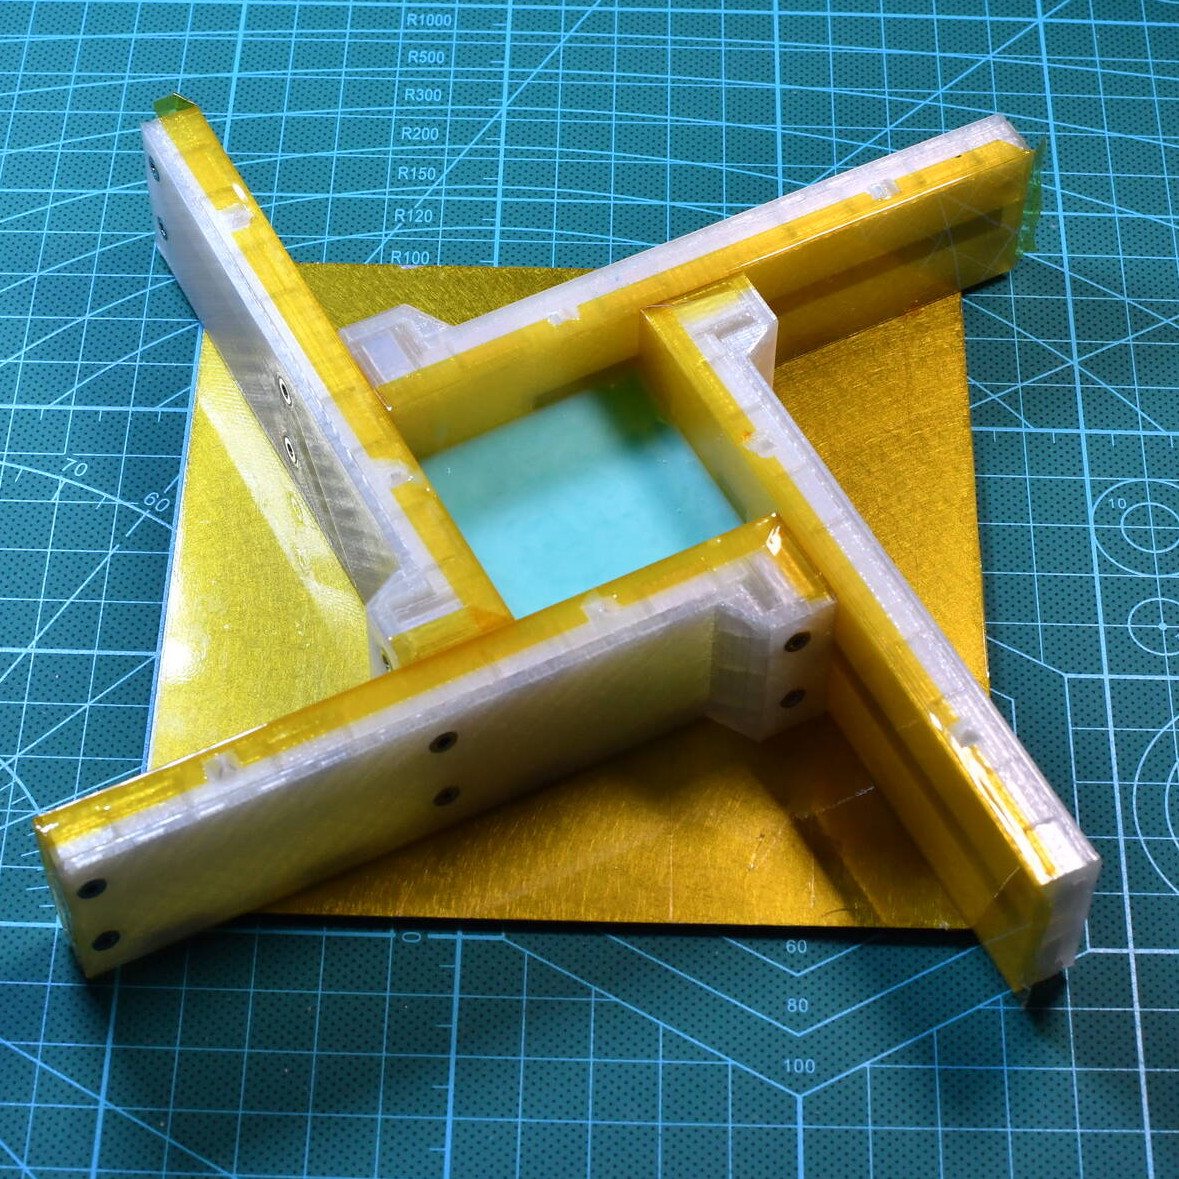
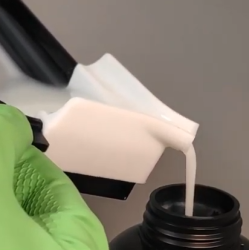 The parts [Jan] is making are interesting, as well. He observed that the process of swapping resin in his printer’s build tank was an unpleasant experience for a number of reasons, chief among them being that resin is sticky and messy, and the shape of the build tank doesn’t make pouring resin from it a clean job.