[Discreet Electronics Guy] sends in his very pocket sized boom box.
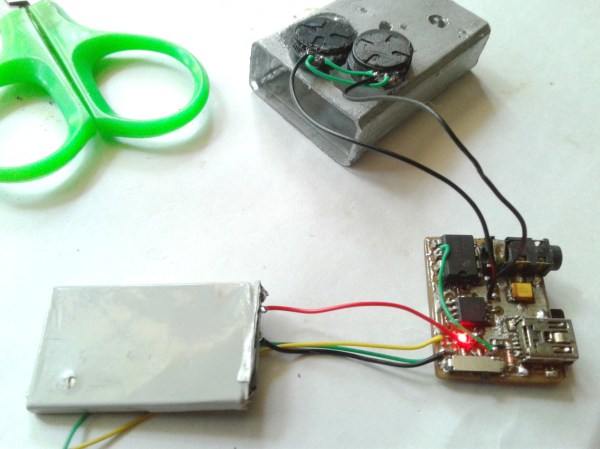
One thing we love about [Discreet Electronics Guy]’s projects is how they really showcase that a cool hack is possible without access to 3D printers, overnight PCB services, and other luxuries. Everything in this board is hand made by electronics standards. The board is etched, the vias are wires, and even the case seems to be a modified plastic mint container.
The boombox itself uses an ATiny85 at its core which plays .wav files from an SD card. This is routed through an audio amp which powers two small speakers. We love the volume knob being a board mount potentiometer. The device even features its own small LiON battery pack. If you don’t want to enjoy the deep sound of the two small speakers there’s a headphone jack.
He’s got a great write-up on the circuit design on his website and you can see a video of him presenting the project here or after the break.