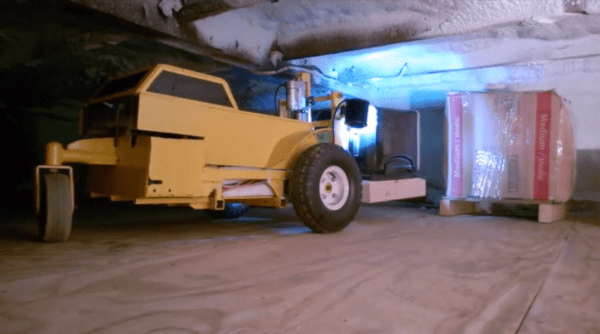
Houses with crawlspaces are fairly common in some geographic regions. The crawlspace can make it easier to access things like plumbing and electrical wiring, and can even be used as storage in homes that don’t (or can’t) have a basement. Along with improved building ventilation, these some of the perks compared to homes built on a solid slab of concrete. These crawlspaces aren’t exactly easy to get around in, though, but [Dave] has an easier way to get stuff in and out of these useful, but small, spaces.
Enter the crawl space forklift. Made with largely off-the-shelf components, the robot includes a few standard motors and linear actuators to move around and operate the front fork. That’s all pretty standard, but this build really shines with its use of FPV camera, monitor, and transmitter that allow the pilot to navigate the robot in the small space using remote control. For those safety-conscious among us, there is also a fire extinguisher ball on board which self-activates in case the robot catches on fire under his house.
This is a great, high-quality build that shows how common parts can make something revolutionary with the right idea. Identifying a problem and then building a solution, while not forgetting to spring for some safety equipment, can really make a difference even with something as simple as unoccupied space in a home. They can tackle tasks around the home, too.
Continue reading “Tiny Forklift Makes Unusable Space Usable”
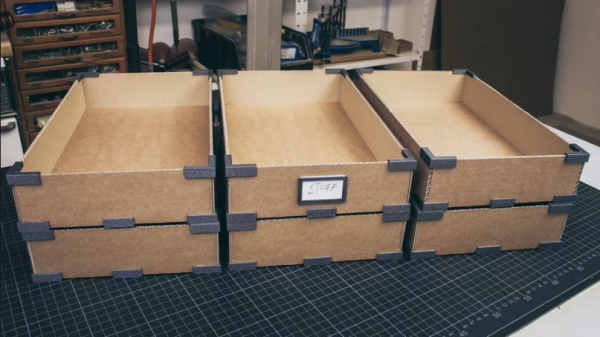
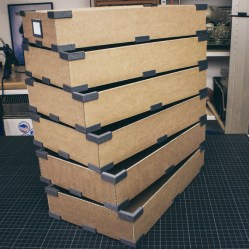 To solve these problems, [theguymasamato] decided to design his own