Once again, Uber found a company to build their ‘air taxis’. This time it’s Boeing. While there are no details on the Boeing bird, I’m going to propose again that Uber buy the Santa Monica airport as a hub for their air taxi program; SMO is going to be shut down anyway, and this is the funniest reality that can come from the idea of an ‘air taxi’ program.
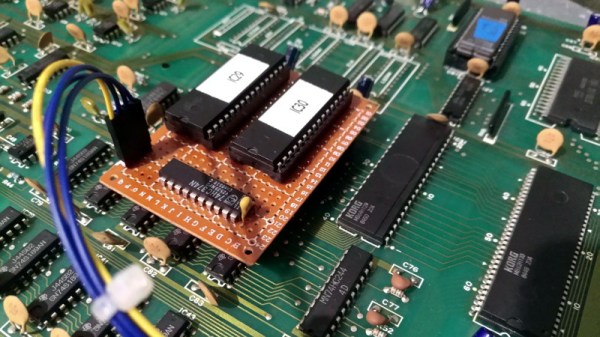
According to ancient astronaut theorists, one of the bigger problems with full-time tech YouTubers (think Dave and Fran here) is the insistence that YouTube suggests conspiracy theory videos as a related video. If you do a video teardown on Apollo flight hardware, you’re going to fall into the same category as people who believe the moon is hollow, people who believe the moon landing was faked, and recently, flat-earthers. This is a ‘bad move’ by YouTube because the Venn diagram of people who want to watch conspiracy videos and people who want to watch teardowns is two circles. It makes community engineering hard, and you get a lot of idiots on YouTube comments. YouTube is now changing the recommendation algorithm. There are other reasons YouTube is doing this, specifically relating to videos that aren’t about weird electronics, but we’re not going to talk about that here, thx.
This week was Winter NAMM, the National Association of… music, something something. That means you can go to Anaheim and check out all the musical instrument related stuff that will be released this year. Think of it as CES, only you don’t get the flu and want to murder everyone, and it’s about guitars and synths instead of Alexas duct taped to Roombas. Here’s what it was like last year, with the tl;dr being a wall of cabs, Euroracks everywhere, and the best way to get started in the industry is to buy some old trademarks, not by actually designing something new. Speaking of, here are some Kay reissues.
So, what’s cool at NAMM this year? Let’s do guitars first. Gibson’s 2019 lineup is not dumb, a reversal of the previous twenty years; There’s a Les Paul Standard with humbuckers or P90s, and there’s a TV Junior. Fender? There’s an acoustasonic Tele that was terrible the first time around, and it’s decidedly not terrible. The Electric XII is back, finally, and it’s even cooler than the Electric Six wait never mind it has a 1 11/16th nut. There is no Tele Plus with a Honda Goldwing emblem, but we make do with what we can. The pyramids are upside-down. Buy a dookie pedal.
How about some synths? Behringer is cranking out another clone, this time an Oberheim OB-Xa. Word on the street is that a 303 is on the horizon, but the vocoder is out now. The Odyssey exists, and the SH-101 clone comes with a handle so you can keytar it. Guitars with Raspberry Pis? Could it be? Yes, Lucern Custom Instruments is collaborating with Tracktion to put a synth in a guitar. There’s a touchscreen BioTek 2 synth installed below the bridge. It’s like something [Matt Bellamy] would play, but it’s got a Raspberry Pi.
Elektron has a new sampler. Oh my god, the only way to make money in the instrument industry is to buy up trademarks. Well, trademarks and signature amps and guitars. Speaking of, where’s the signature Vangelis synths?
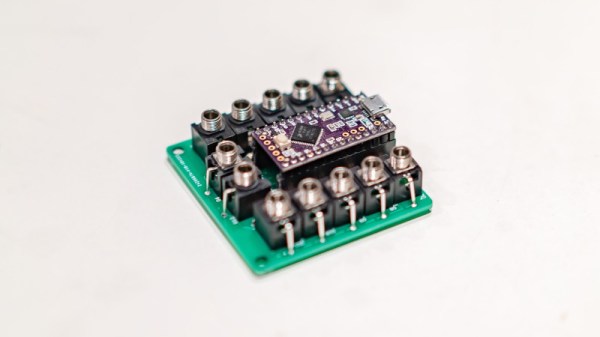
The news that will have the biggest impact a decade from now is the announcement that MIDI 2.0 is getting ready for release. New features include auto-config with DAWs, extended resolution, and expressiveness (to stop the Western hegemony on electronic music), and backward compatibility with MIDI 1.0.
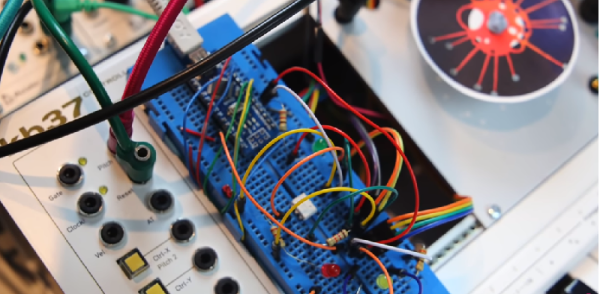
This isn’t explicitly NAMM-related, but Eurorack is now a thing and [Jan] is always coming up with some interesting synths-on-a-chip. This time, it’s a drum machine in a Eurorack format. Is it based on anything? Not really, although it would go well in any Detroit acid track. Check out the video.