Dowels are a useful woodworking technology making it easy to connect several pieces of timber, particularly with the aid of adhesive. However, depending on where you live, it can be difficult to come by a wide variety of stock. This is particularly important if you’re concerned about appearances – cheap pine dowels could spoil the look of a delicately finished hardwood piece, for example.
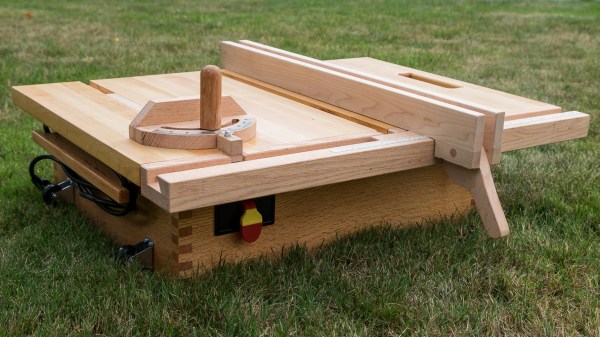
Thankfully, it’s easy to make your own dowels at home. [Pask Makes] has used a simple dowel plate before, but this time, decided to build the deluxe version. A thick steel plate is drilled with a series of holes, and then mounted to a wooden block. Square stock can then be forced through the holes to produce the dowels.
[Pask] notes that there are several methods to use the dowel plate. Hammering the wood stock through the holes works best for hardwoods, while fitting the square stock into the chuck of a power drill and forcing it through while spinning gives a better finish on softer woods. There are also useful tips on how best to produce dowels, with notes on strength and grain orientation.
It’s a useful tool to have in your workshop, and means you can turn just about any wood into dowels for your woodworking projects. If you’re fresh to the world of wood, worry not – we’ve got the primer to get you started. Video after the break.