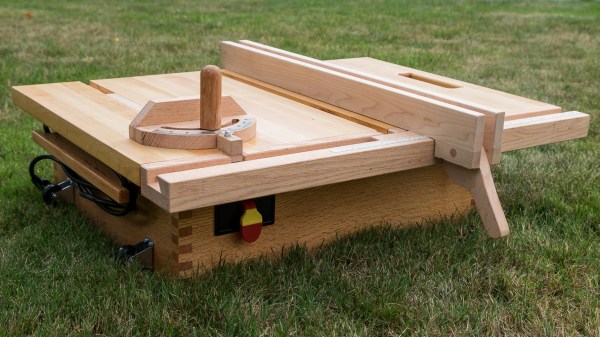
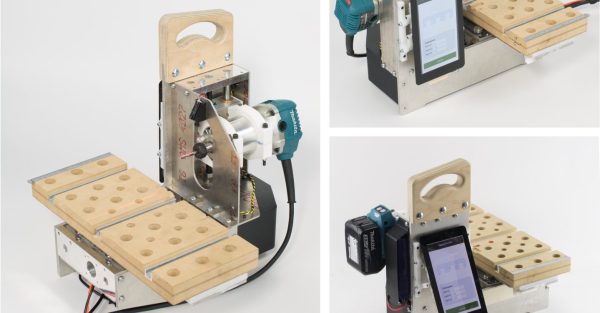
“Kid-friendly table saw” seems like either a contradiction, a fool’s errand, or a lawsuit waiting to happen; but this wooden table saw for kids actually fits the bill and shows off some incredible workmanship and attention to detail as well. The project works by using not a saw blade, but a nibbler attached to a power drill embedded inside.
Unsurprisingly, the key to making a “table saw” more kid-friendly was to remove the saw part. The nibbler will cut just about any material thinner than 3 mm, and it’s impossible for a child’s finger to fit inside it. The tool is still intended for supervised use, of course, but the best defense is defense in depth.
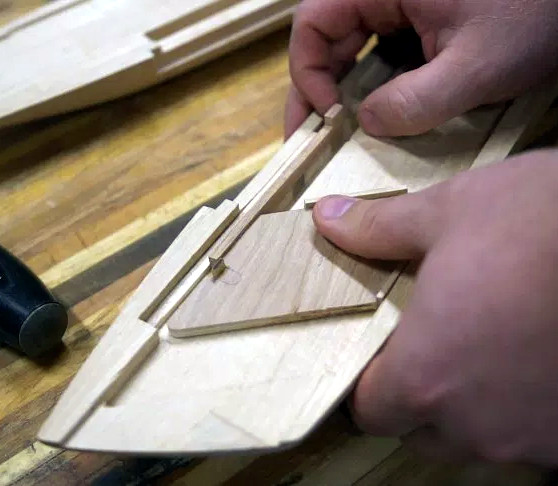
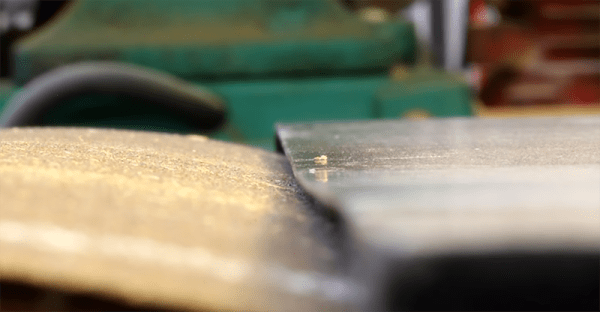
The workmanship on the child-sized “table saw” is beautiful, with even the cutting fence and power switch replicated. It may not contain a saw, but it works in a manner much like the real thing. The cutting action itself is done by an economical nibbler attachment, which is a small tool with a slot into which material is inserted. Inside the slot, a notched bar moves up and down, taking a small bite of any material with every stroke. Embedding this into the table allows for saw-like cutting of materials such as cardboard and thin wood.
The image gallery is embedded below and shows plenty of details about the build process and design, along with some super happy looking kids.
 The full MatchSticks creation flow goes like this: