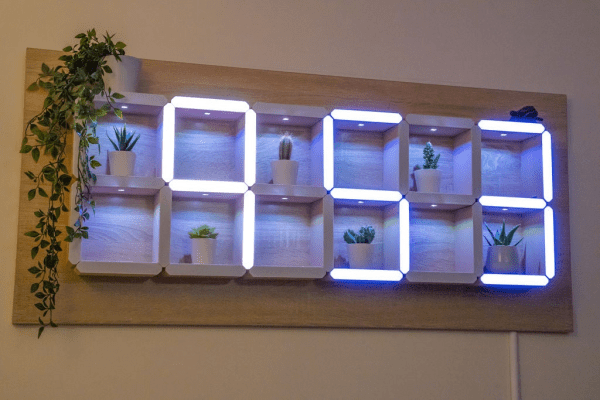
[Lewis] of [DIY Machines] was always on the lookout for that perfect something to hang above the couch. After spending a lot of time fruitlessly searching, he designed and built this awesome shelving unit with recessed lighting that doubles as a huge 7-segment clock.
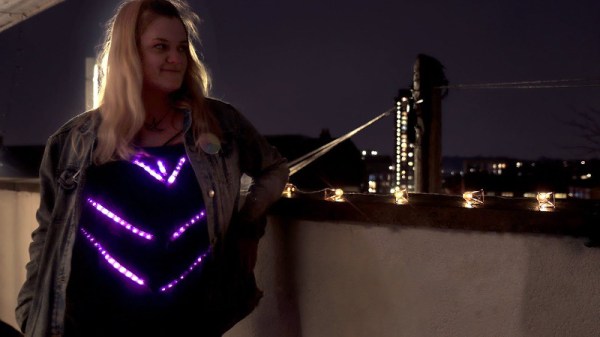
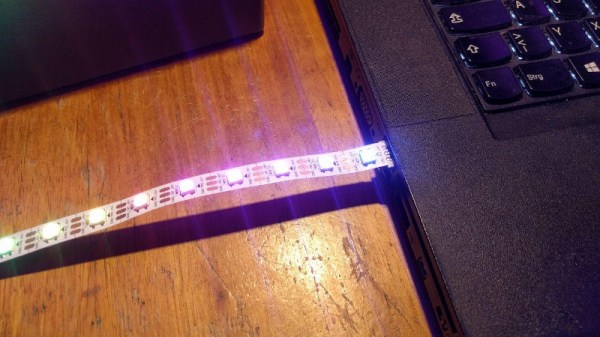
The clock part works as you probably expect — an Elegoo Nano fetches the time from a real-time clock module and displays it on the WS2812B LED strips arranged in 7-segment formations. There’s a photocell module to detect the ambient light level in the room, so the display is never brighter than it needs to be.
Don’t have a 3D printer yet? Then you may need to pass on this one. Aside from the wood back plane and the electronics, the rest of this build is done with printed plastic, starting with 31 carefully-designed supports for the shelves. There are also the LED strip holders, and the sleeve pieces that hide all the wires and give this project its beautifully finished look.
You may have noticed that the far left digit isn’t a full seven segments. If you’re committed to 24-hour time, you’d have to adjust everything to allow for that, but you’d end up with two more shelves. Given the fantastic build video after the break, it probably wouldn’t take too long to figure all that out.
We like big clocks and we cannot lie. If you have room for it, build something like this blinkenlit beauty.