One thing’s for sure: after seeing [Roland Van Roy] build a vertical mill from industrial scrap, we’ve got to find a better quality industrial scrapyard to hang around.
The story of this build started, as many good shop stories do, at the lathe, which in this case was also a scrapyard build that we somehow managed to miss when it first posted. This lathe is decidedly different from the common “Gingery method” we’ve seen a few times, which relies on aluminum castings. Instead, [Roland] built his machine from plate stock, linear slides, and various cast-off bits of industrial machines.
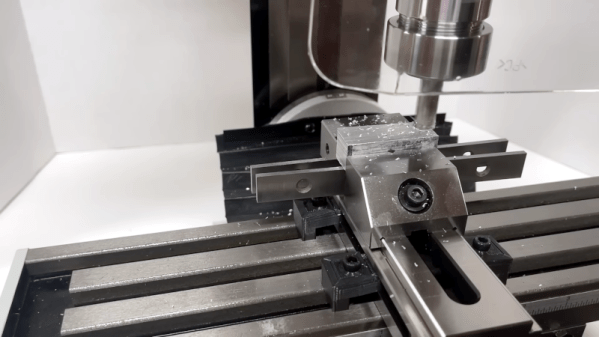
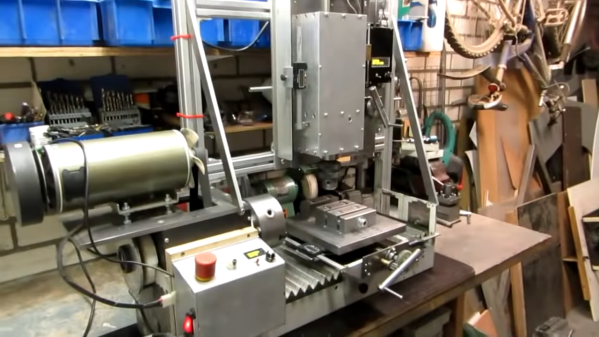
To make his lathe yet more useful, [Roland] undertook this build, which consists of a gantry mounted over the bed of the lathe. The carriage translates left and right along the bed while the spindle, whose axis lines up perfectly with the center axis of the lathe, moves up and down. [Roland] added a platform and a clever vise to the lathe carriage; the lathe tool post and the tailstock are removed to make room for these mods, but can be added back quickly when needed. Digital calipers stand in for digital read-outs (DROs), with custom software running on a Picaxe and a homebrew controller taking care of spindle speed control.
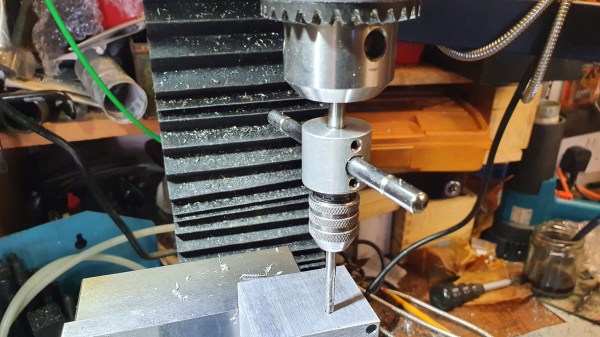
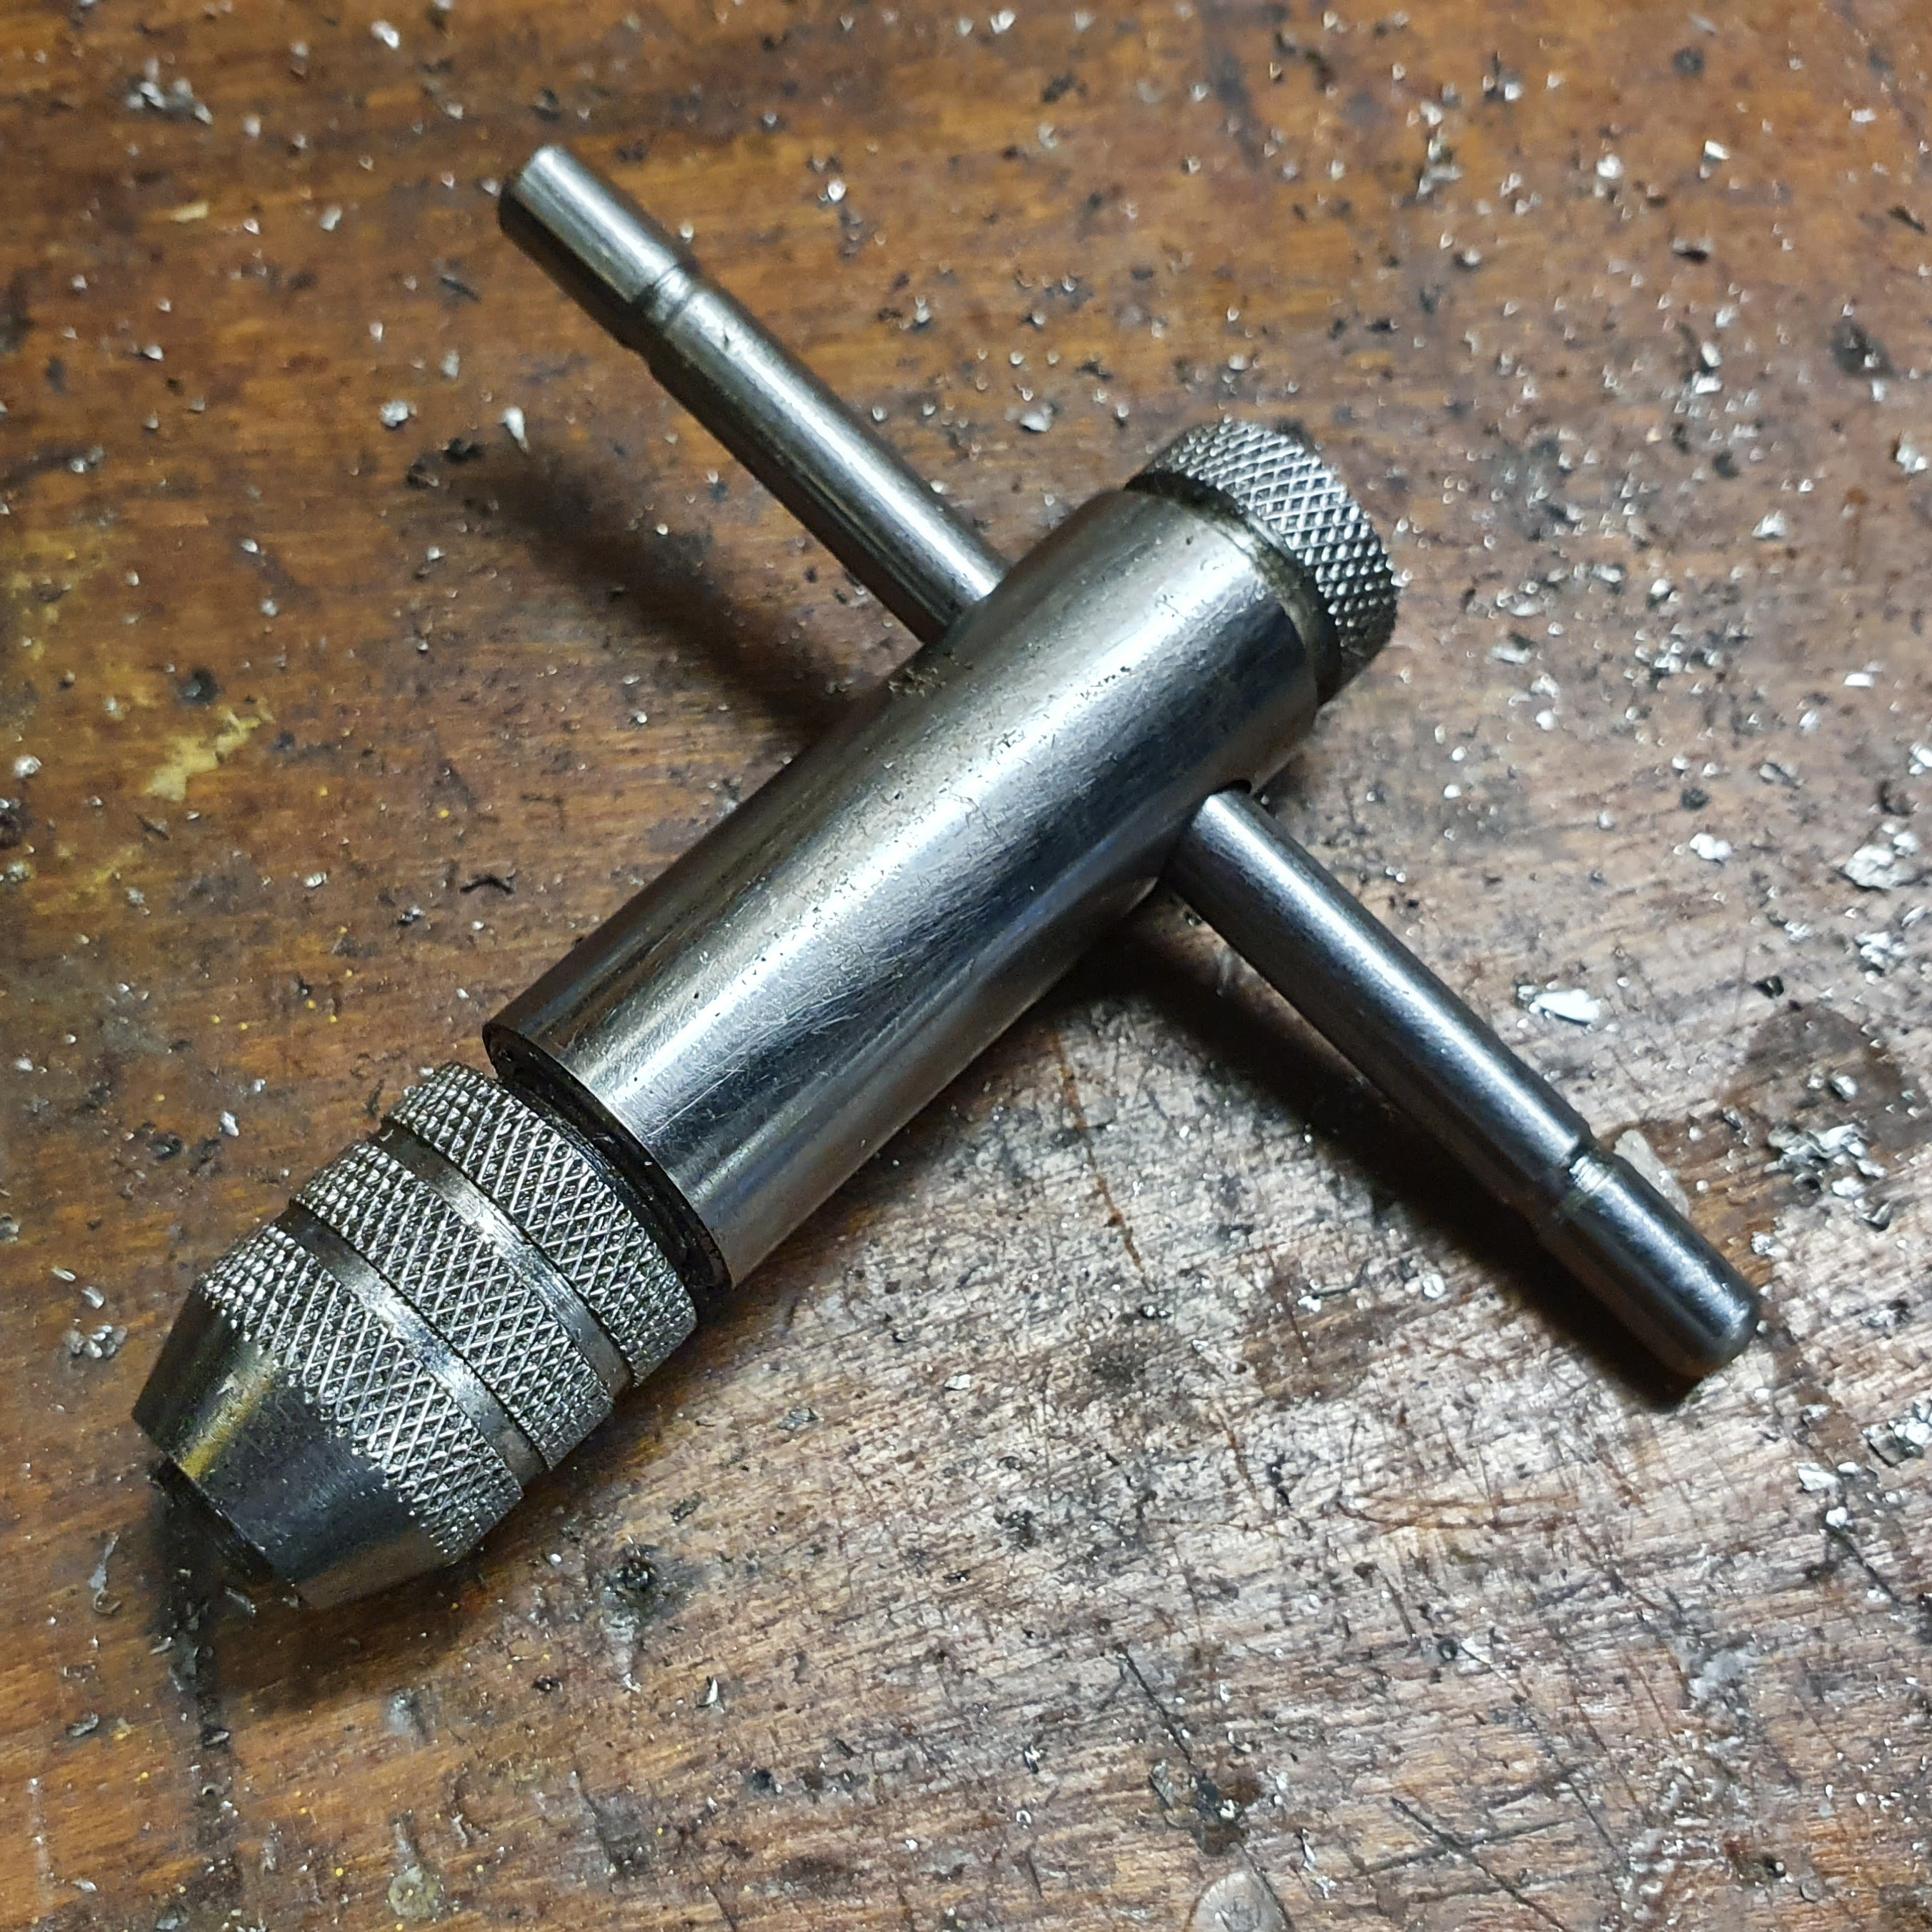
[Roland] reports that the machine, weighing in at about 100 kg, exhibits a fair amount of vibration, which limits him to lighter cuts and softer materials. But it’s still an impressive build, and what really grabbed us was the wealth of tips and tricks we picked up. [Roland] used a ton of interesting methods to make sure everything stayed neat and square, such as the special jig he built for drilling holes in the T-slot extrusions to the use of cyanoacrylate glue for temporary fixturing.
Continue reading “Vertical Mill Completes Scrapyard Lathe Build” →