The Flipper Zero can do all kinds of neat stuff, like helping you cut keys or decode various radio transmissions. However, until now, it hasn’t been particularly adept at persistence of vision tasks. The LightMessenger was designed for that very purpose, and [Derek] recently wrote up a deep-dive into the interesting gadget.
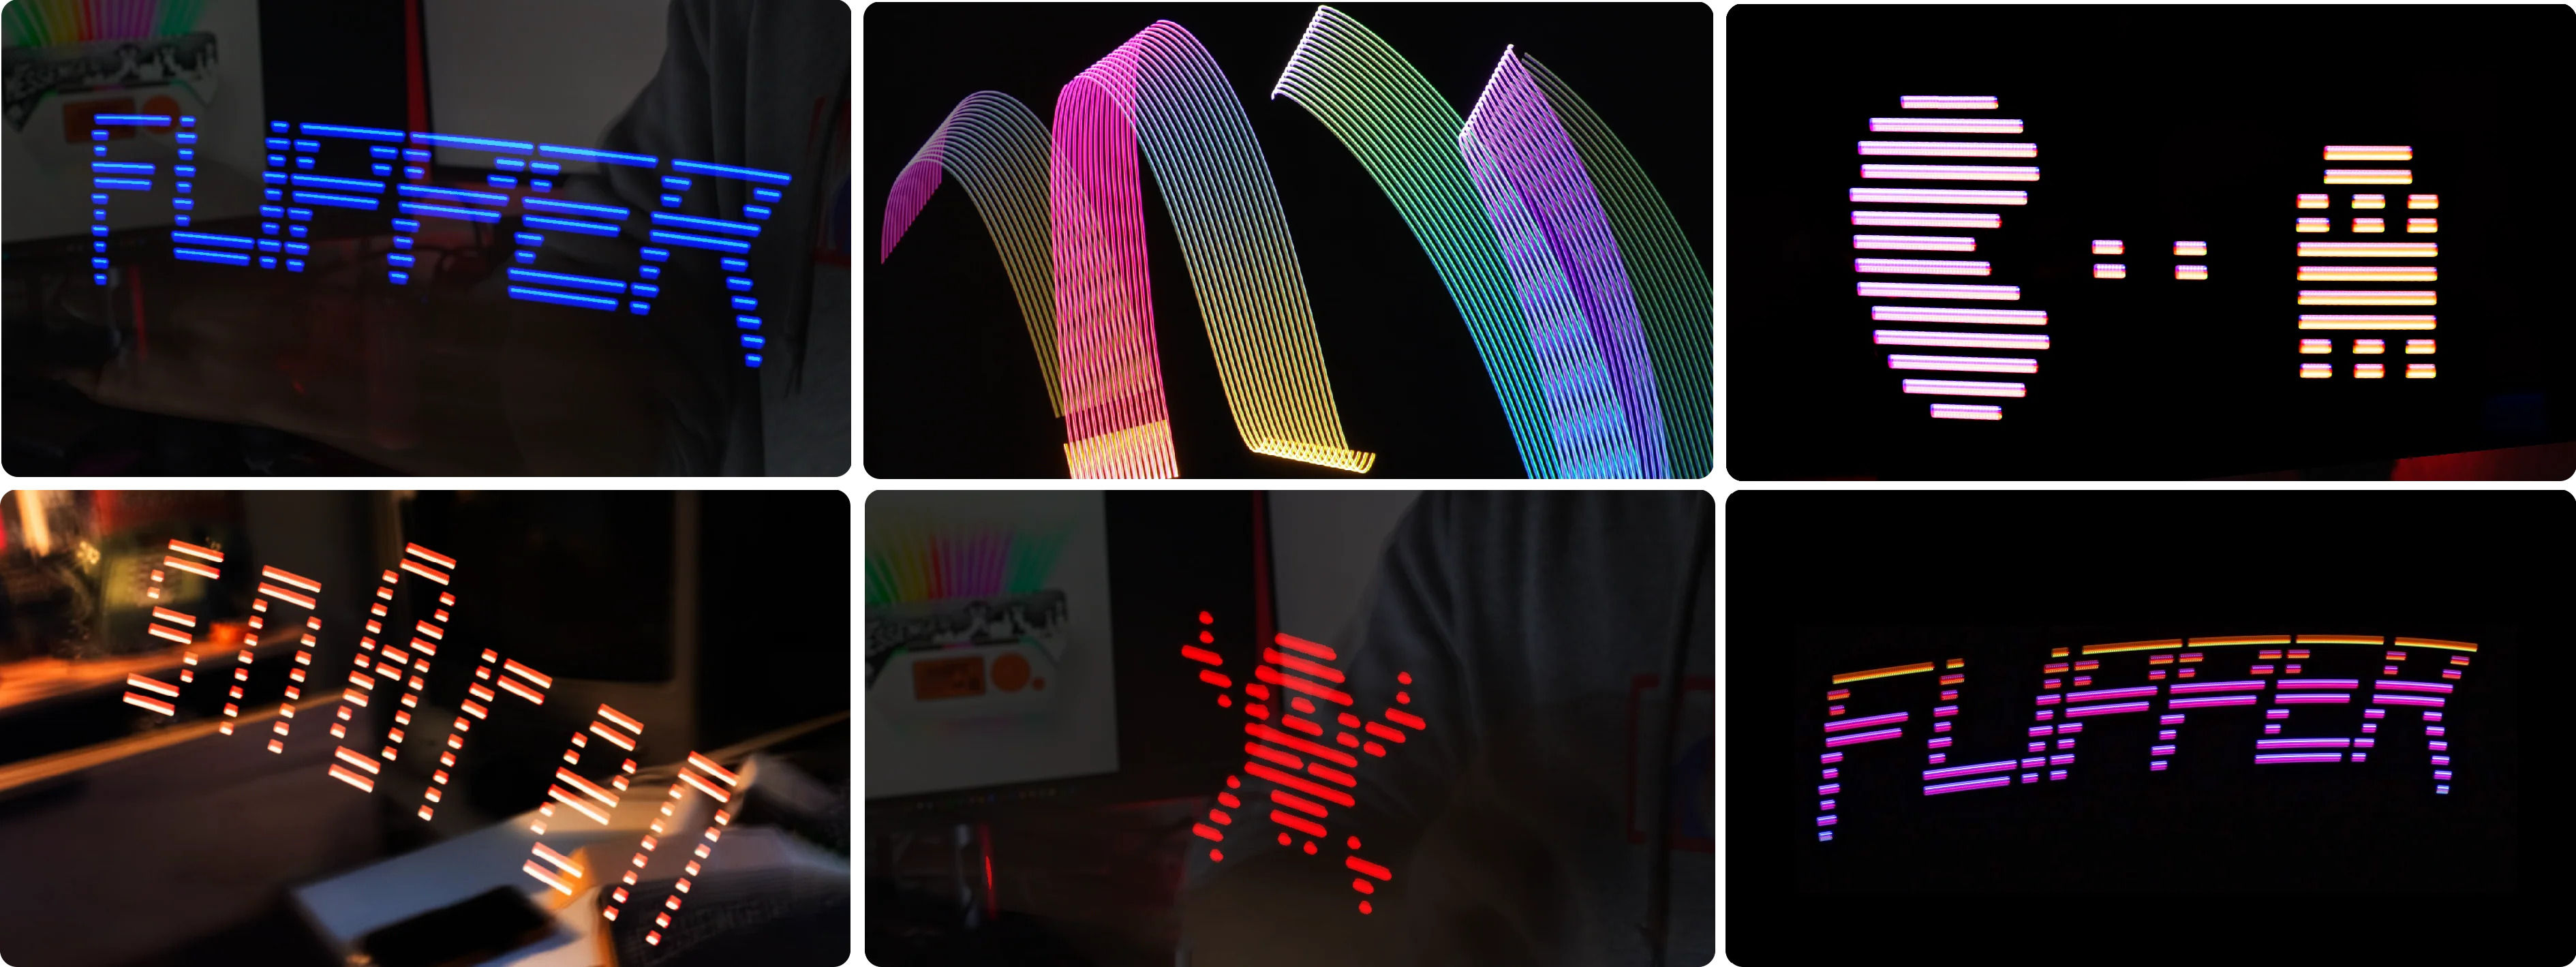
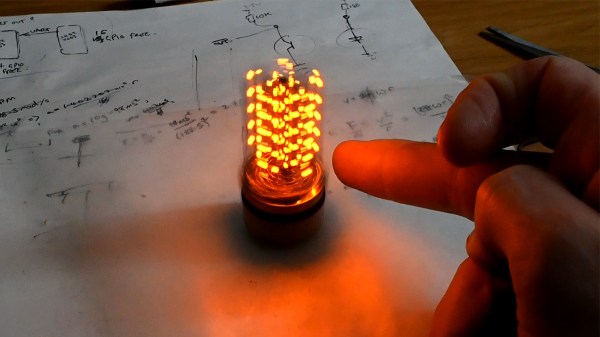
The LightMessenger is a hardware add-on module developed by LAB401 in collaboration with [TIX LE GEEK] for the Flipper Zero. In persistence-of-vision mode, you can plug it in via the GPIO header and display messages in the air by shaking it around. Even better, you can do so in color, with a height resolution of 16 pixels—meaning you can display some nice text or basic graphics. You can key in different text or select and edit bitmaps using the utility on the Flipper screen itself. There’s even a simple flashlight mode, because why not?
In the second part of [Derek]’s write-up, he also goes into detail on the development and manufacturing process for the device.
Files are on GitHub for the curious. We’ve gone over the basics of POV projects before, too.