For doing basic steel welding, most of us will reach for a MIG welder. It might not be the best tool for every welding job, but it’s definitely the most accessible since they tend to use only basic parts, easy-to-find gas, and can run from a standard electrical outlet. A plasma cutter isn’t as common, and while they’re certainly useful, [Rulof] wanted to forgo the expense of buying one off the shelf. Instead, he used parts of an old welder and a few other odds and ends to build his own plasma cutter.
The welder he’s working from in this project uses low-voltage alternating current to drive the welding process, but since a plasma cutter ionizes gas it needs high-voltage direct current. A 200 A bridge rectifier with some heat sinks from a Mac and an old stereo get this job done, but that’s not the only step in the process. A driver board and flyback transformer is used to generate the high voltage needed for the cutting head. There are some DIY circuit protection and safety features built in as well, including a spark gap using two nails, galvanic isolation from a transformer built from copper pipe, and some filtering coils made from old copper wire and iron bars.
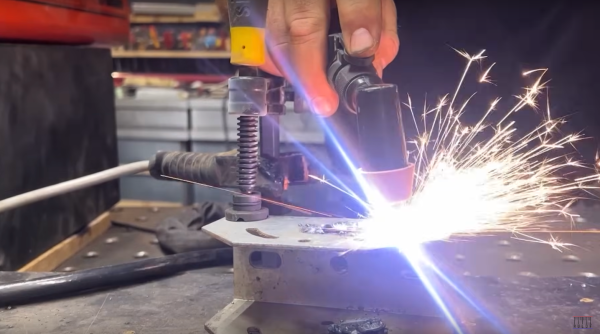
With everything connected to the old welding machine and some pressurized air inside to push out the plasma, [Rulof] has a functional plasma cutter that can make short work out of a variety of metals at a fraction of the cost of a commercial tool. With the cutting tool finished, we’d recommend mounting it to a home-built CNC machine next.
Continue reading “High Voltage Turns Welder Into Plasma Cutter”