Soldering is easy, as long as you have one hand to hold the iron, one to hold the solder, and another to hold the workpiece. For those of us not so equipped, there’s the new and improved Solder Sustainer v2, which aims to free up one of however many hands you happen to have.
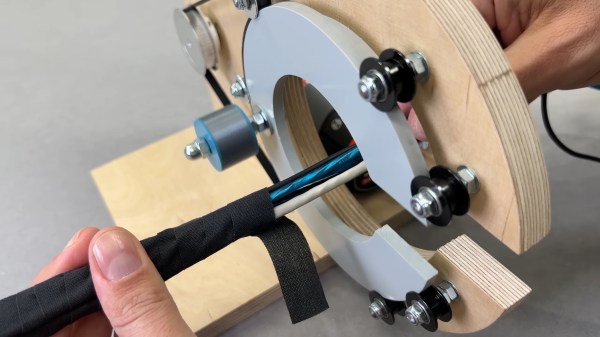
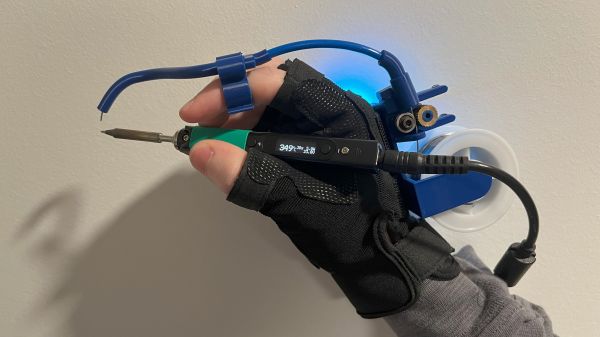
Eagle-eyed readers will probably recall an earlier version of Solder Sustainer, which made an appearance in last year’s Hackaday Prize in the “Gearing Up” round. At the time we wrote that it looked a bit like “the love child of a MIG welder and a tattoo machine.” This time around, [RoboticWorx] has rethought that concept and mounted the solder feeder on the back of a fingerless glove. The solder guide is a tube that clips to the user’s forefinger, which makes much finer control of where the solder meets the iron possible than with the previous version. The soldering iron itself is also no longer built into the tool, giving better control of the tip and letting you use your favorite iron, which itself is no small benefit.
Hats off to [RoboticWorx] for going back to the drawing board on this one. It isn’t easy to throw out most of your design and start over, but sometimes it just makes sense.
Continue reading “Let Your Finger Do The Soldering With Solder Sustainer V2”