One thing some of us here in the United States have always been jealous of is the WAGO connectors that seem so common in electrical wiring everywhere else in the world. We often wonder why the electrical trades here haven’t adopted them more widely — after all, they’re faster to use than traditional wire nuts, and time is money on the job site.
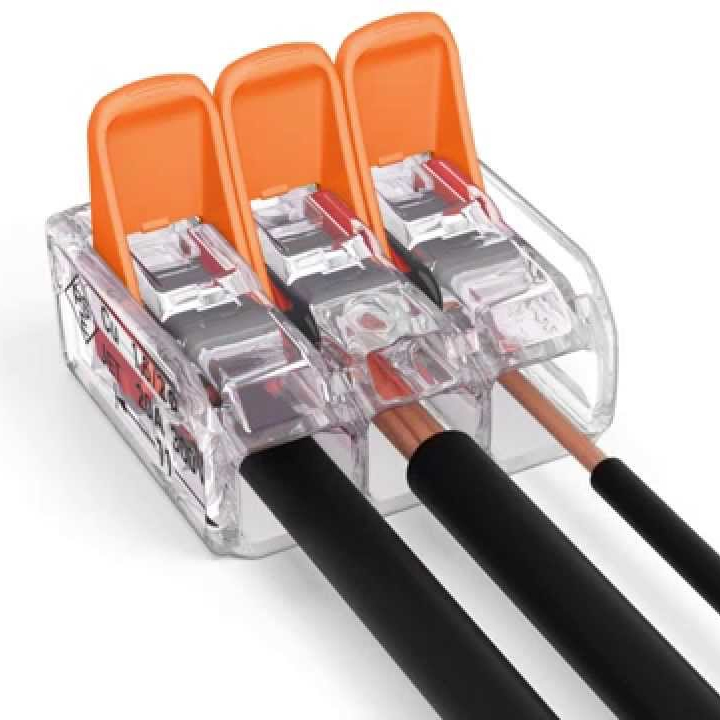
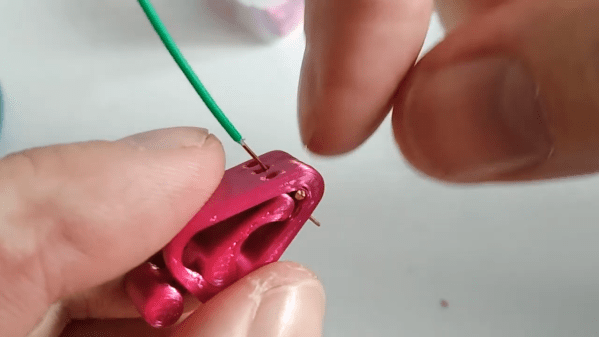
This print-in-place electrical connector is inspired by the WAGO connectors, specifically their Lever Nut series. We’ll be clear right up front that [Tomáš “Harvie” Mudruňka’s] connector is more of an homage to the commercially available units, and should not be used for critical applications. Plus, as a 3D-printed part, it would be hard to compete with something optimized to be manufactured in the millions. But the idea is pretty slick. The print-in-place part has a vaguely heart-shaped cage with a lever arm trapped inside it.
After printing and freeing the lever arm, a small piece of 1.3-mm (16 AWG) solid copper wire is inserted into a groove. The wire acts as a busbar against which the lever arm squeezes conductors. The lever cams into a groove on the opposite wall of the cage, making a strong physical and electrical connection. The video below shows the connectors being built and tested.
We love the combination of print-in-place, compliant mechanisms, and composite construction on display here. It reminds us a bit of these printable SMD tape tamers, or this print-in-place engine benchmark.
Continue reading “Print-in-Place Connectors Aim To Make Wiring Easier”