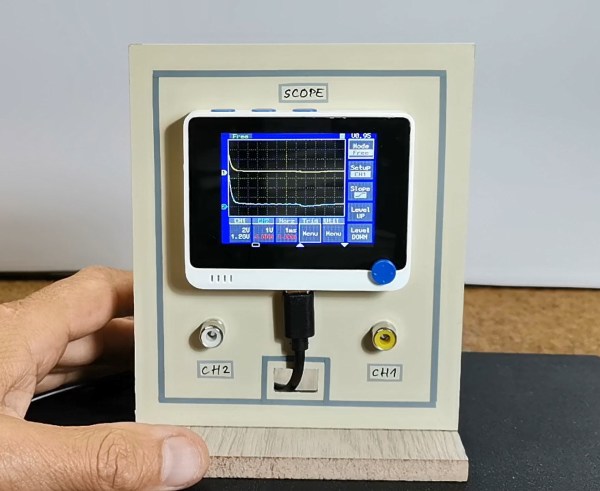
There was a time when getting a good oscilloscope not only involved a large outlay of capital, but also required substantial real estate on a workbench. The situation has improved considerably for the hobbyist, but a “real” scope can still cost more than what a beginner is looking to spend. Luckily, plenty of modern microcontrollers are capable of acting as a basic oscilloscope in a pinch, provided there’s a display available to interface with it. Combined with the right software, the Wio Terminal looks like a promising option.
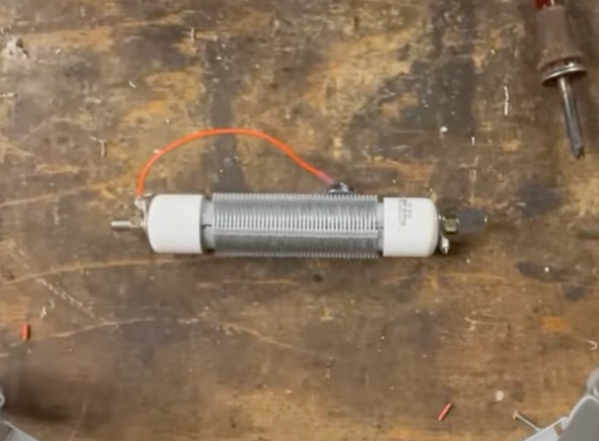
The Wio Terminal is a platform gaining some popularity due to its fairly capable SAMD51 microcontroller and also its integration with a display and a number of input buttons. On the hardware side, [mircemk] mounted the Terminal in a convenient vertical orientation and broke out a pair of connectors for the inputs.
But it’s the software that really makes this project work. [Play With Microcontroller] originally developed the firmware for the PIC24 back in 2017, but ported the code over to the Wio Terminal a couple years back. Noting that the microcontroller is not particularly fast, the project doesn’t exactly match the specifications or capabilities of a commercial unit. But still, it does an impressive job of recreating the experience of using a modern digital scope
The Wio Terminal is a device we’ve seen around here for a few unique projects, among them a device for preventing repetitive strain injuries while using a computer mouse and another that is a guide for game development in MicroPython. And if you’re just itching to port oscilloscope software to accessible but under-powered microcontrollers, be sure to check out [mircemk]’s other oscilloscope projects like this one built around the STM32 microcontroller.